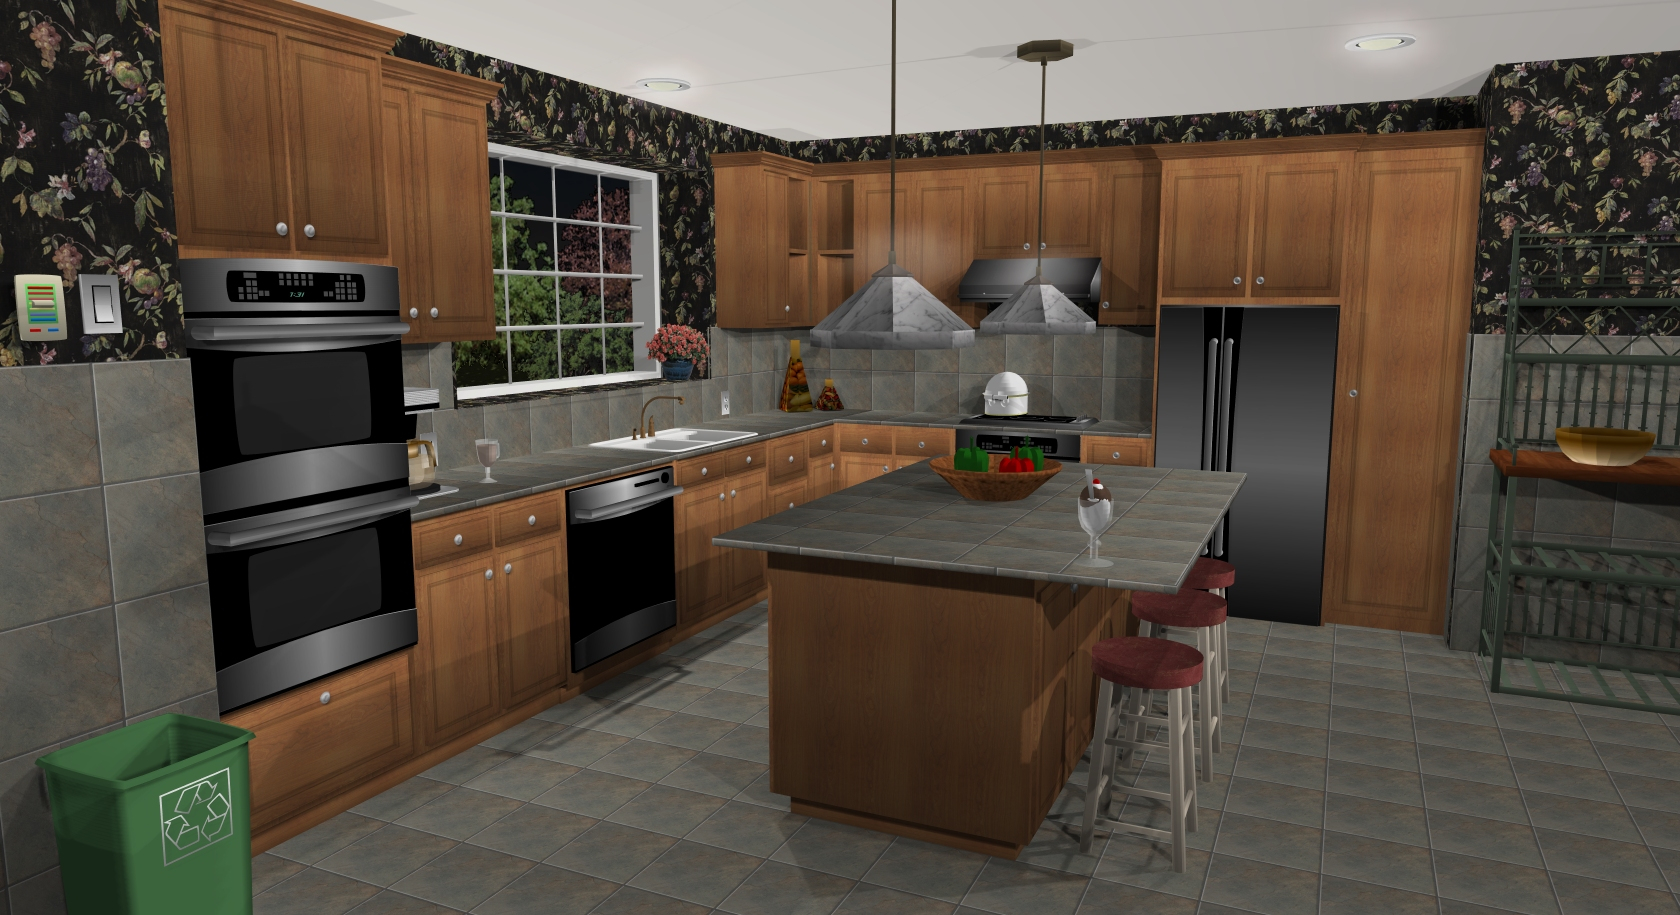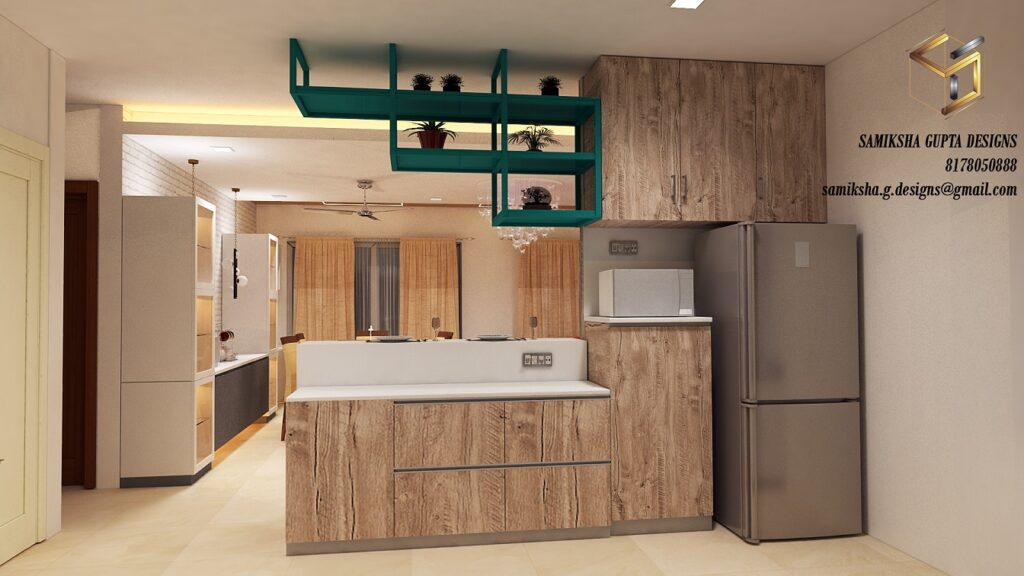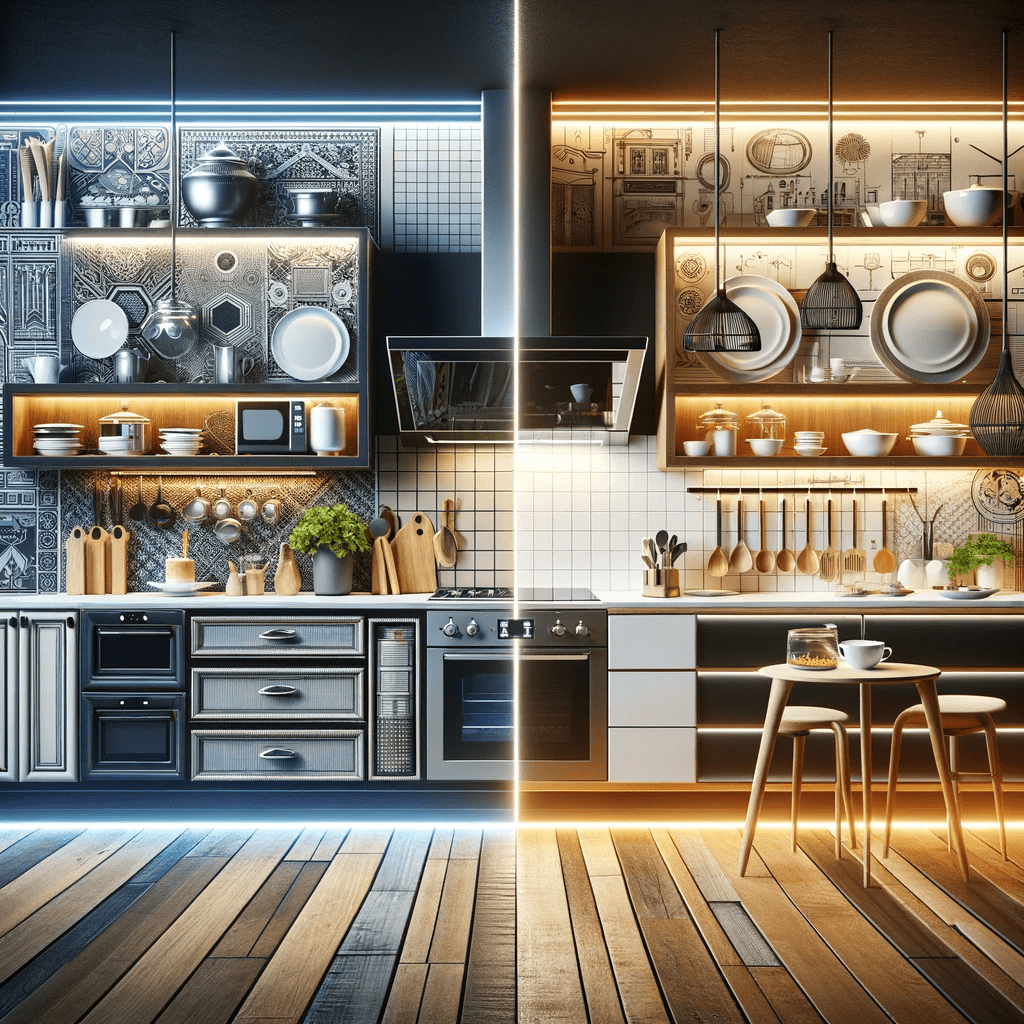

Ever scrolled through Pinterest or flipped through magazines and thought, ‘I wish my kitchen looked like that?’ That dream kitchen isn’t just a fantasy anymore. With the magic of 3D design, you can actually see your perfect space come to life before a single cabinet is ordered or a tile is laid. It’s a game-changer, trust me. It takes the guesswork out and puts the fun back into creating a space you’ll adore for years to come.
Let’s face it, kitchens aren’t just places to cook. They’re the heart of most homes – where families gather, stories are shared, and memories are made. So, getting it right is pretty important, isn’t it? For ages, people relied on 2D drawings and a lot of imagination. But what if you could walk through your new kitchen, test out different cabinet colors, or even see how the light hits your new island, all before any actual construction begins? That’s where 3D kitchen design shines. It’s like having a crystal ball for your home renovation, offering clarity and confidence at every turn.
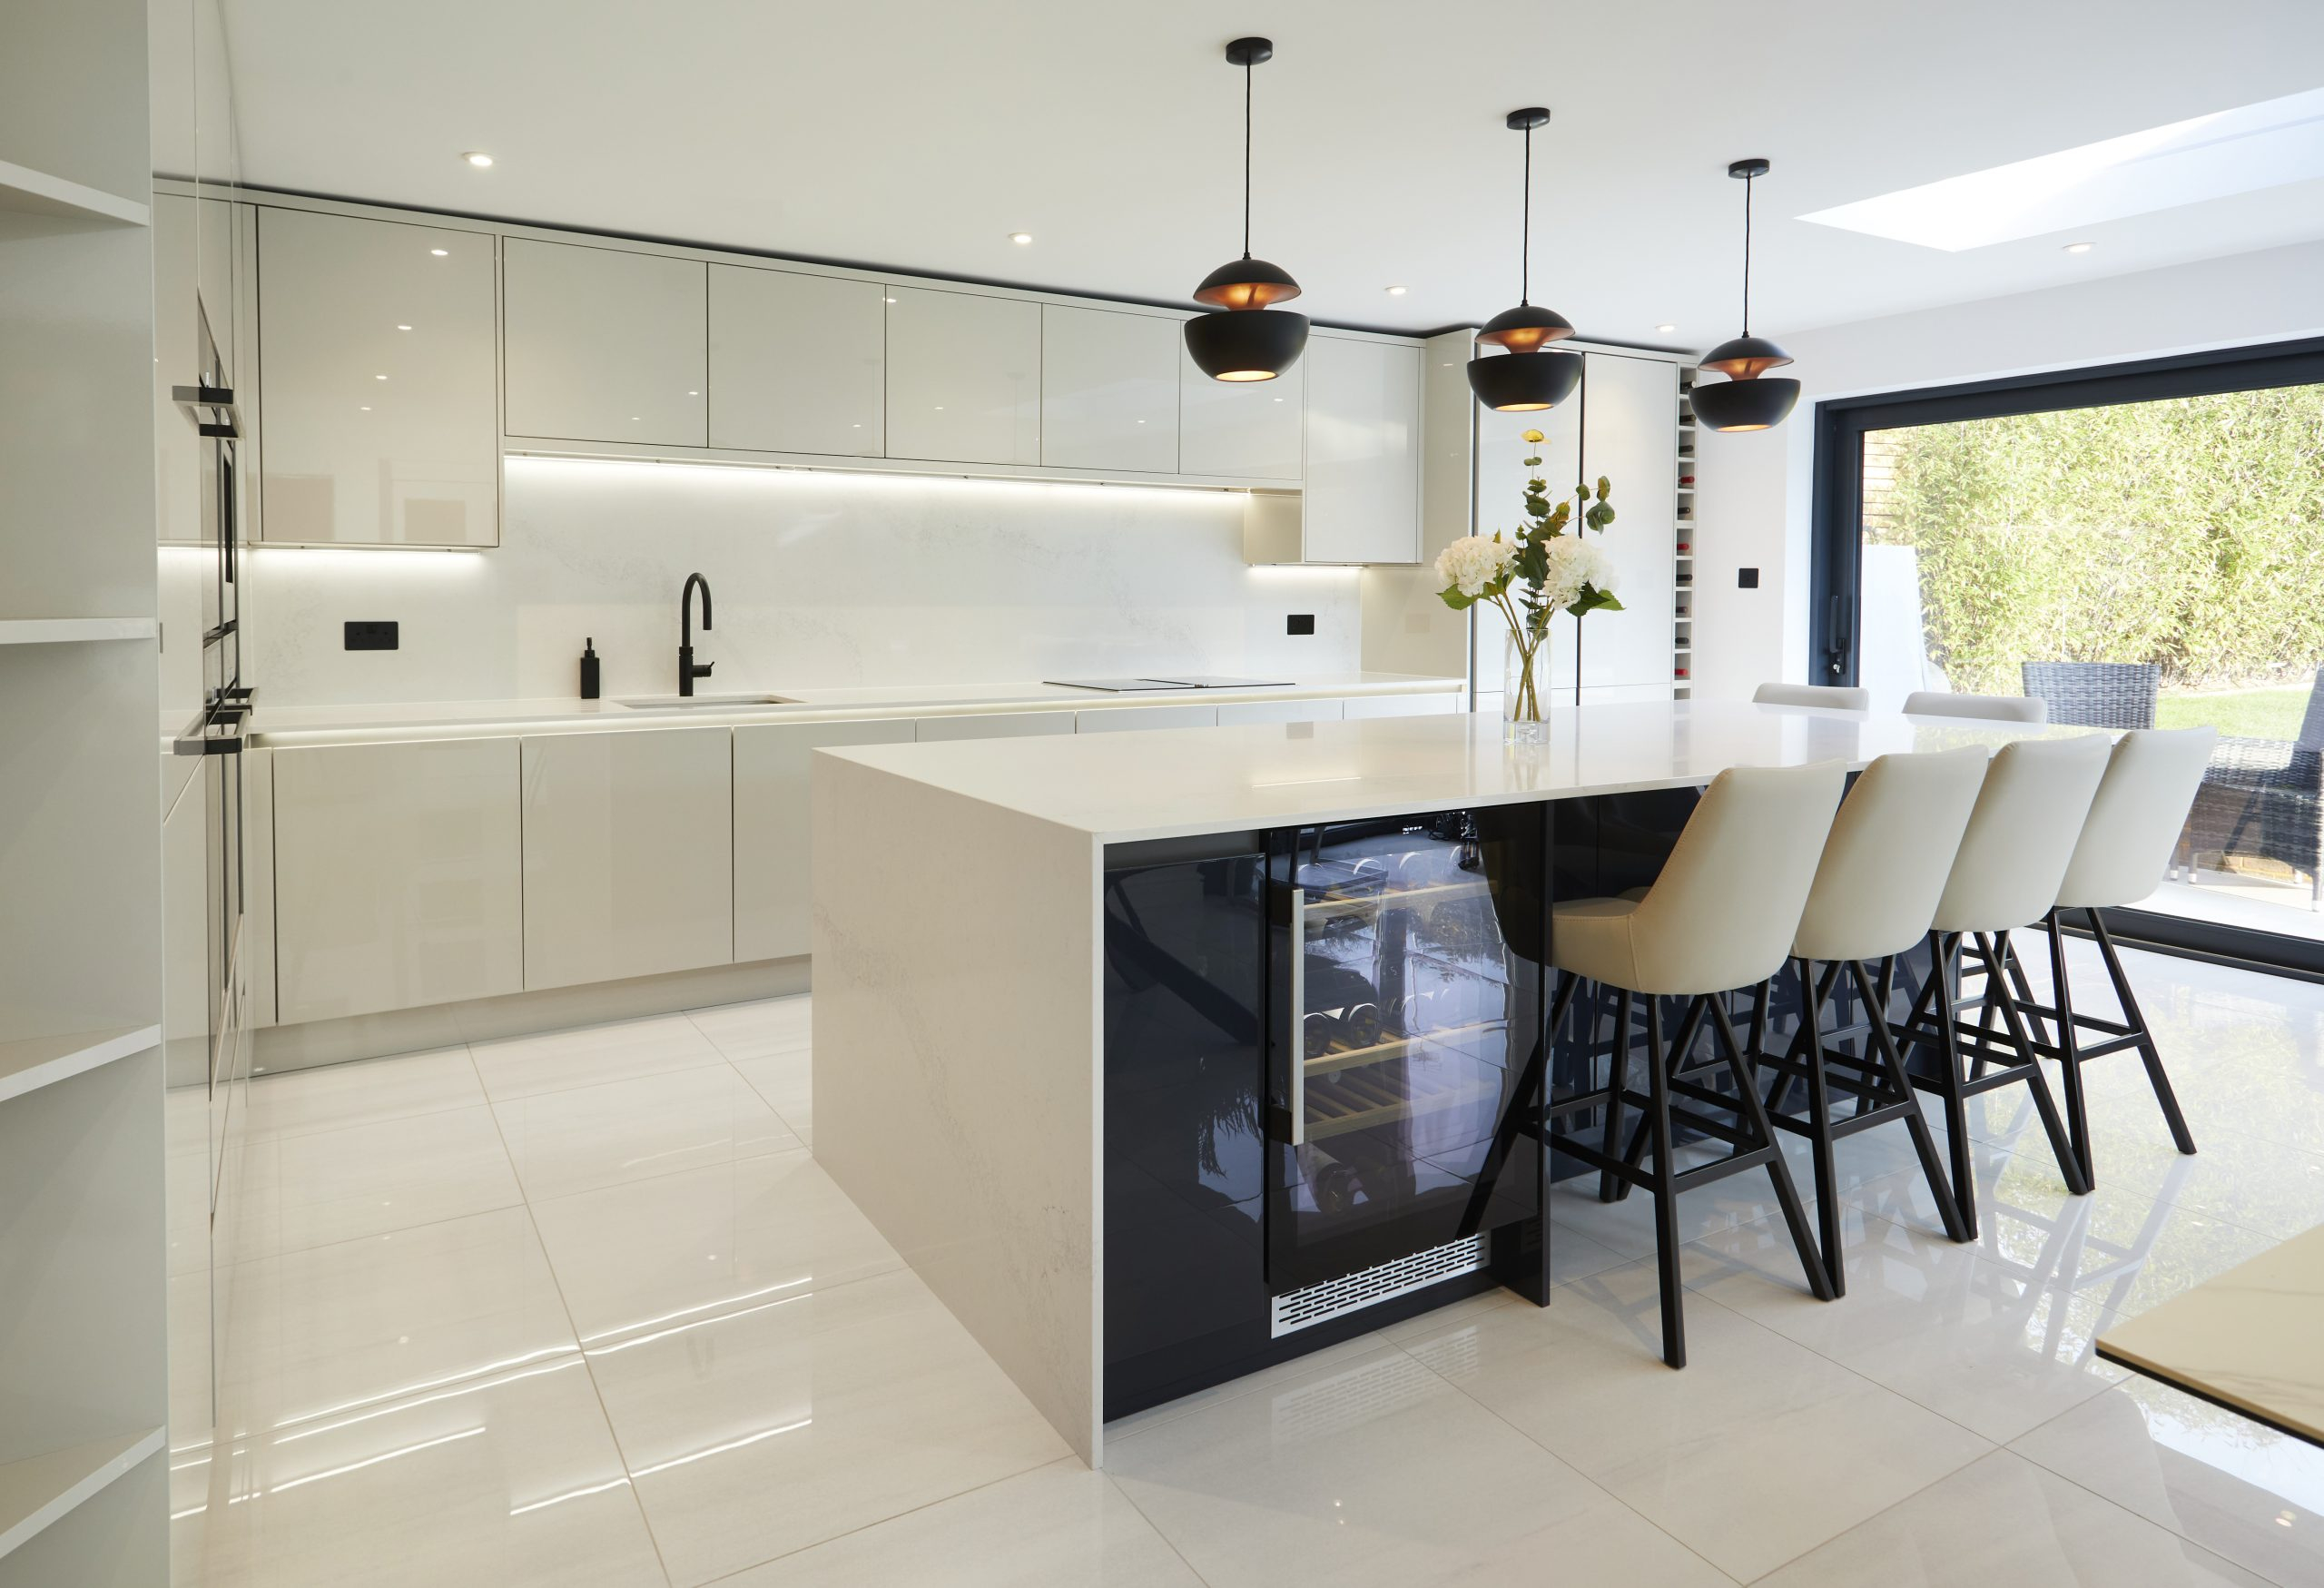
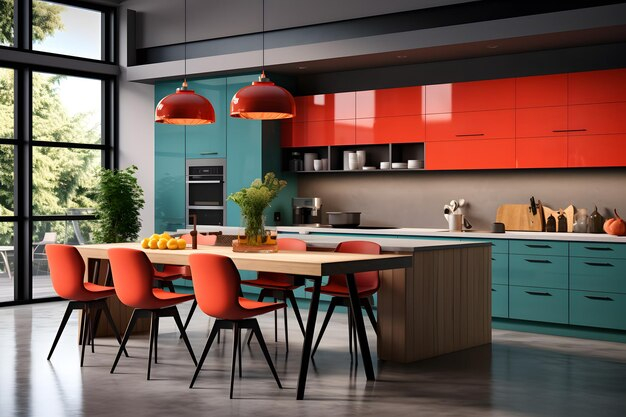
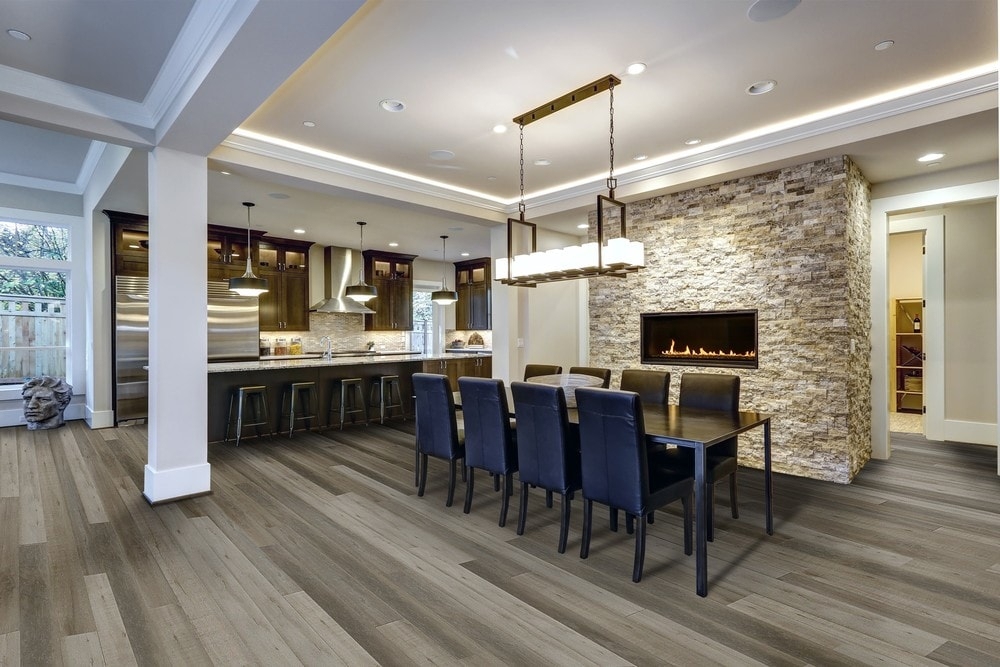
Step 1: Define Your Kitchen’s Purpose and Style
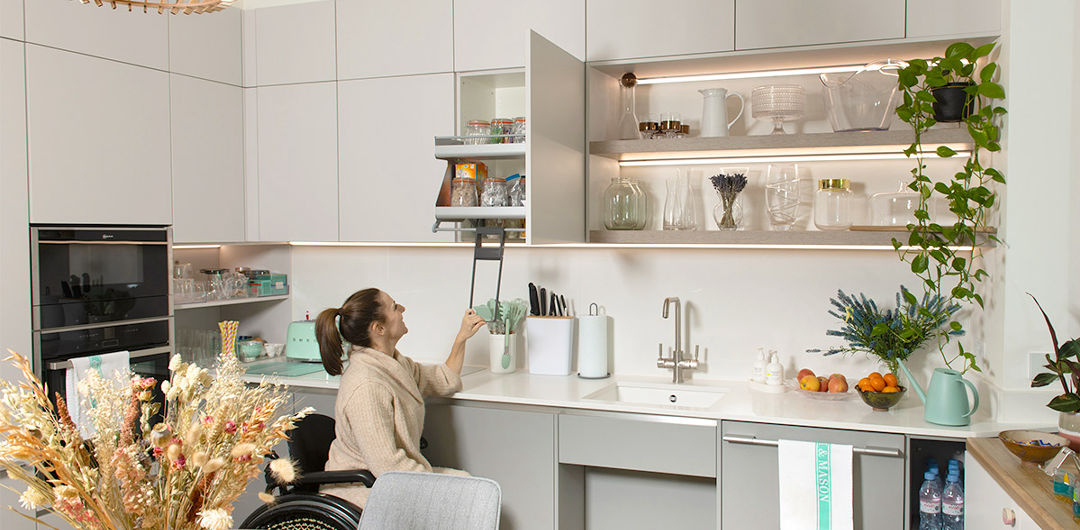
Before you even think about software or fancy visuals, take a moment to really consider what you want and need from your kitchen. Is it a gourmet chef’s haven, a cozy family hub, or a sleek space for entertaining? Think about your daily routines. Who uses the kitchen and how? What activities take place there – cooking, homework, morning coffee, or all of the above? Jot down your must-haves: ample counter space, a large island, a walk-in pantry, energy-efficient appliances. Next, nail down your aesthetic. Are you drawn to modern minimalism, rustic charm, classic elegance, or something eclectic? Gather inspiration from magazines, websites, and even friends’ homes. This initial clarity is the foundation for everything that follows.
Step 2: Measure Up Accurately
This might sound basic, but it’s absolutely critical. Get out that tape measure and be precise. You’ll need to record the length and width of the room, the height of the ceilings, and the exact placement and dimensions of windows, doors, and any existing plumbing or electrical outlets. Don’t forget to note any awkward angles, soffits, or structural elements that can’t be moved. The more accurate your measurements, the more realistic your 3D model will be. Double-check everything. Seriously, measure twice, design once. It can save you a world of trouble and expense down the line.
Step 3: Choose Your 3D Design Tool
The good news is you don’t need to be a professional architect to use 3D design tools. There are many user-friendly options available, ranging from free online planners to more advanced software. Many kitchen manufacturers and retailers offer their own design tools, which can be particularly helpful if you plan to purchase cabinets and appliances from them. For a more DIY approach, consider software like SketchUp (which has a free version), HomeByMe, or Planner 5D. These platforms allow you to create floor plans, place virtual cabinets and appliances, and visualize your kitchen in 3D. Experiment a little to find one that feels intuitive for you.
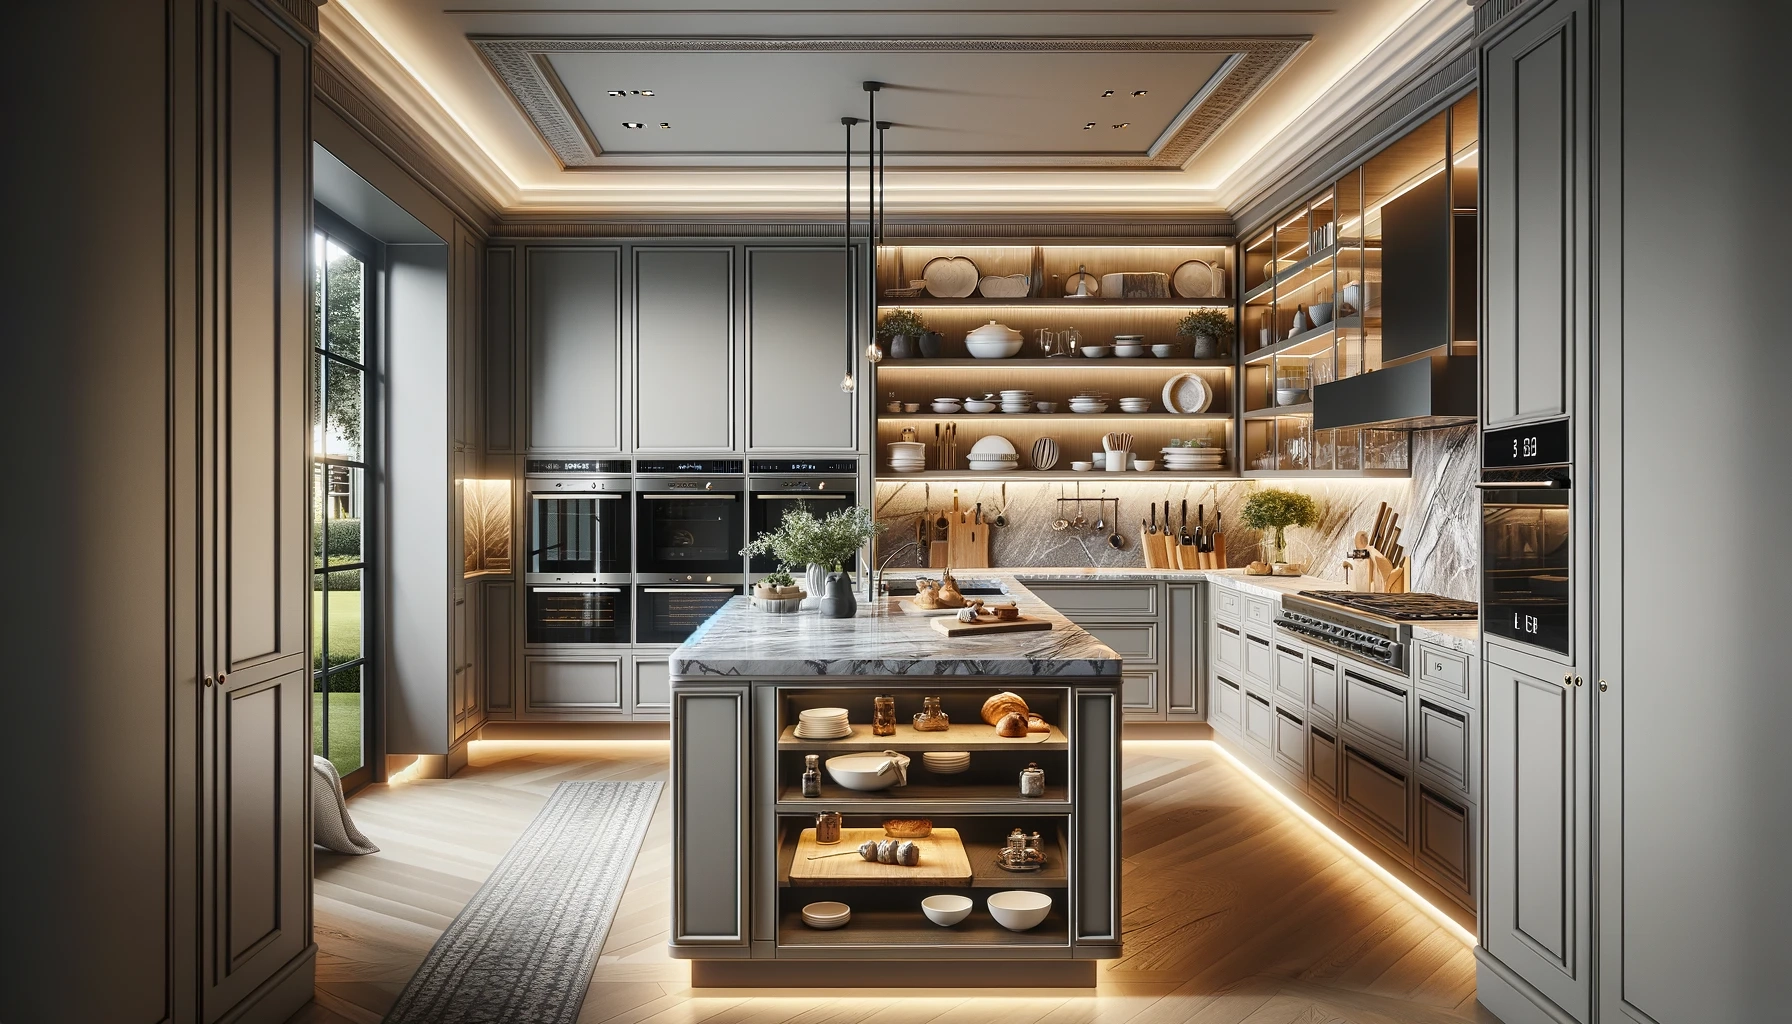
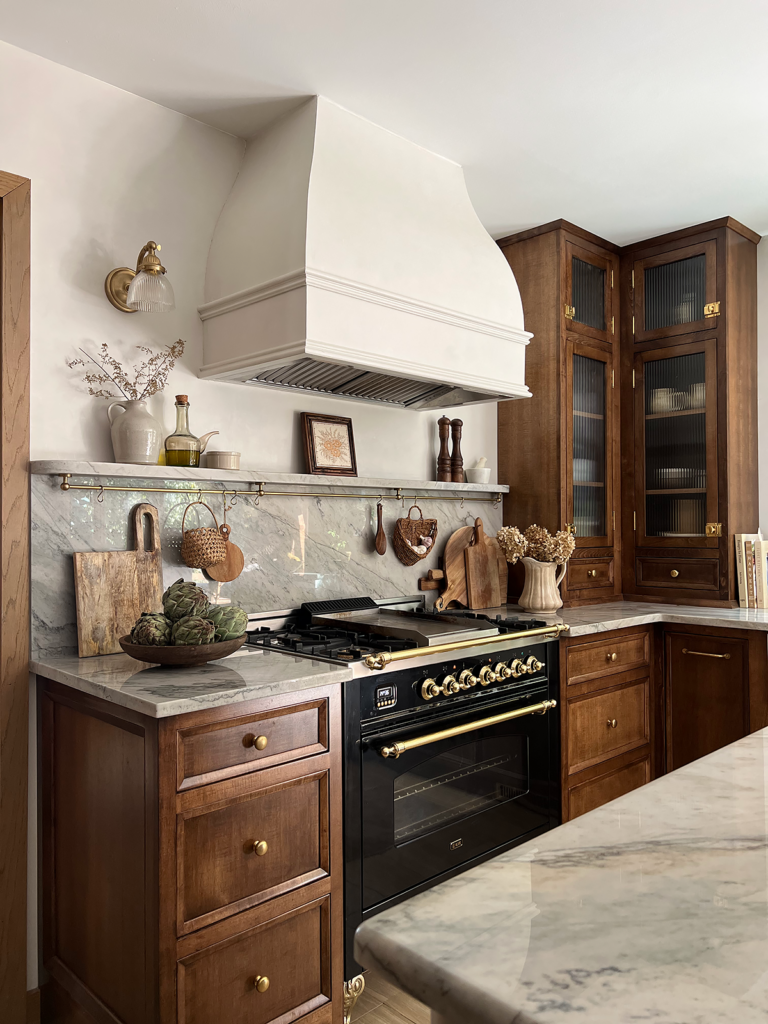
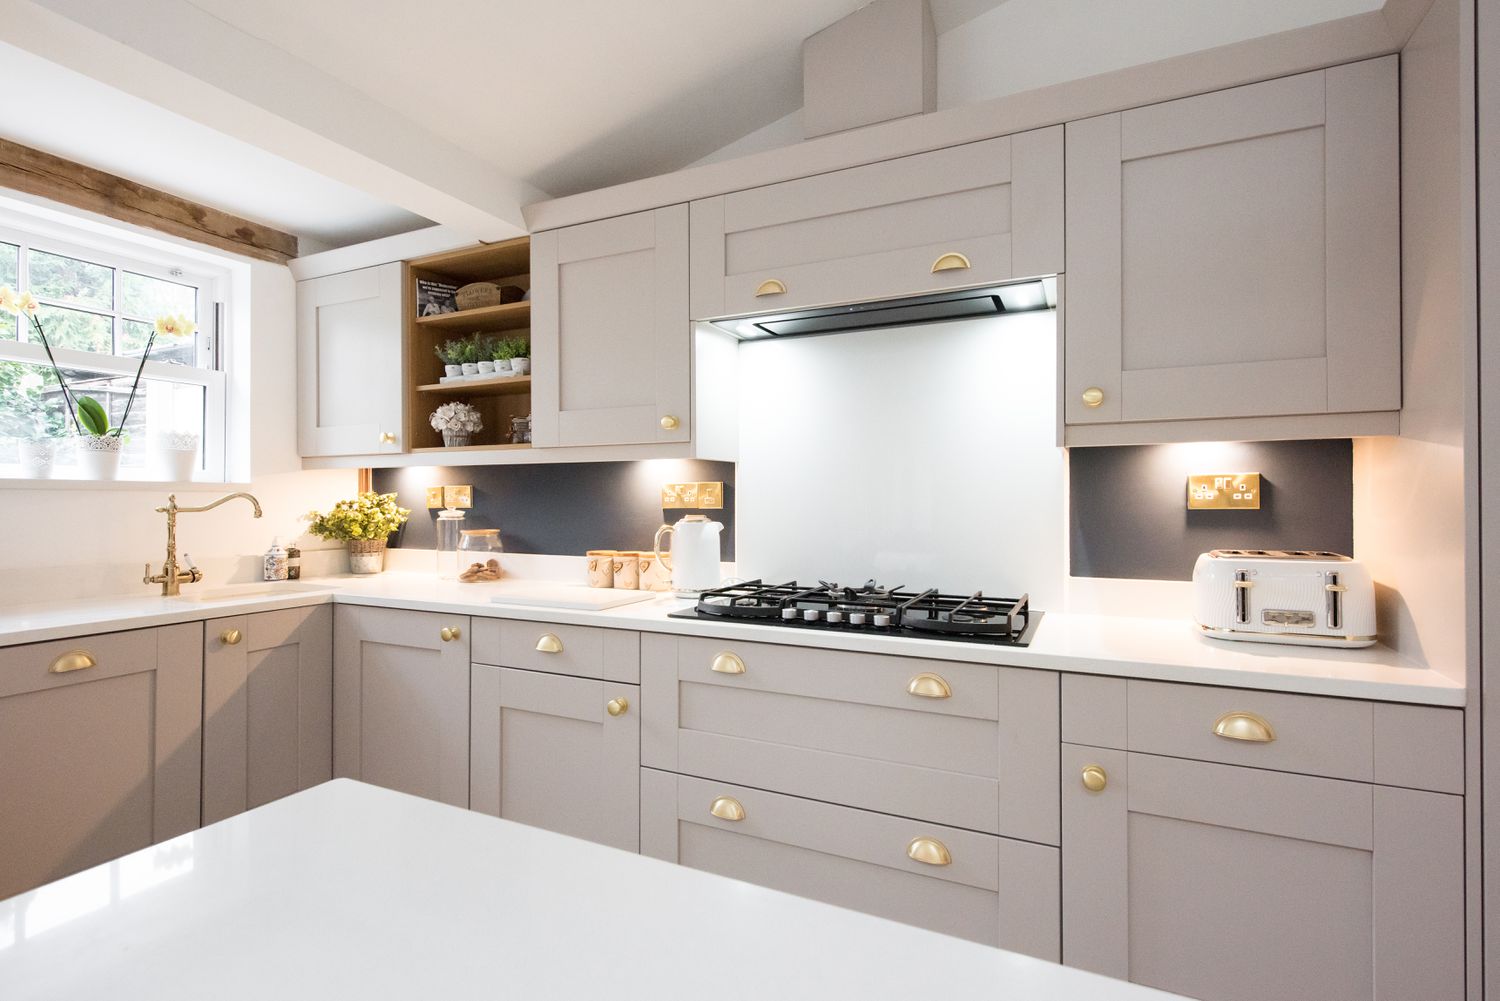
Step 4: Build Your Virtual Kitchen
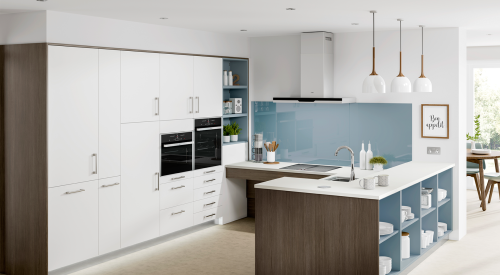
Now for the fun part! Start by inputting your room dimensions and window/door placements into your chosen software. Then, begin adding your kitchen elements. Most tools have extensive libraries of cabinets, countertops, appliances, flooring, and even decorative items. Think about your layout. Where will the sink go? The stove? The refrigerator? Play around with different arrangements. Should the island be parallel to the cabinets, or in a more central position? Try out various cabinet door styles, countertop materials (like granite, quartz, or laminate), and backsplash options. Don’t be afraid to experiment with colors and finishes. This is your chance to try bold ideas without any commitment.
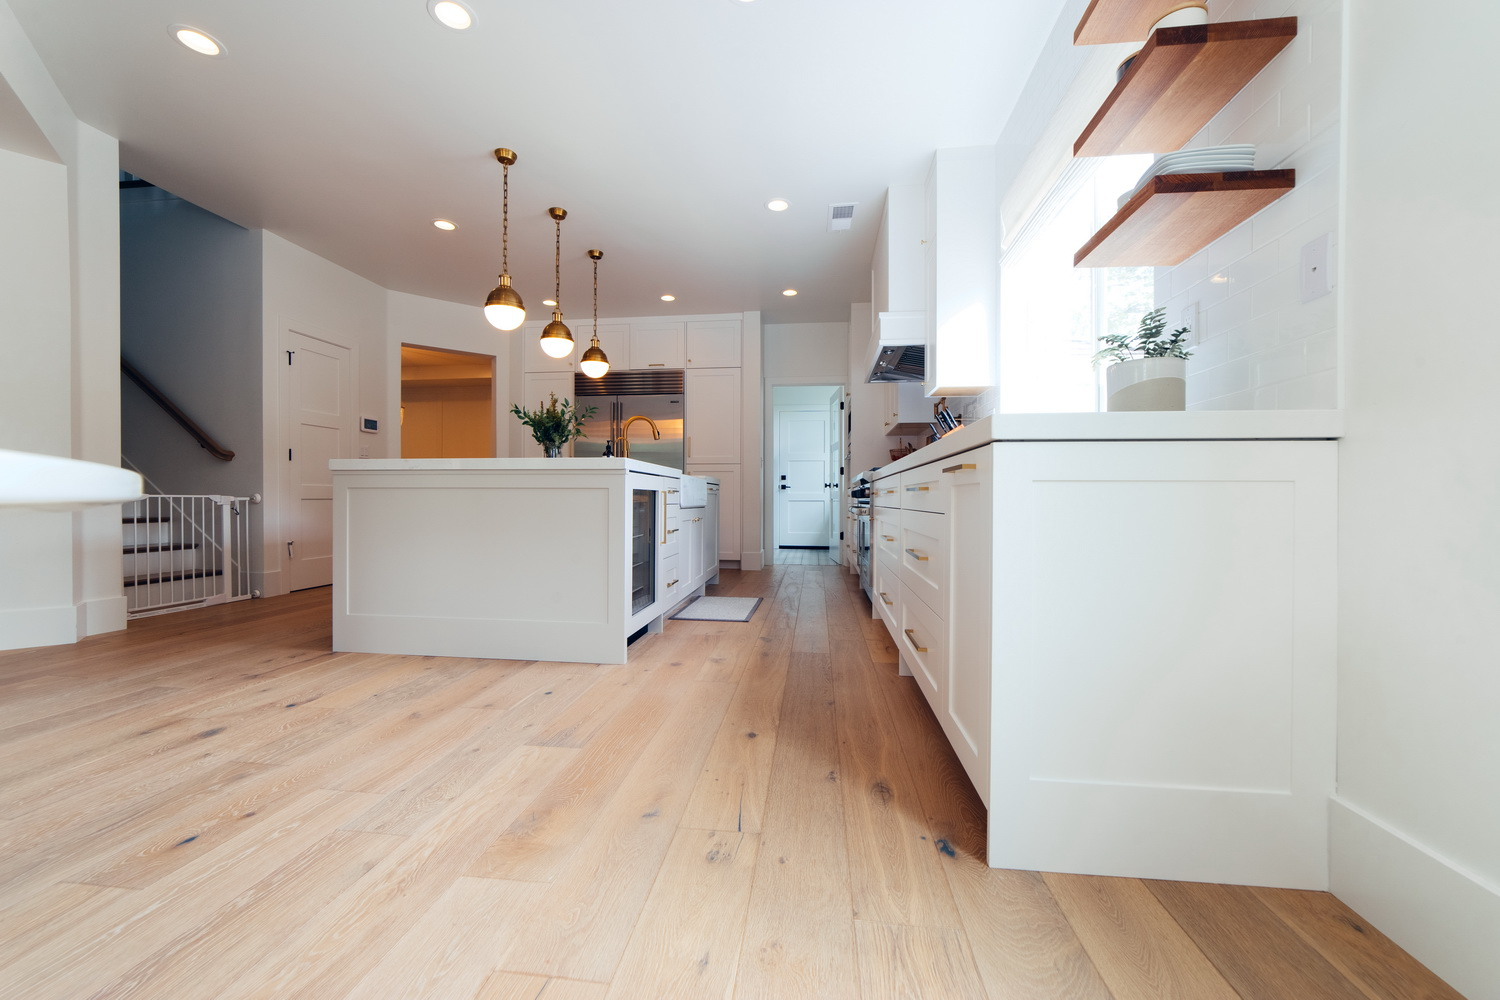
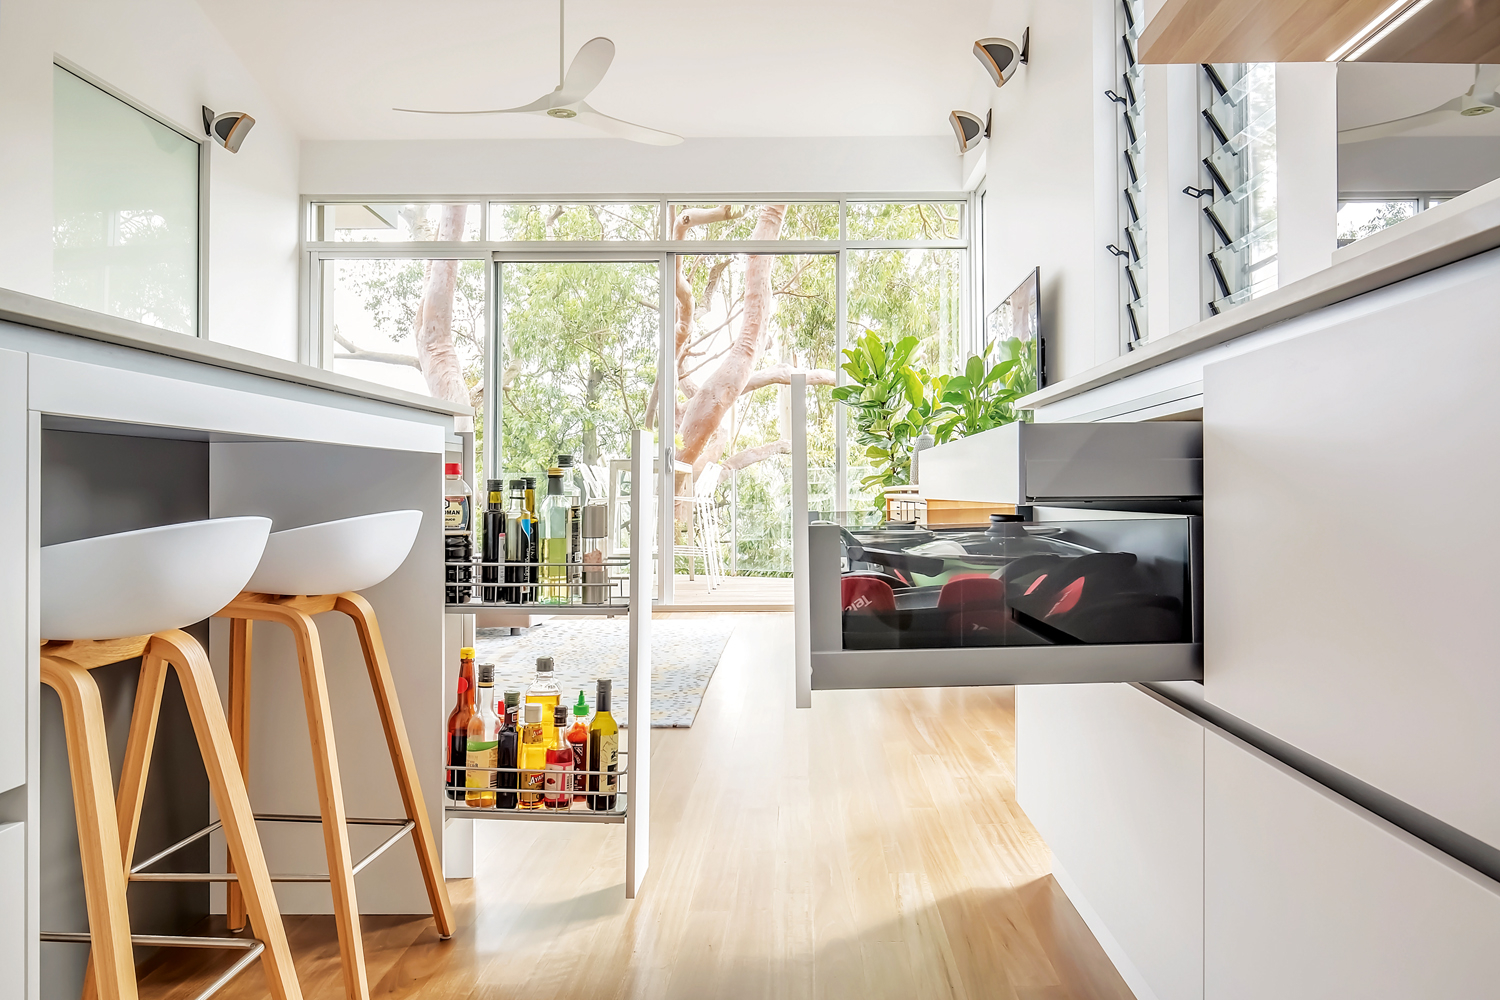
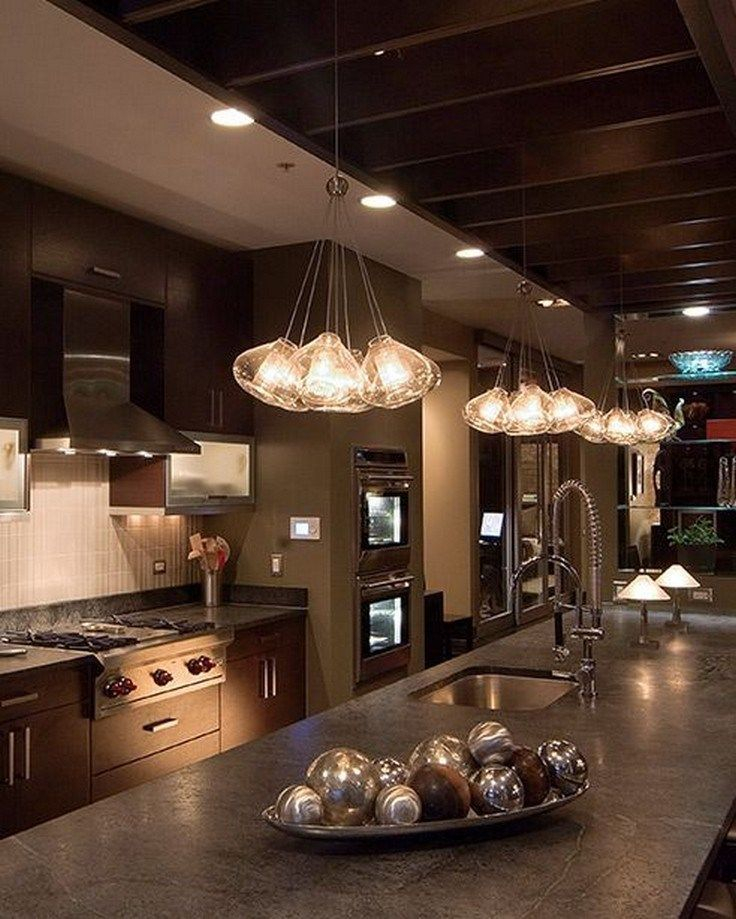
Step 5: Visualize and Refine
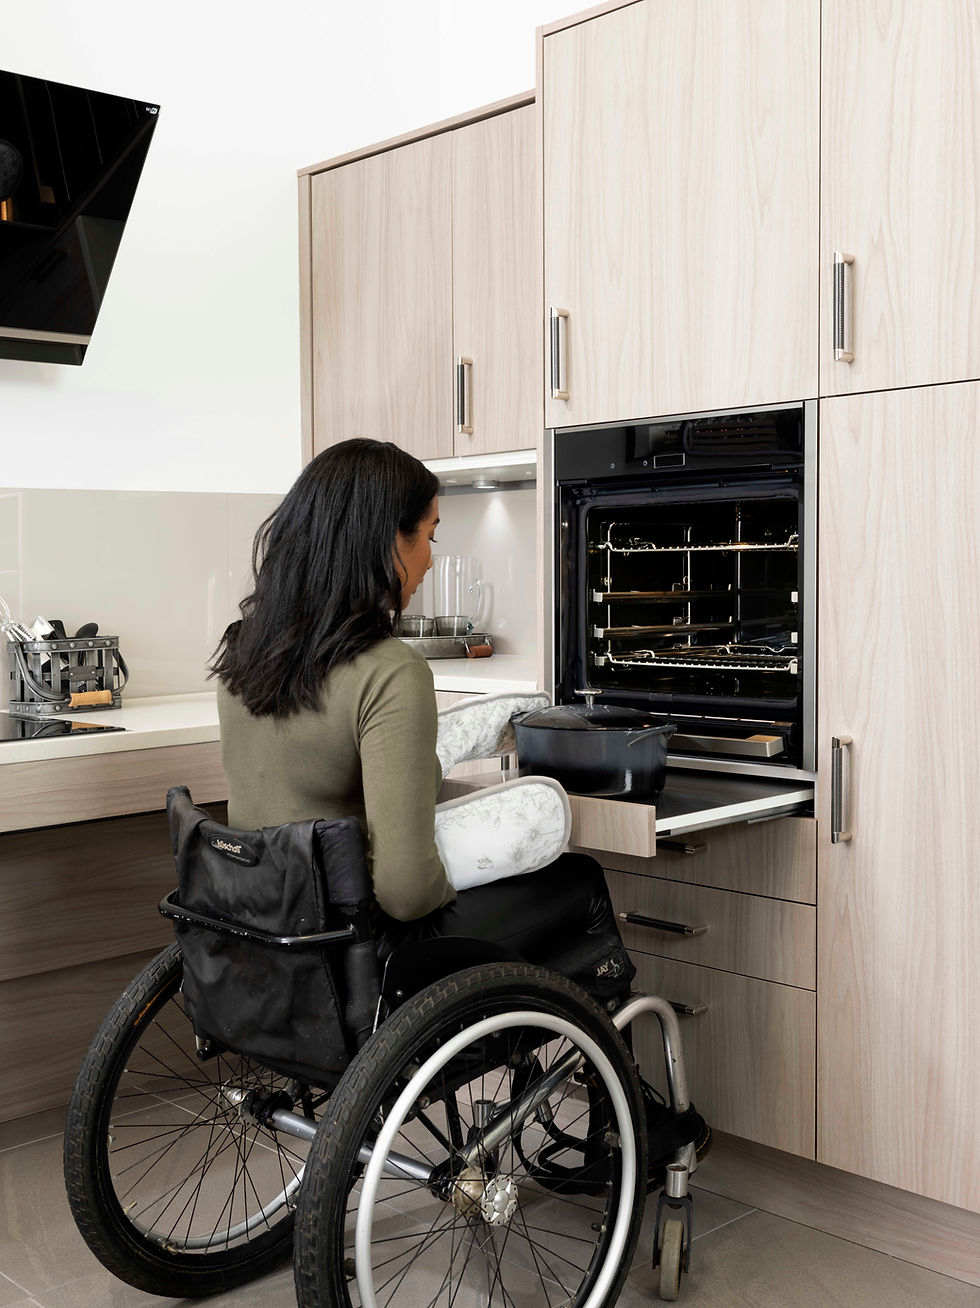
Once you have a basic layout and some elements in place, it’s time to really bring it to life. Most 3D programs allow you to view your kitchen from multiple angles, zoom in on details, and even create realistic renderings that simulate lighting. This is where you can truly assess the flow and functionality. Does the refrigerator door open fully without hitting anything? Is there enough clearance around the island? How does the natural light from the window interact with your chosen cabinet color? Use this visualization phase to tweak and refine. Swap out that faucet, try a different pendant light, or adjust the color of your cabinets. Many tools also let you visualize different times of day to see how the lighting changes.
Step 6: Get Feedback and Finalize
Before you commit to anything, share your 3D designs with trusted friends, family, or even a professional kitchen designer. A fresh set of eyes can often spot things you might have missed or offer valuable suggestions. They might notice a workflow issue or suggest a material you hadn’t considered. Once you’ve incorporated feedback and are completely happy with the design, you’ll have a detailed blueprint and a clear visual representation of your dream kitchen. This makes it much easier to communicate your vision to contractors and suppliers, ensuring that what you see in the 3D model becomes a reality in your home.
Designing your dream kitchen doesn’t have to be an overwhelming or expensive ordeal. By breaking it down into simple, manageable steps and leveraging the power of 3D design, you can confidently create a space that is both beautiful and perfectly suited to your needs. It’s about empowering yourself with vision and clarity, ensuring that the heart of your home truly reflects your style and fulfills your lifestyle. So, grab your measuring tape, explore some design tools, and start building the kitchen you’ve always wanted. Happy designing.