Ever feel like your studio space is working against you? Maybe it’s cluttered, dim, or just plain uninspiring. That’s where a smart layout comes in. Think of your studio not just as a room, but as a partner in your creative process. When it’s set up right, it can genuinely transform how you work, feel, and create. Let’s dive into how to make your studio a place that truly supports and elevates your passion.
So, you’ve got a space, and you’ve got a passion. But are they playing nicely together? We all know that feeling when inspiration strikes, but your surroundings feel a bit… off. Maybe you can’t find that essential tool, or the lighting just isn’t cutting it. These aren’t just minor annoyances; they can be real roadblocks to your creative flow. This guide is all about understanding how the physical arrangement of your studio – its layout – can make a massive difference. We’ll explore how to design a space that not only looks good but functions brilliantly, making your work smoother, more enjoyable, and ultimately, more productive. Ready to transform your studio into a zone of pure creative energy?
Understanding Your Needs: The Foundation of a Great Layout
Before you even think about moving furniture, take a moment to really consider what you do in your studio. Are you a painter who needs ample wall space for canvases and good natural light? A musician who requires soundproofing and specific gear placement? A writer who thrives in a cozy, distraction-free environment? Jot down your primary activities and any special requirements. Think about the workflow: what do you do first, second, and third? Where do your materials or tools need to be easily accessible? For instance, a digital artist might need a dedicated desk area with good power access and minimal glare, while a sculptor might prioritize open floor space and robust ventilation. Knowing your core functions is the first, and perhaps most crucial, step.
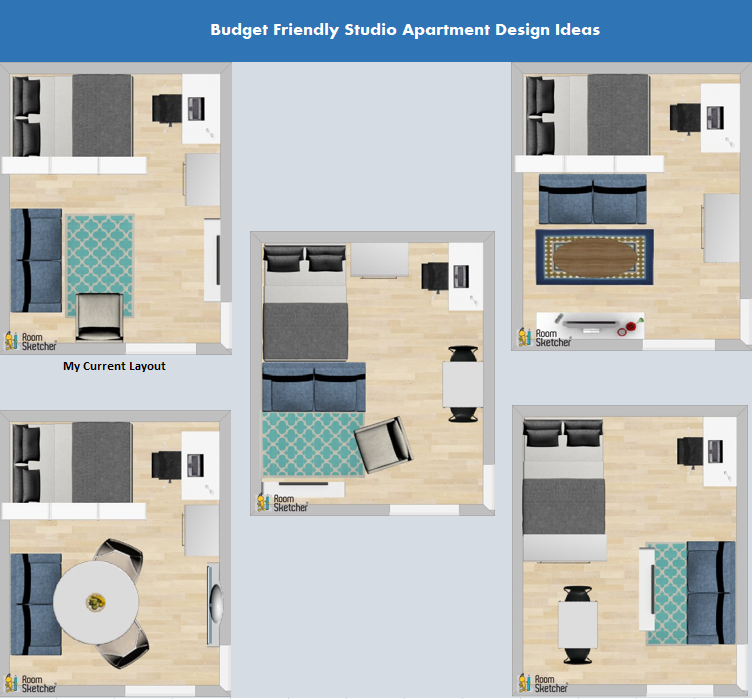
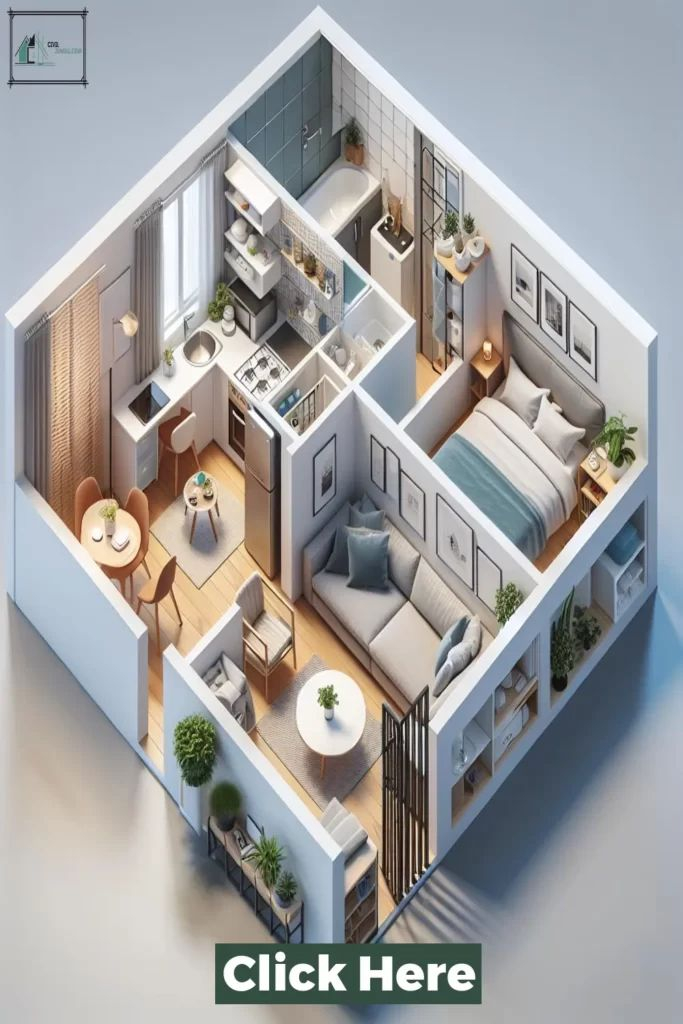
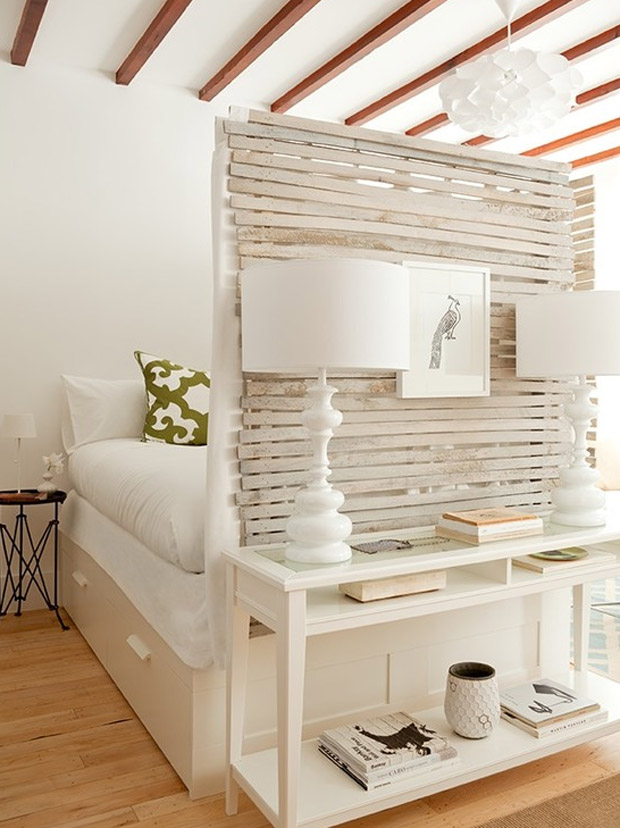
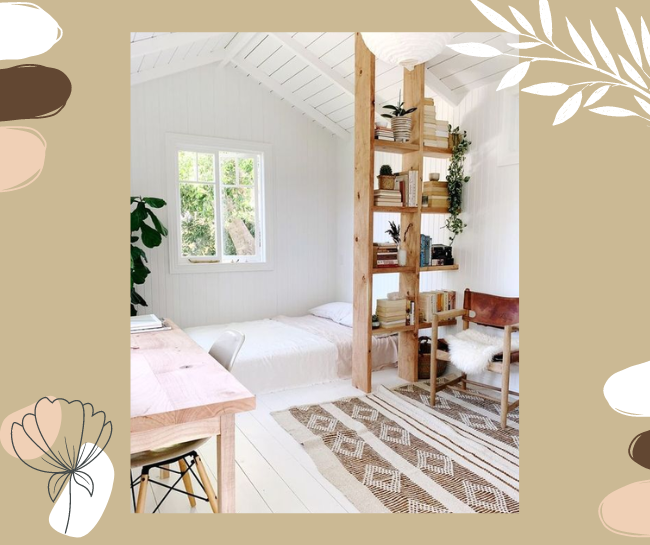
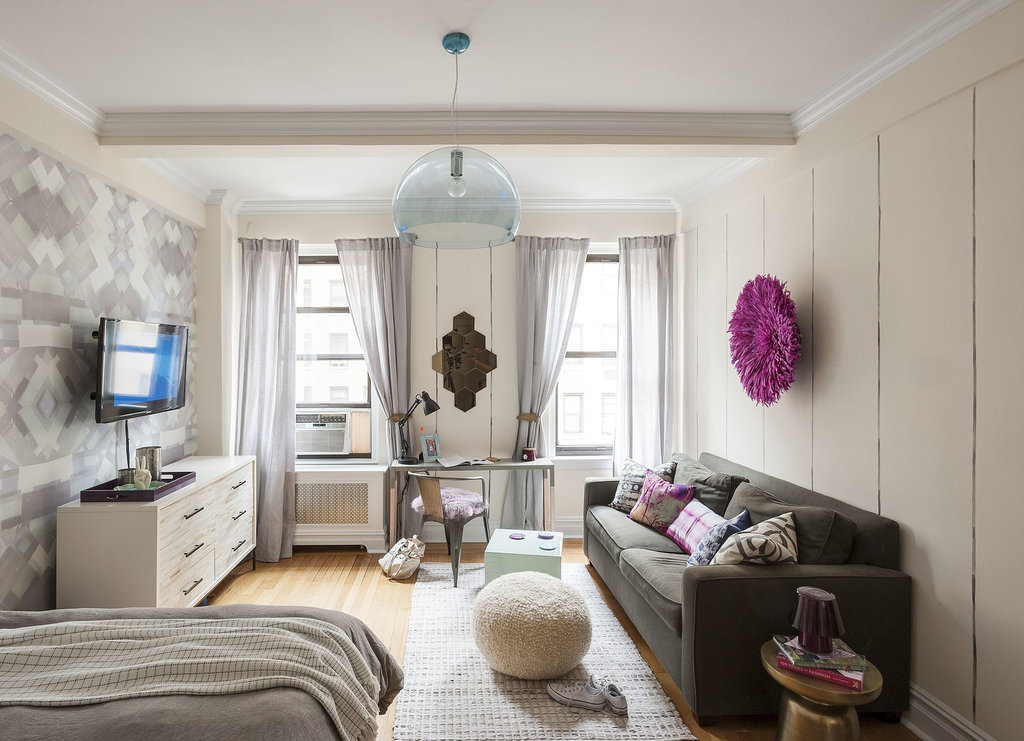
Zoning Your Space: Creating Functional Areas
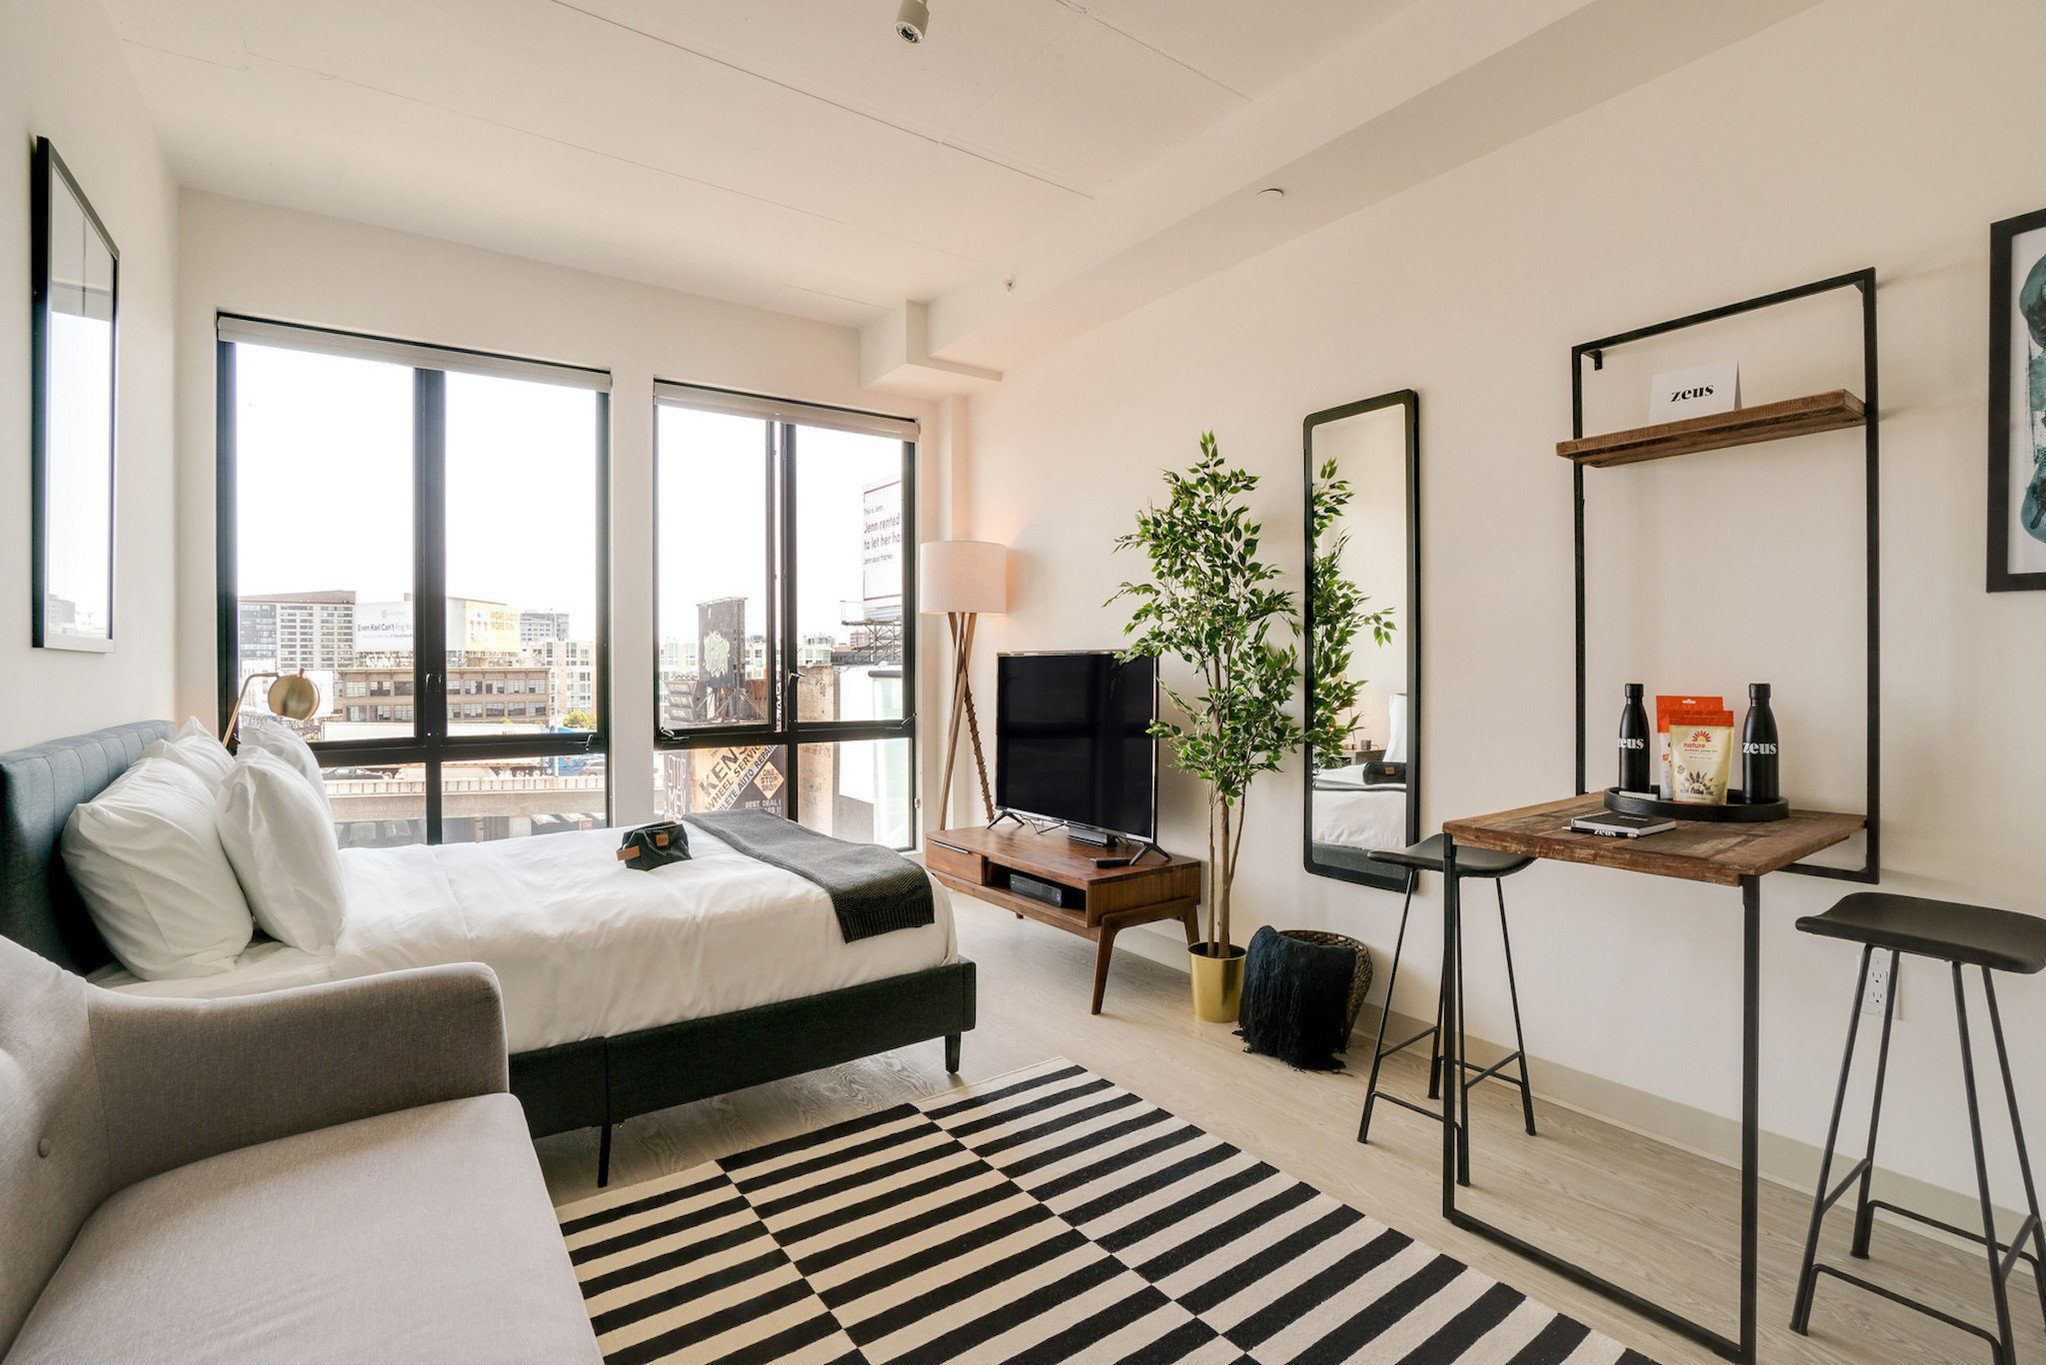
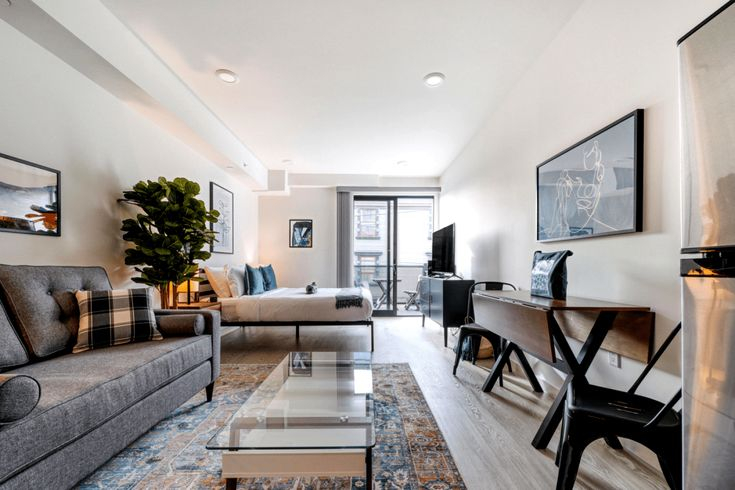
Once you know what you need, it’s time to divide your studio into distinct zones. This is like giving each aspect of your work its own dedicated home. Common zones include a ‘creation’ zone (where the main work happens), a ‘storage’ zone (for supplies and tools), and maybe a ‘relaxation’ or ‘inspiration’ zone (a comfy chair, a bookshelf). For a visual artist, the creation zone might be near a window, with storage units conveniently placed nearby for paints and brushes. A musician might have a ‘performance’ zone with their instrument and amp, a ‘practice’ zone with sheet music, and a separate area for recording equipment. Even in a small space, clear zoning prevents clutter and keeps your workflow organized. Think about how you move between these areas, ensuring there are clear pathways.
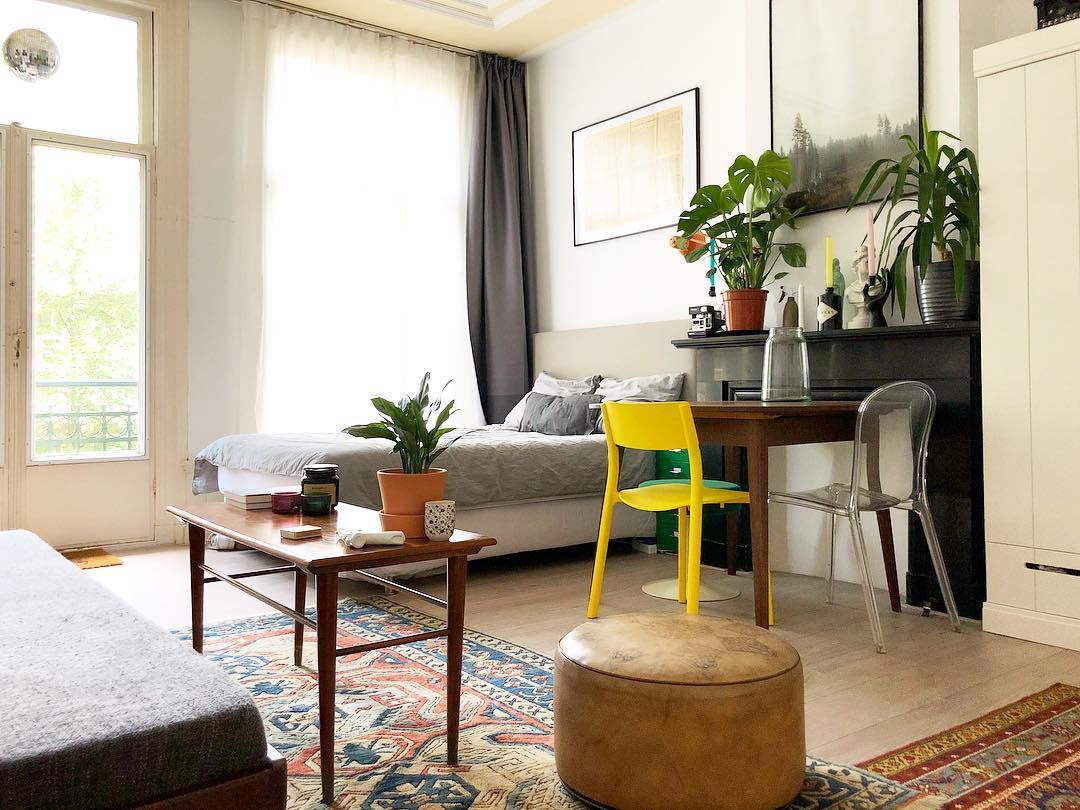
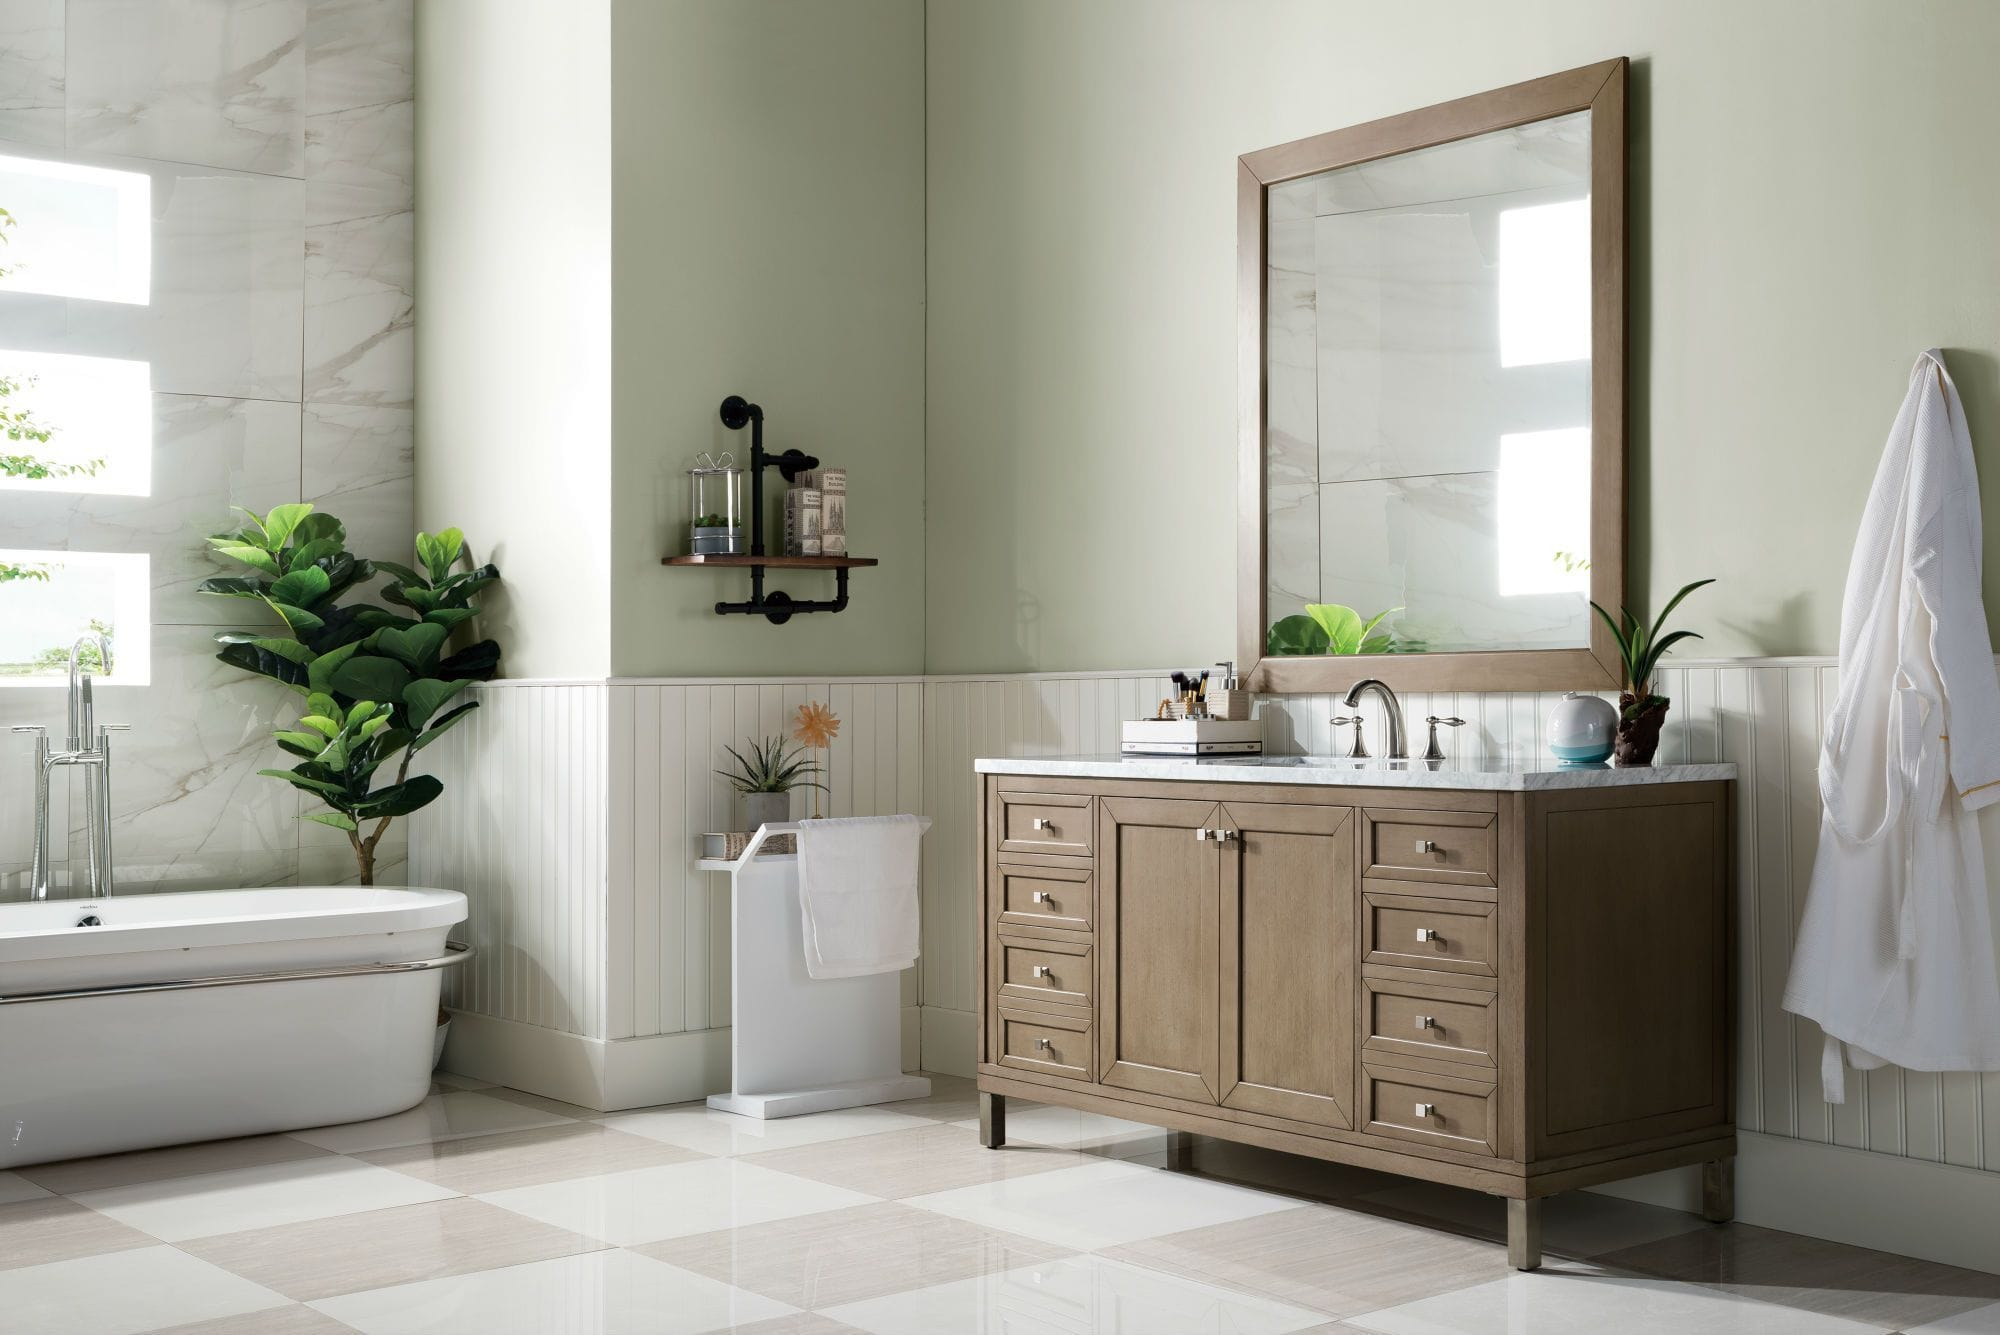
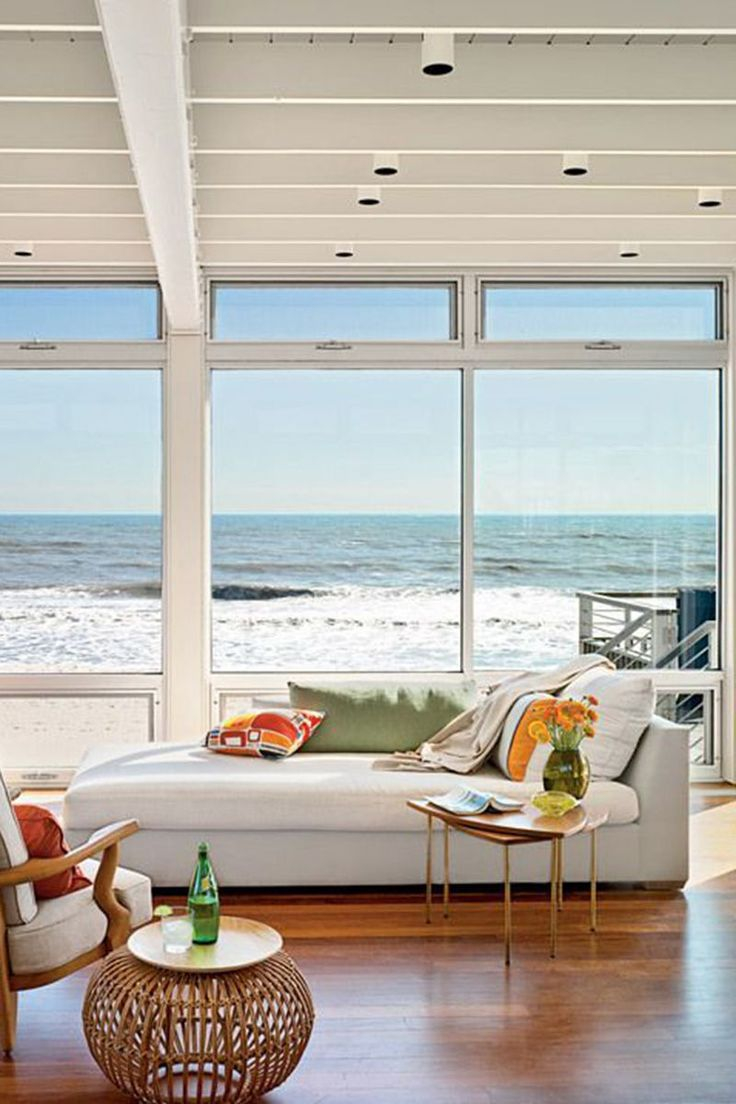
The Power of Light: Natural and Artificial
Light is an absolute game-changer for any studio. Natural light is often preferred, so position your primary workspace near windows if possible. However, direct sunlight can cause glare and fade materials, so consider sheer curtains or blinds to diffuse it. Artificial lighting is just as important. You’ll likely need a mix: general ambient lighting for overall visibility, task lighting for detailed work (think adjustable desk lamps), and perhaps accent lighting to highlight specific areas or artworks. For example, a photographer might need controlled lighting setups, while a jeweler needs bright task lighting for intricate work. Don’t underestimate the impact of warm vs. cool light; it can affect your mood and the perception of your work. Good lighting reduces eye strain and makes the space more inviting.
Storage Solutions: Taming the Clutter
Clutter is the enemy of creativity, plain and simple. Effective storage is key to a functional studio layout. Think vertically with shelves and wall-mounted units to maximize floor space. Mobile storage carts are fantastic for keeping tools and supplies accessible but out of the way. Labeling is your best friend here. Consider built-in storage if possible, or invest in modular systems that can adapt as your needs change. For example, an illustrator might use shallow drawers for pencils and markers, while a ceramicist might need sturdy shelving for clay and glazes. The goal is to have everything in its place, easy to find and put away, so you can focus on creating, not searching.
Ergonomics and Comfort: Working Smarter, Not Harder
Your studio should be a place where you can spend hours without discomfort. Ergonomics is crucial. This means setting up your workstation at the correct height, ensuring good posture support with your chair, and positioning your monitor or work surface to avoid strain. If you stand to work, consider an anti-fatigue mat. Think about the flow of movement – can you easily reach what you need without awkward twists or stretches? For a writer, this might mean an adjustable desk and a supportive chair. For a painter, it could be a comfortable stool and an easel that’s at the right height. A well-designed ergonomic setup not only prevents physical discomfort but also boosts your endurance and focus.
Flexibility and Personalization: Making it Yours
The best studio layout is one that can adapt. Consider furniture on wheels or modular pieces that can be reconfigured as your projects or needs evolve. Don’t be afraid to inject your personality into the space. Add plants, inspiring artwork, or comfortable seating. Personal touches make the studio feel welcoming and can significantly boost your mood and motivation. Maybe you have a whiteboard for brainstorming, a pinboard for visual inspiration, or a small area for coffee breaks. The most effective layouts are those that are not only functional but also feel like genuine extensions of the creator. It’s your sanctuary, after all.
Designing a studio layout that works for you is an ongoing process, not a one-time event. It’s about understanding your unique creative rhythm and creating a physical environment that supports it. By thoughtfully zoning your space, optimizing lighting, implementing smart storage, prioritizing ergonomics, and infusing your personal style, you can transform any room into a powerful engine for your creativity. So, take another look at your space. What small change can you make today to bring you closer to your ideal studio? Remember, the goal is to make your studio a place you want to be, a space where your best work can truly flourish.