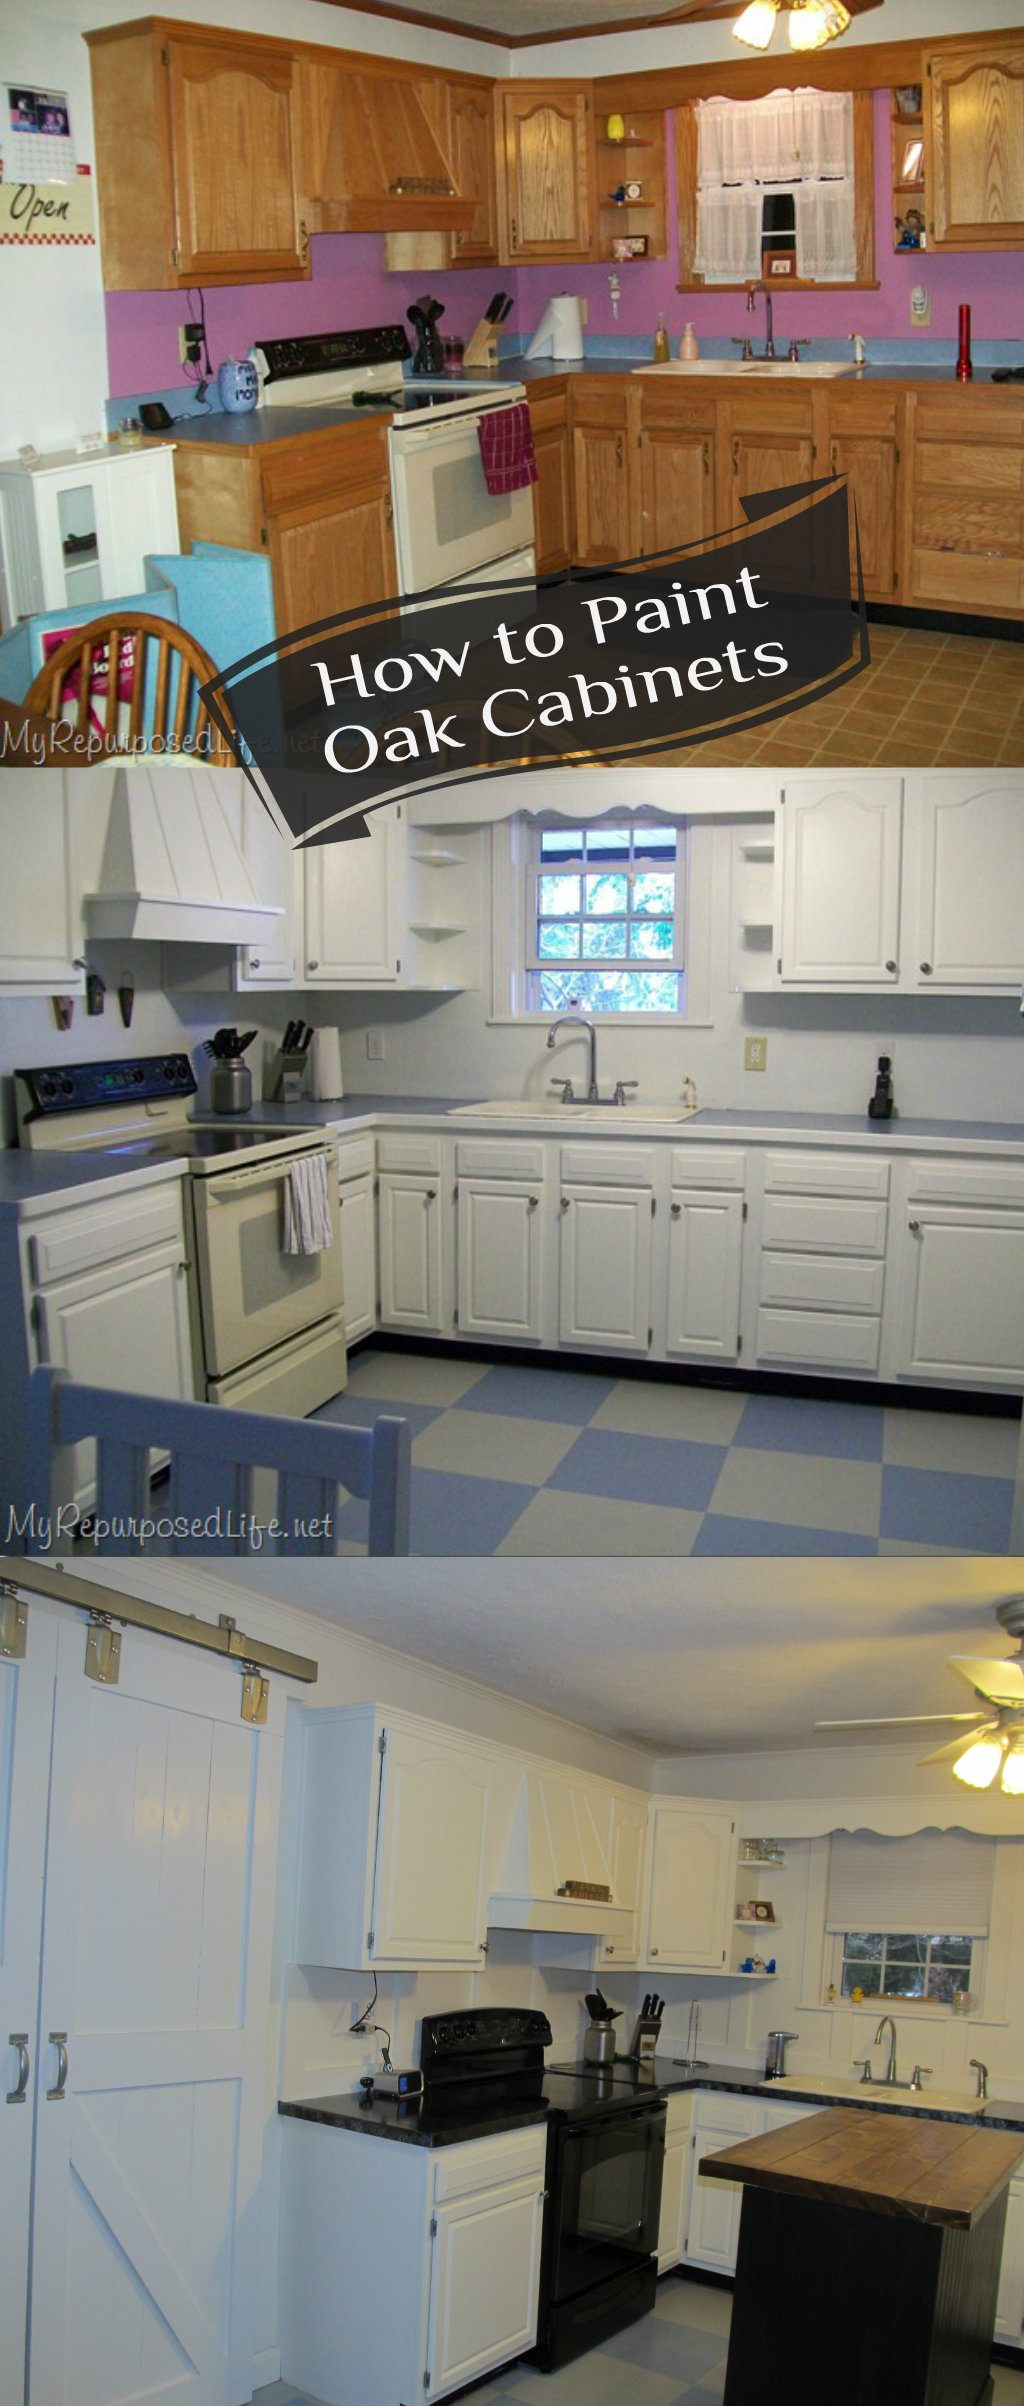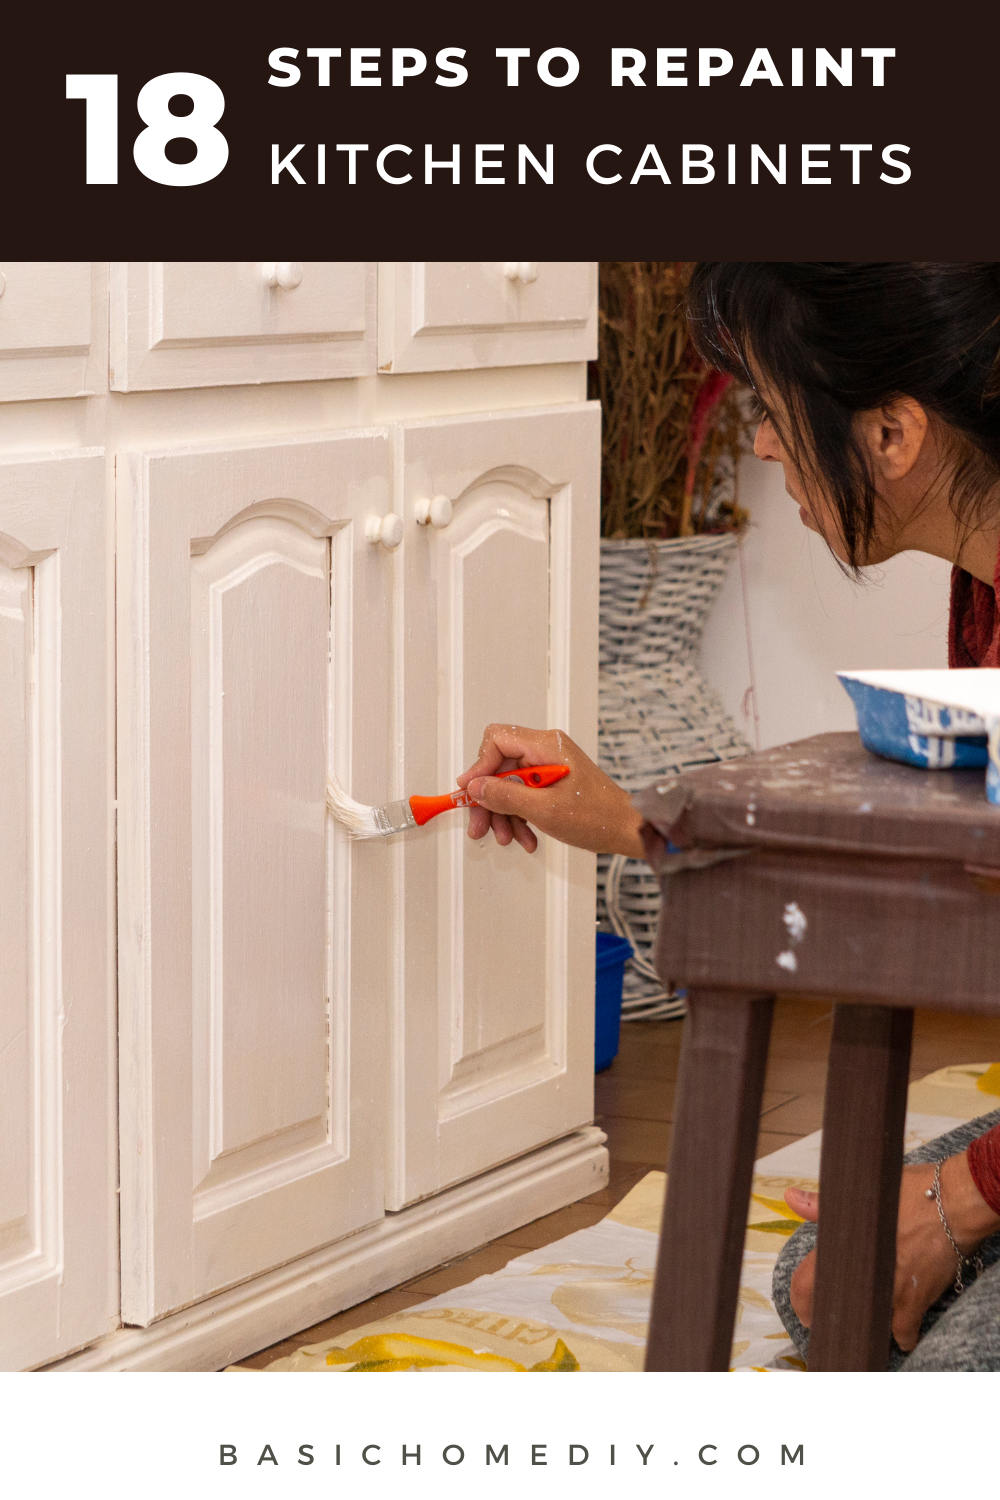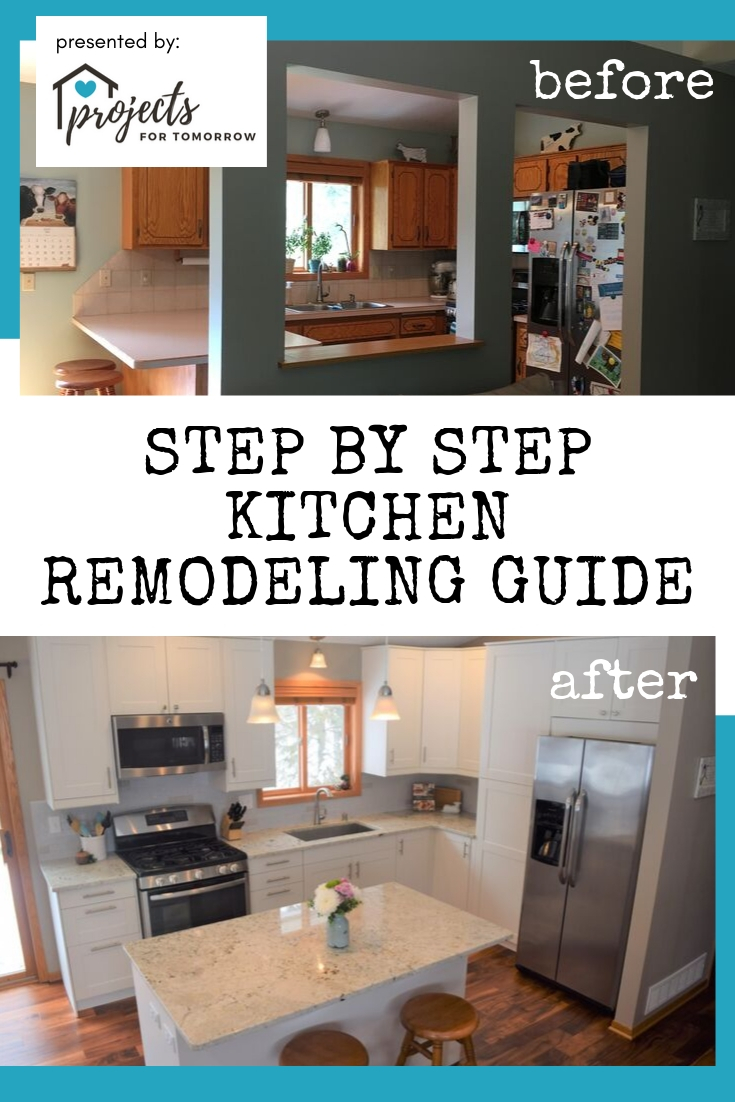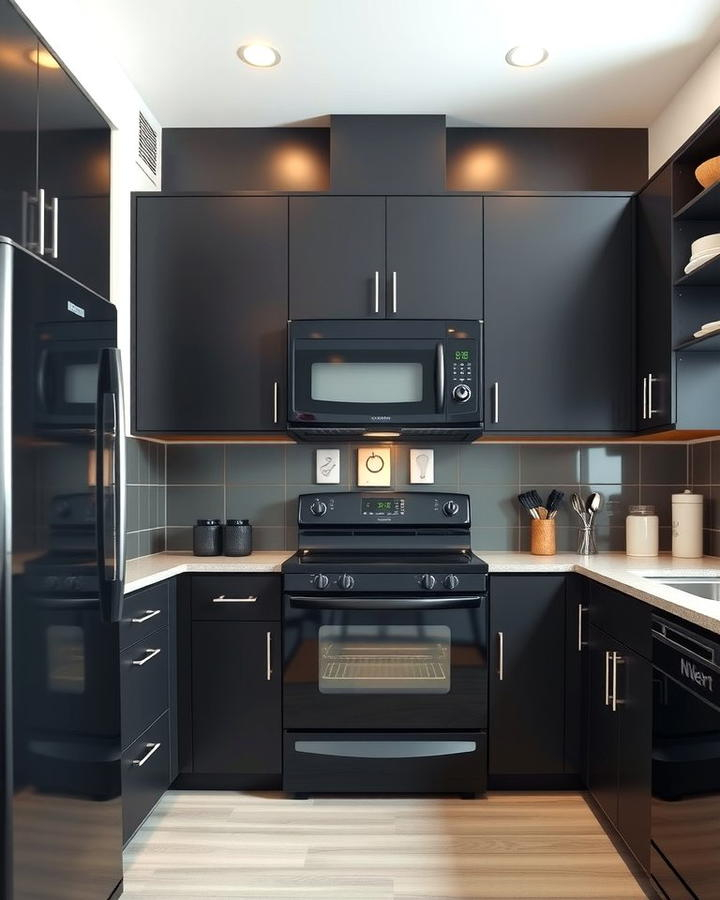

Ever feel like your kitchen is looking a little… tired? You know, the cabinets are still perfectly functional, but the color or finish just isn’t singing anymore. It’s a common feeling! The good news is, you don’t need a full renovation to make a dramatic difference. Cabinet painting is one of the most impactful and cost-effective ways to completely revitalize your kitchen. But how do you get that smooth, factory-like finish that looks truly professional, not just like a DIY job? Let’s dive in.
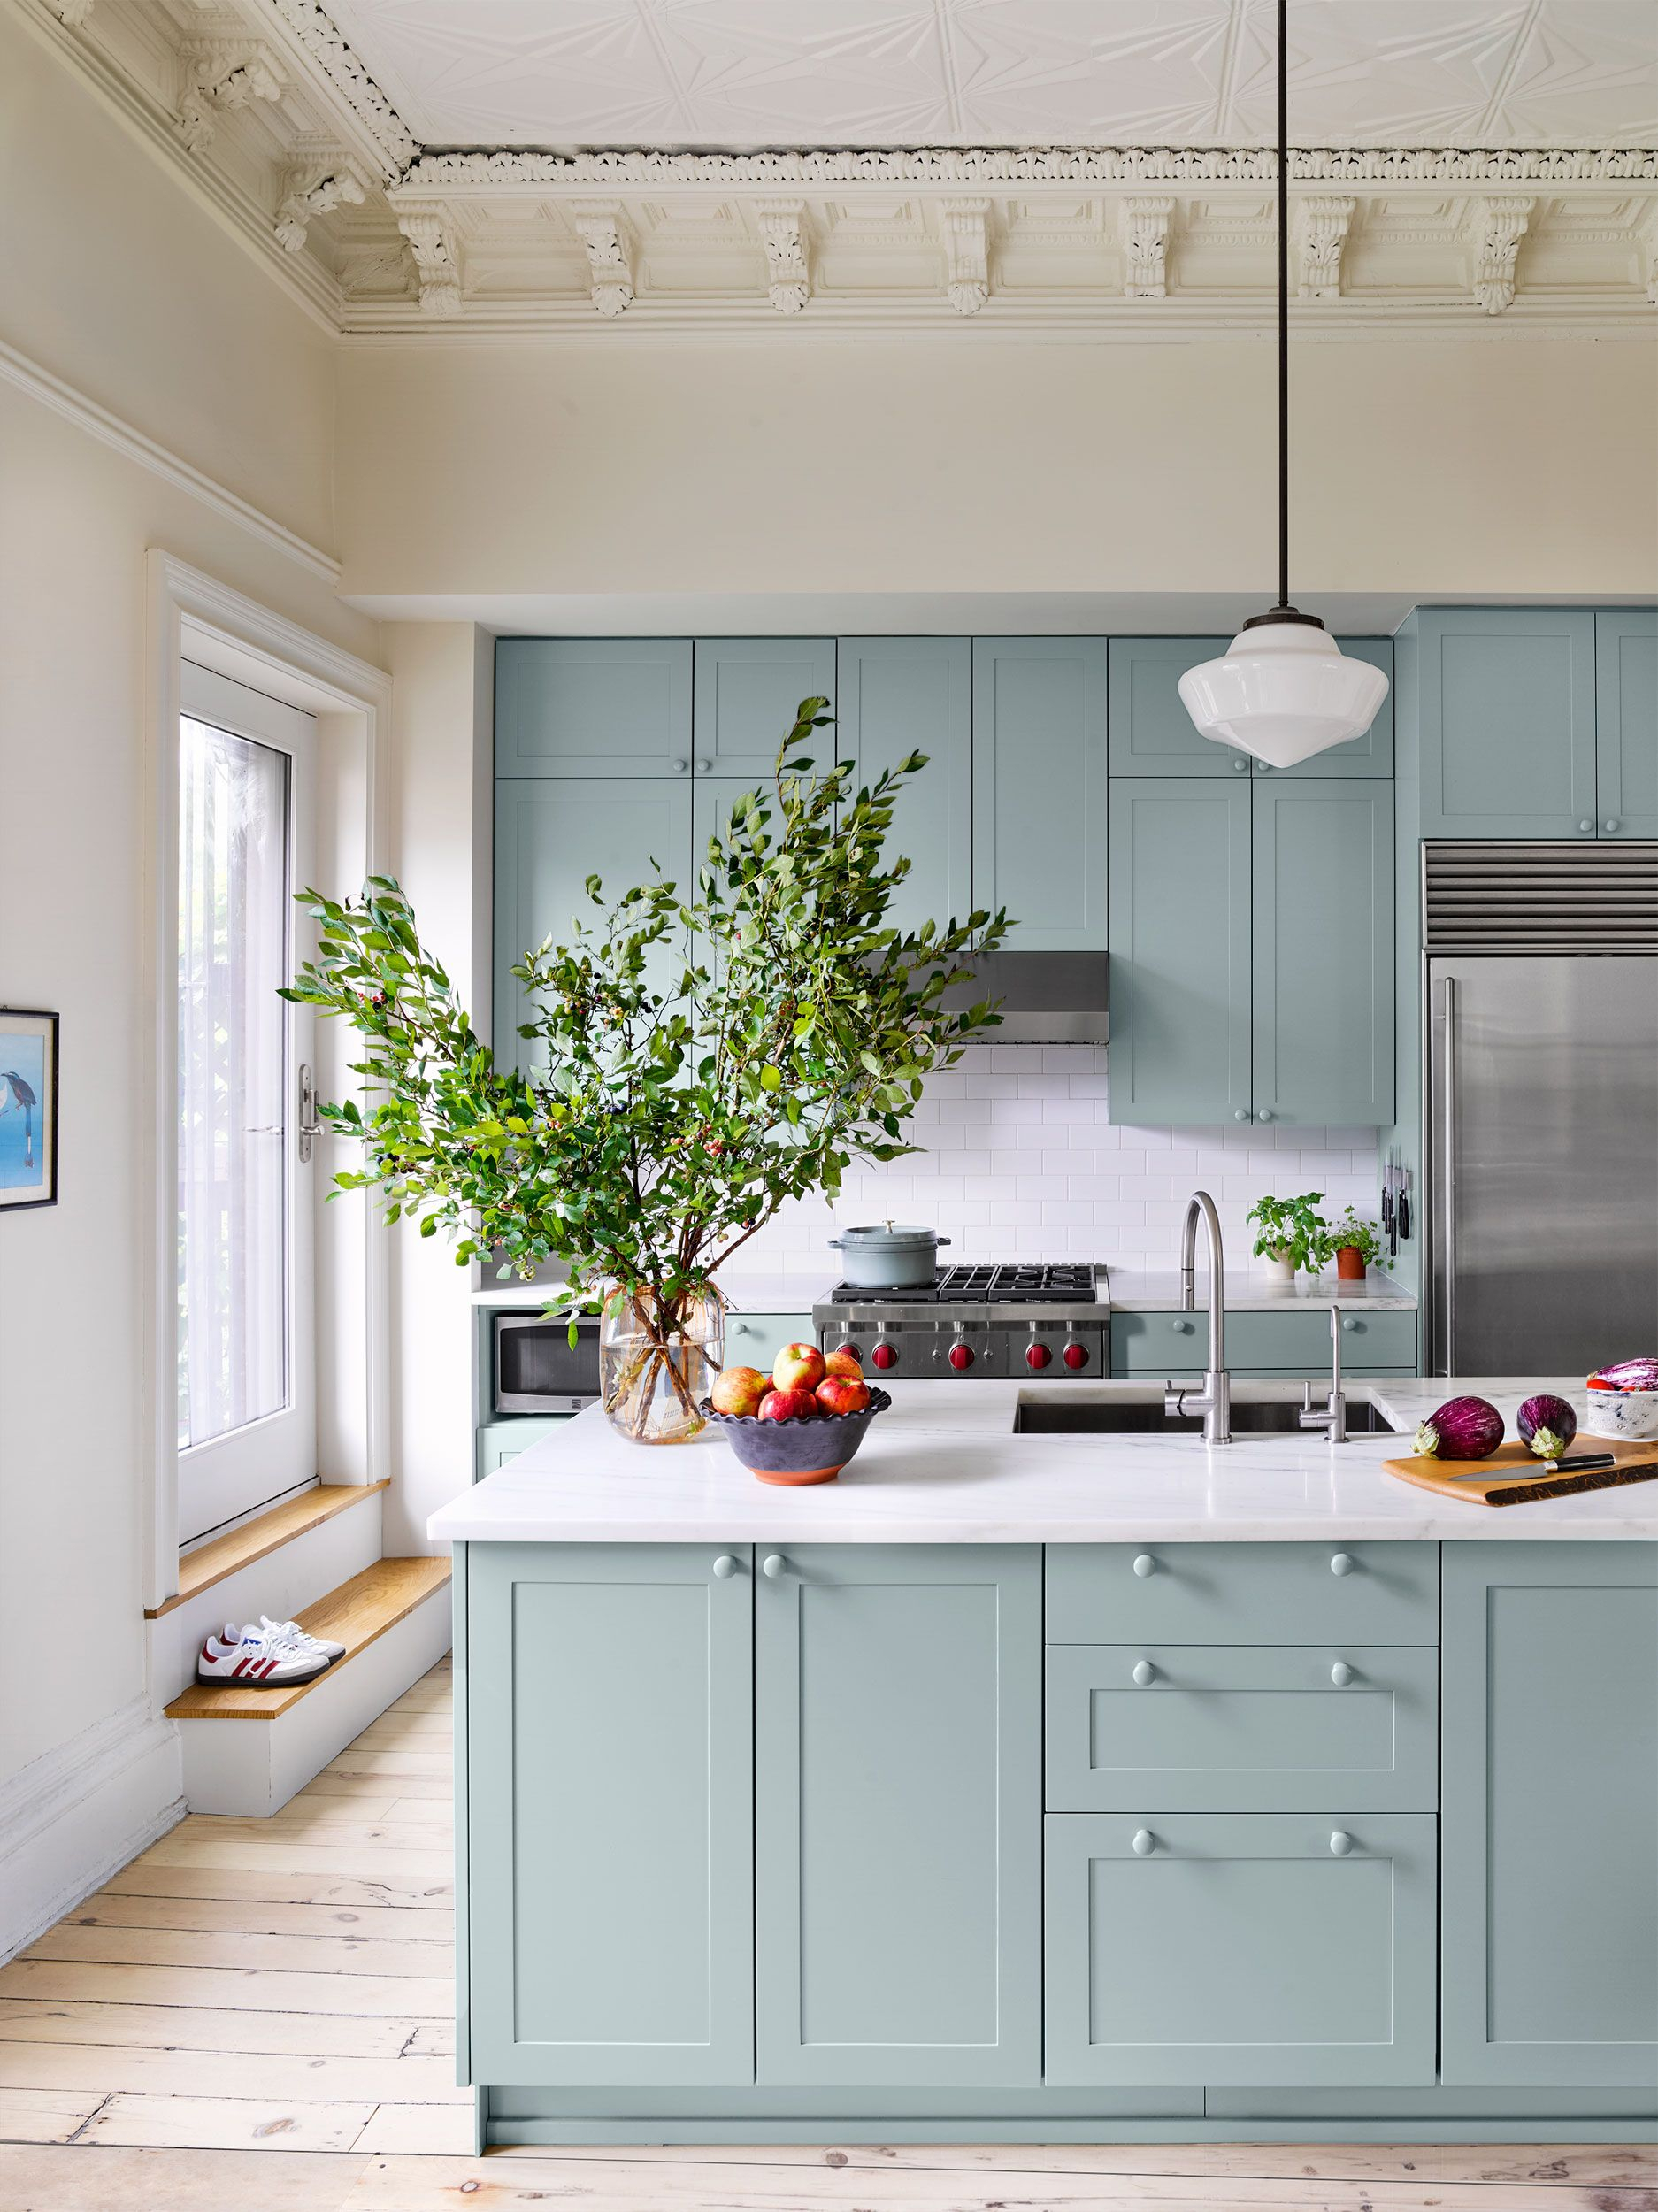
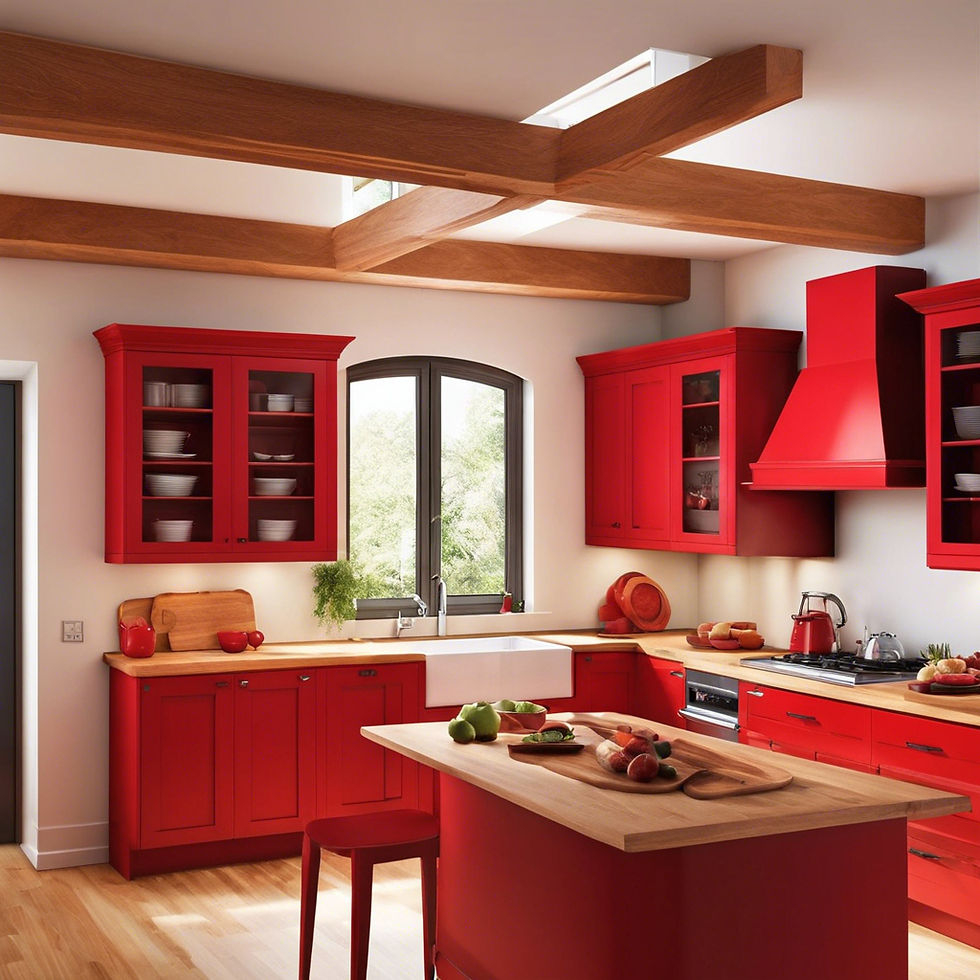
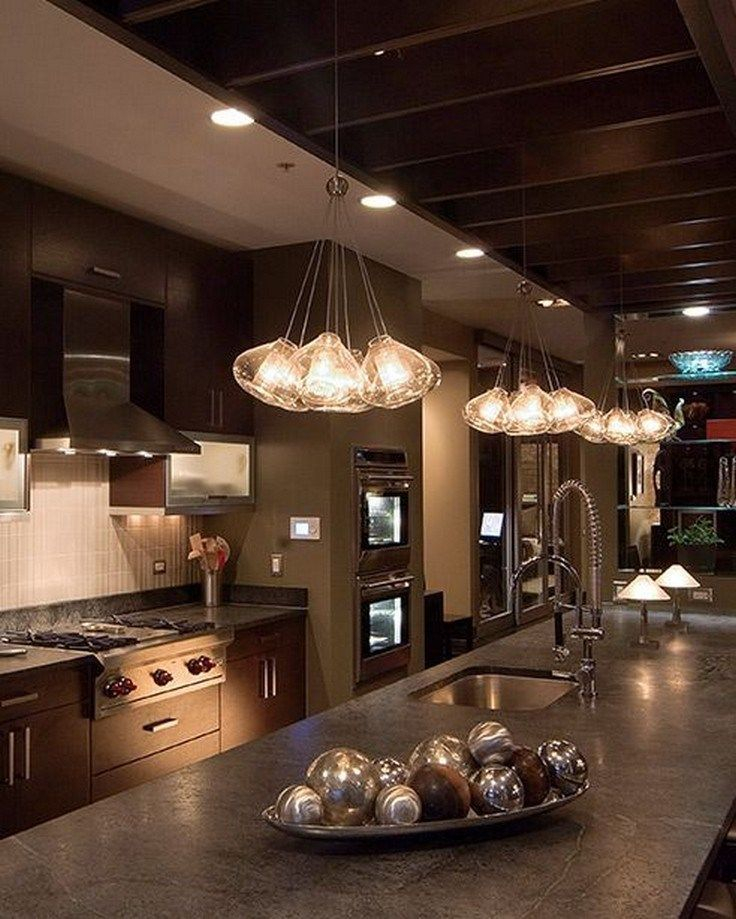
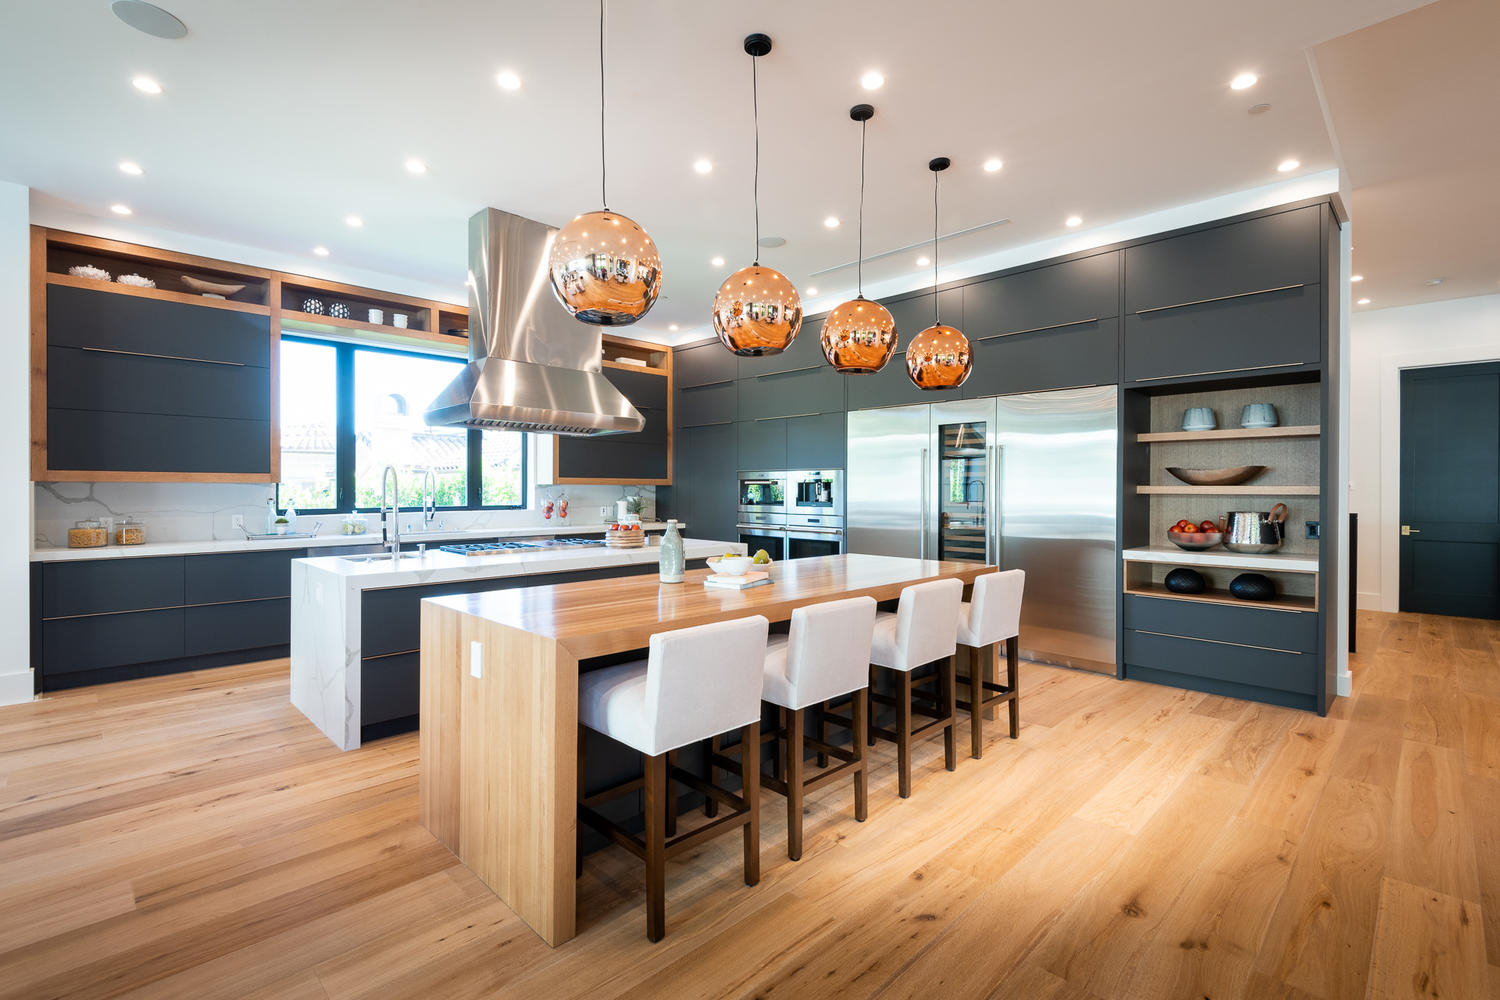
Painting kitchen cabinets is a fantastic way to update your home without the hefty price tag of replacement. It allows you to personalize your space, match current design trends, or simply refresh dated cabinetry. Think about it: cabinets take up a huge visual real estate in your kitchen. Changing their appearance can completely alter the mood and style of the entire room. From a dramatic dark hue to a bright, airy white, the possibilities are nearly endless. Plus, with the right preparation and techniques, you can achieve a durable, beautiful finish that will last for years. It’s about more than just a coat of paint; it’s a strategic upgrade for your home. Ready to see how it’s done?
The Essential Preparation: This is Where the Magic Happens
Seriously, don’t skip this part. The most crucial steps for a professional paint job are all about preparation. Rushing this stage is a sure way to end up with chipping paint and an uneven finish. Let’s break it down:
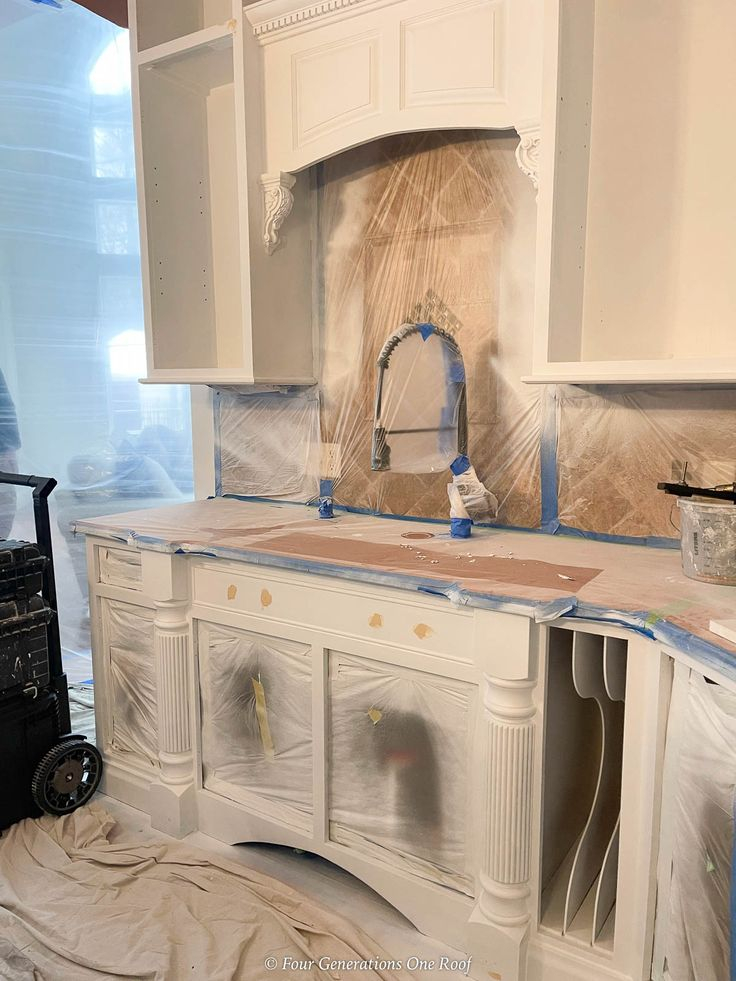
- Declutter and Empty: First things first, take everything out of your cabinets and drawers. This gives you clear access and prevents accidental spills.
- Cleanliness is Key (Really!): You need to get rid of all grease, grime, and residues. Kitchen cabinets, especially around the stovetop, accumulate a lot of build-up. A good degreaser is your best friend here. TSP (trisodium phosphate) substitute or a strong sugar soap solution works wonders. Wipe down every surface thoroughly, and then rinse with clean water and let them dry completely.
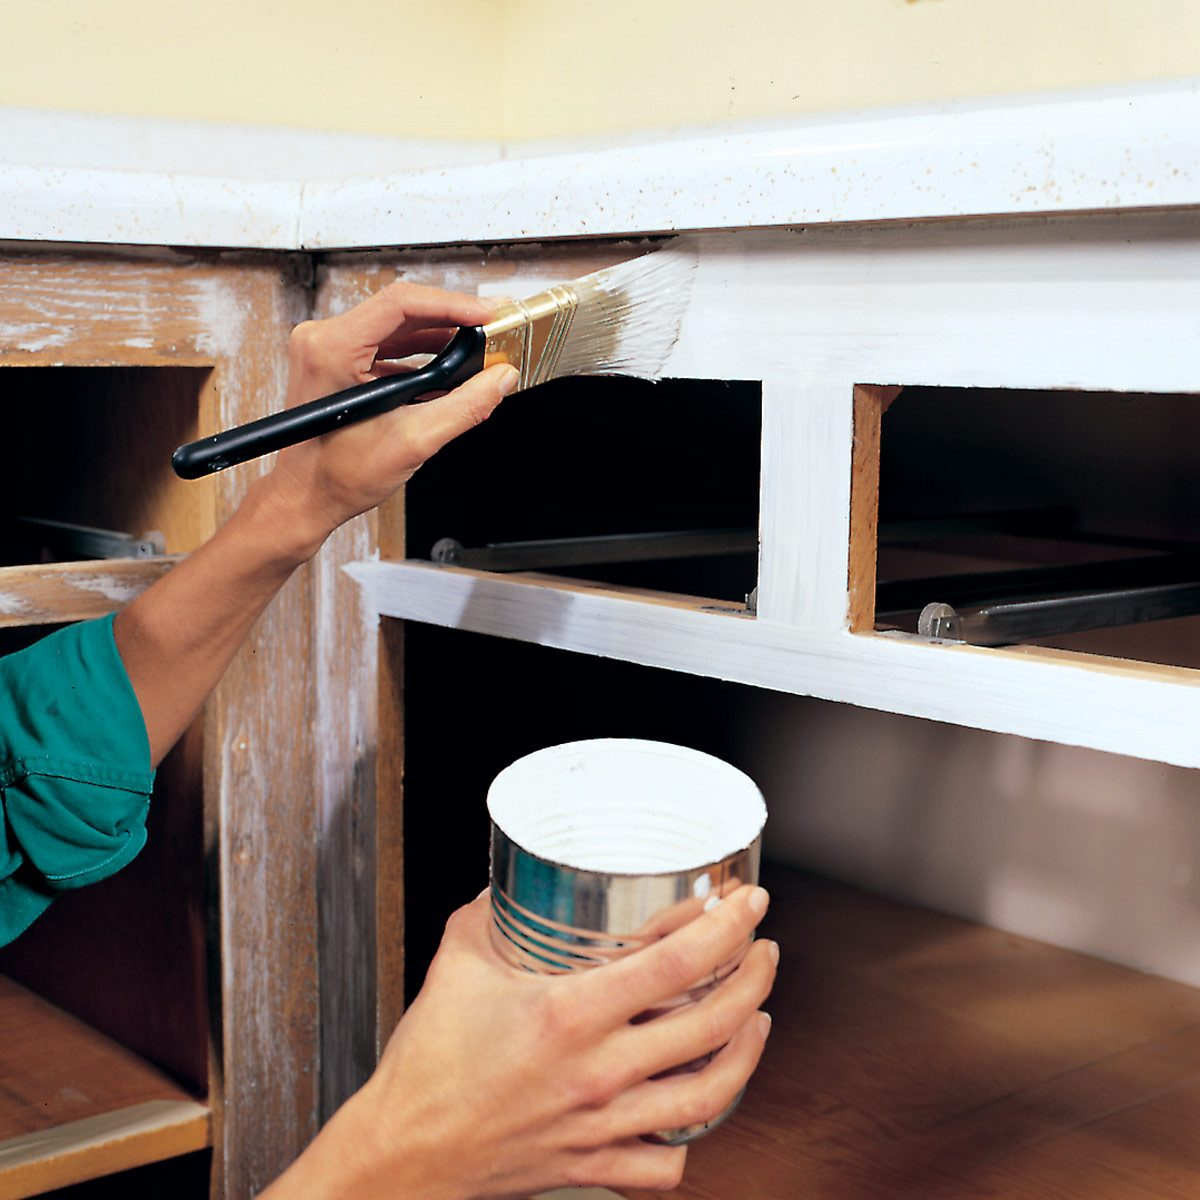
- Hardware Removal: Unscrew all hinges, handles, and knobs. It’s much easier to paint the cabinets without them, and you’ll get a much cleaner edge around where they were.
- Sanding for Success: You need a slightly roughed-up surface for the primer and paint to adhere to properly. Use a fine-grit sandpaper (around 150-220 grit). You’re not trying to strip the old finish, just scuff it up a bit. A sanding block or an orbital sander can make this go faster. After sanding, wipe everything down with a tack cloth or a damp microfiber cloth to remove all the dust. Dust is the enemy of a smooth finish.
- Repair Imperfections: Fill any dings, dents, or holes with wood filler. Let it dry, then sand it smooth. You want a flawless surface before you even think about primer.
Priming: The Foundation for a Flawless Finish
Primer isn’t just an optional step; it’s essential, especially if you’re painting over a dark color or a slick, glossy finish. Think of it as the glue that holds your paint job together and ensures even color.
- Choosing the Right Primer: For kitchen cabinets, you’ll want a high-quality bonding primer. These are designed to stick to various surfaces, including laminate and previously finished wood. Look for primers specifically formulated for cabinets or high-traffic areas. A good quality oil-based or shellac-based primer offers excellent adhesion and stain-blocking properties, which can be beneficial if you have wood that might bleed through.
- Application: Apply one to two thin, even coats of primer. Don’t try to get full coverage in one thick layer; this often leads to drips and an uneven texture. Use a high-quality synthetic brush for corners and edges, and a foam roller or a high-density mini roller for the flat surfaces. Allow each coat to dry completely according to the manufacturer’s instructions before applying the next or moving on to paint. Lightly sanding with a very fine grit sandpaper (220-320) between coats of primer and then wiping with a tack cloth can further improve adhesion and smoothness.
The Art of Painting: Achieving That Pro Look
Now for the fun part. The type of paint you choose and how you apply it will make a huge difference.
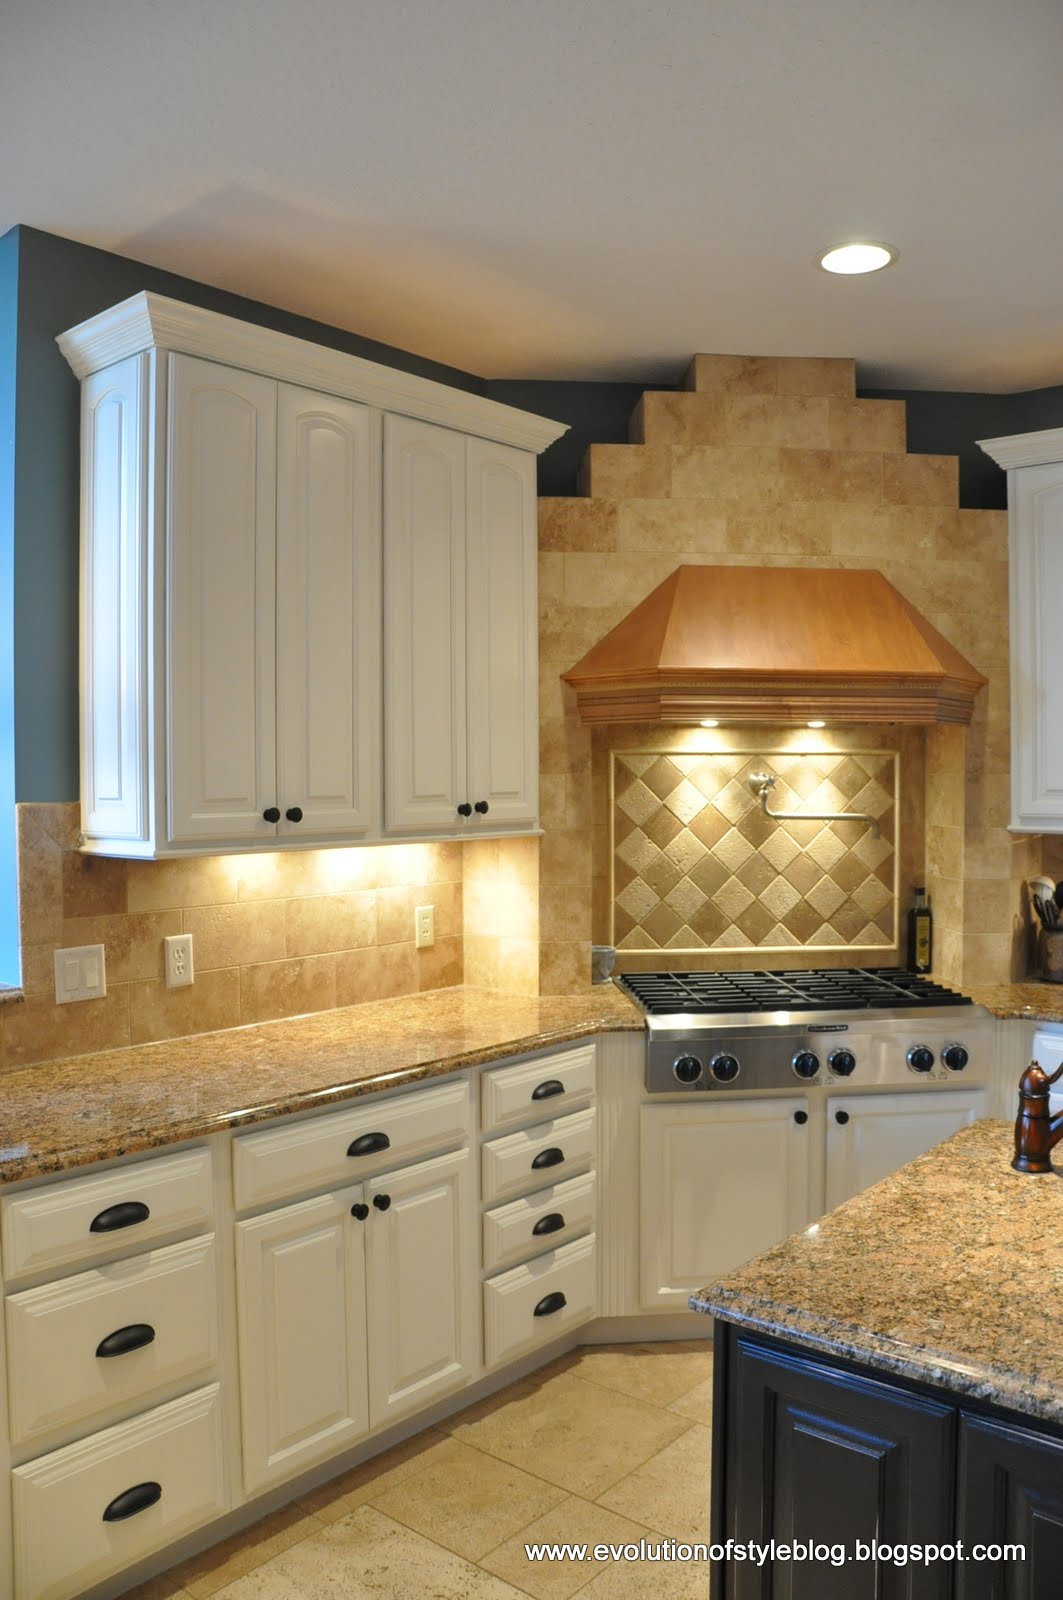
- Paint Selection Matters: For cabinets, you want a durable, hard-wearing paint. Alkyd (oil-based) paints offer excellent durability and a smooth finish, but they can be tricky to clean up and tend to yellow over time. Water-based acrylic enamels or hybrid paints are often the best choice for DIYers. They offer good durability, low VOCs, and easy soap-and-water cleanup. Look for paints labeled ‘cabinet enamel’ or ‘furniture paint.’ A satin or semi-gloss finish is usually recommended for kitchens, as it’s easier to clean than a matte finish and more forgiving than a high gloss.
- Application Techniques:
- Spraying: This is how professionals achieve that ultra-smooth, factory finish. If you have access to a paint sprayer (like an HVLP sprayer), this is the ideal method. It requires practice and a good ventilation setup, but the results are unparalleled. You’ll need to thin the paint according to the sprayer manufacturer’s recommendations.
- Rolling and Brushing: If spraying isn’t an option, you can still get great results. Use a high-density foam roller (specifically for smooth finishes) for the large, flat areas. For the details, like the edges and corners, use a good quality synthetic angled paintbrush. The key here is thin, even coats. Work in the direction of the wood grain.
- Multiple Thin Coats: Just like with primer, avoid thick coats. Apply two to three thin, even coats of your chosen paint. Allow adequate drying time between coats – this is crucial for proper curing and durability. Check the paint can for recommended drying times, but often it’s best to wait at least 4-6 hours, or even overnight, between coats.
- Sanding Between Coats (Optional but Recommended): For an even smoother finish, you can very lightly sand between paint coats with a 320-400 grit sandpaper or a sanding sponge. This knocks down any tiny imperfections or dust nibs. Always wipe with a tack cloth afterward.
The Curing Process: Patience is a Virtue
This is another step many people overlook. Paint needs time to fully cure, not just dry to the touch. Curing is the process where the paint hardens and reaches its maximum durability.
- Drying vs. Curing: Your cabinets might feel dry within a few hours, and you might be able to reattach hardware. However, the paint is still vulnerable. Full curing can take anywhere from 7 to 30 days, depending on the type of paint and humidity levels.
- Protect Your Finish: During the curing period, be gentle with your cabinets. Avoid slamming doors, wiping them aggressively, or placing heavy items against them. You want to protect that beautiful new finish while it’s still hardening.
Reassembly and Finishing Touches
Once your cabinets have had ample time to dry (and ideally, start to cure a bit), it’s time to put everything back together.
- Reattaching Hardware: Carefully reattach your hinges, handles, and knobs. If you’re updating your hardware, now is the perfect time to install the new pieces. Ensure you’re using the correct screws to avoid damaging the cabinet finish.
- Admire Your Work!: Step back and take in the transformation. You’ve just given your kitchen a major facelift with your own two hands. It’s incredibly satisfying to see the before and after.
Pro Tip: If you removed the cabinet doors and drawers, consider laying them flat on a protected surface (like drop cloths or old blankets) to dry and cure. This helps prevent drips and sags.
Troubleshooting Common Cabinet Painting Issues
Even with the best intentions, sometimes things don’t go perfectly. Here are a few common hiccups and how to fix them:
- Brush Strokes/Roller Marks: If you’re seeing prominent marks, you might have applied the paint too thickly, used the wrong type of roller/brush, or not allowed enough drying time between coats. For minor marks, you can try a very light sanding with ultra-fine sandpaper (400 grit or higher) and then apply another very thin coat. Using high-density foam rollers and quality synthetic brushes can minimize this.
- Peeling or Chipping: This almost always points back to inadequate preparation. If the paint is peeling, it means it didn’t adhere properly. You’ll need to scrape away the loose paint, sand the area smooth, re-prime, and repaint. Ensure you’ve cleaned and sanded thoroughly, and used a good bonding primer.
- Drips and Runs: These happen when paint is applied too thickly or unevenly. If the paint is still wet, you can often gently smooth it out with your brush. If it’s dry, you’ll need to let it cure completely, then carefully sand down the drip until it’s flush with the surface, wipe clean, and reapply a thin coat of paint.
- Uneven Color: This usually means you haven’t applied enough coats or the coats were too thin and inconsistent. Ensure you’re applying even, full coverage with each coat, and don’t be afraid to apply a third coat if needed for a uniform look. Always allow proper drying time between coats.
Painting your kitchen cabinets might seem like a daunting task, but by following these pro techniques, you can achieve a stunning, durable finish that rivals professional work. Remember, the key lies in meticulous preparation, using the right materials, and applying paint in thin, even coats. It’s a project that demands patience and attention to detail, but the reward – a beautifully transformed kitchen – is absolutely worth the effort. So, gather your supplies, set aside some time, and get ready to fall in love with your kitchen all over again. Happy painting!