Every weekend warrior and full-timer knows the frustration of looking at their cramped, worn-out camper interior. The same old cabinets, tired paint, and outdated fixtures can make even the most beautiful rig feel like a prison. But what if we told you that transforming your camper’s interior doesn’t require a fortune or professional help? What if we showed you how to breathe new life into your mobile home with simple, effective DIY solutions that actually deliver results?
Let’s face it – campers get used. A lot. The constant travel, the weather exposure, the daily wear and tear all take their toll on those precious interior spaces. You’ve probably seen that perfect campervan on Instagram, its walls gleaming with fresh paint and new finishes, but then you look at your own space and wonder if it’s even worth the effort. The truth is, most people give up too soon, thinking that big transformations are reserved for expensive professionals or those with unlimited time. That’s just not true. We’re talking about real people who’ve done this before, and they’ve discovered that small changes can make a huge difference. These aren’t just pretty pictures – these are practical solutions that work in real situations.
The Foundation: Start With a Plan
Before you even think about grabbing a paintbrush, you need to know what you want to accomplish. Not every project needs a complete overhaul, and sometimes a few smart choices can do more than a full renovation. Think about your typical camping trips. Do you mostly use the kitchen area? Is the sleeping space where you spend most of your time? Understanding how you use your space helps determine where to focus your efforts. For example, if you’re constantly cooking meals, maybe updating your countertop isn’t just nice – it’s essential.
When planning, consider the budget, timeline, and your skill level. Don’t try to tackle everything at once. Start with one small area, like the bathroom or a single cabinet, and build from there. Sometimes, the biggest impact comes from the simplest changes. A fresh coat of paint on one wall can instantly transform the entire feeling of a room. Don’t overlook the power of lighting either. Adding some LED strips or a new fixture can completely change how your space feels. The key is to prioritize the elements that will give you the most return on investment. You’ll find that people often spend weeks planning and months waiting to start, when really, the best approach is to begin with small wins that build momentum.
Painting Magic: Fresh Colors That Work
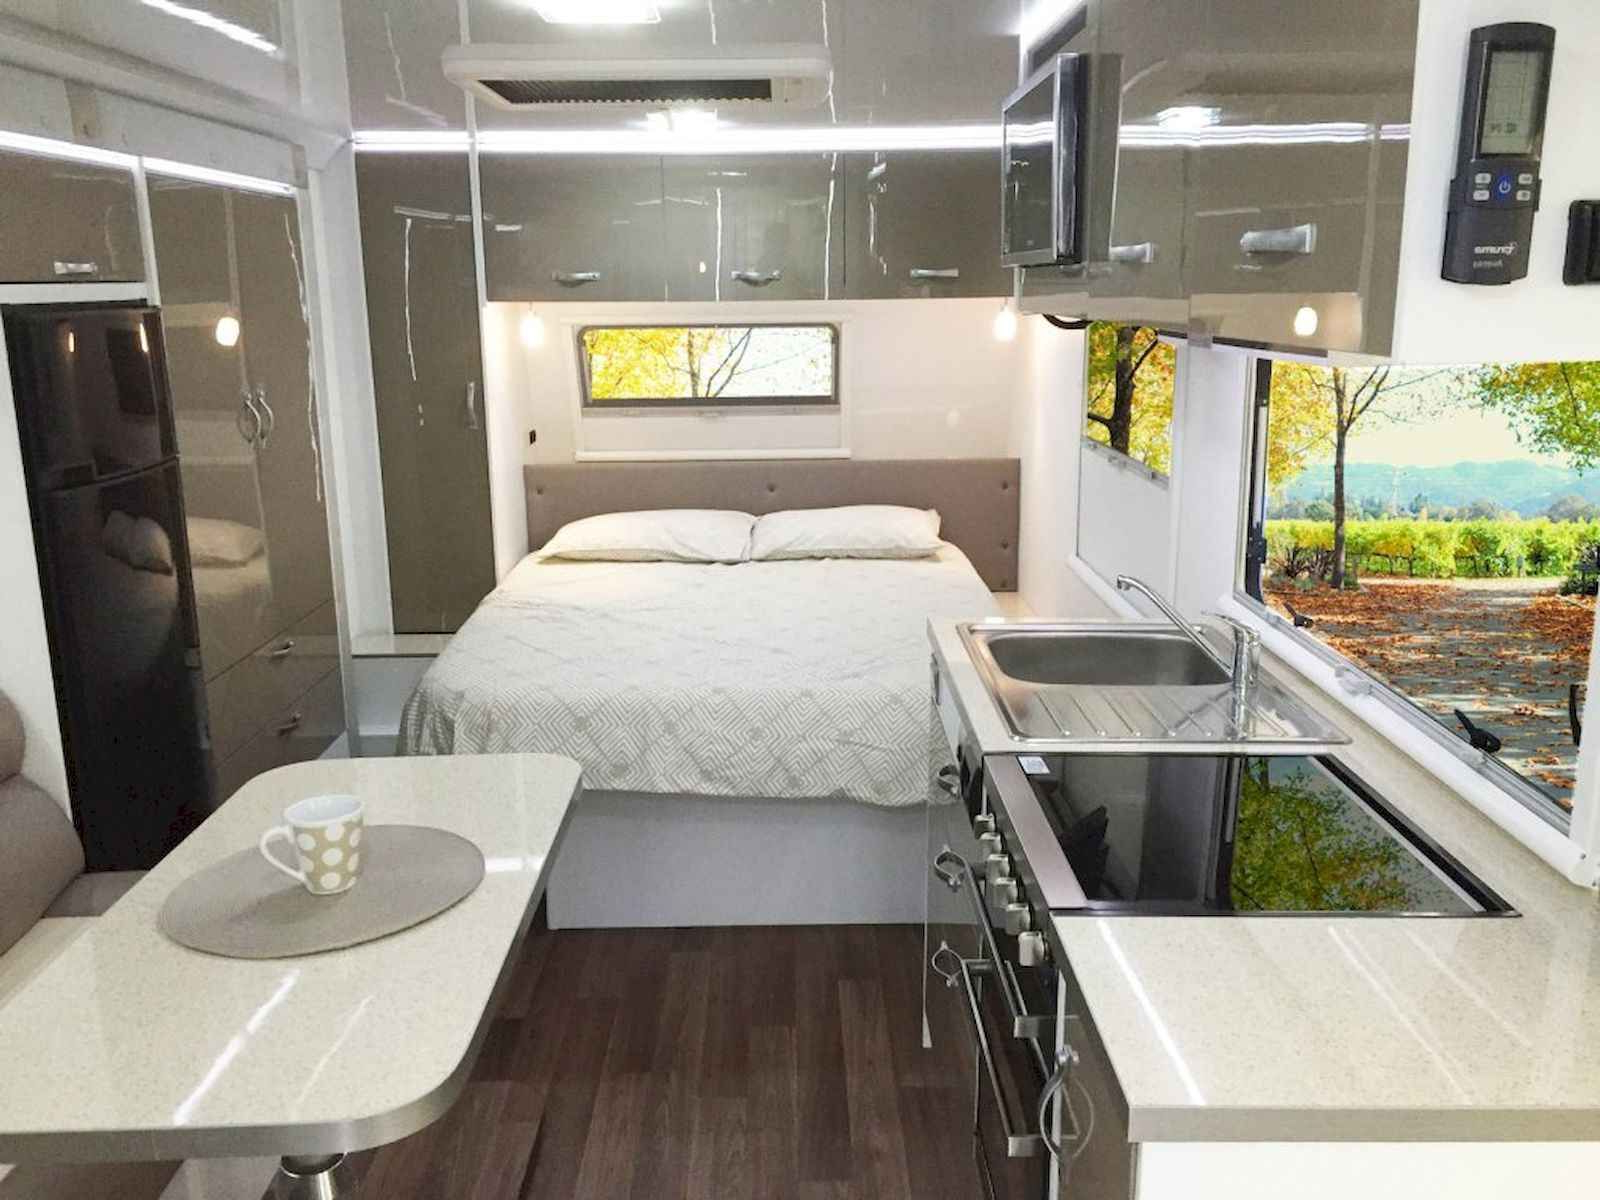
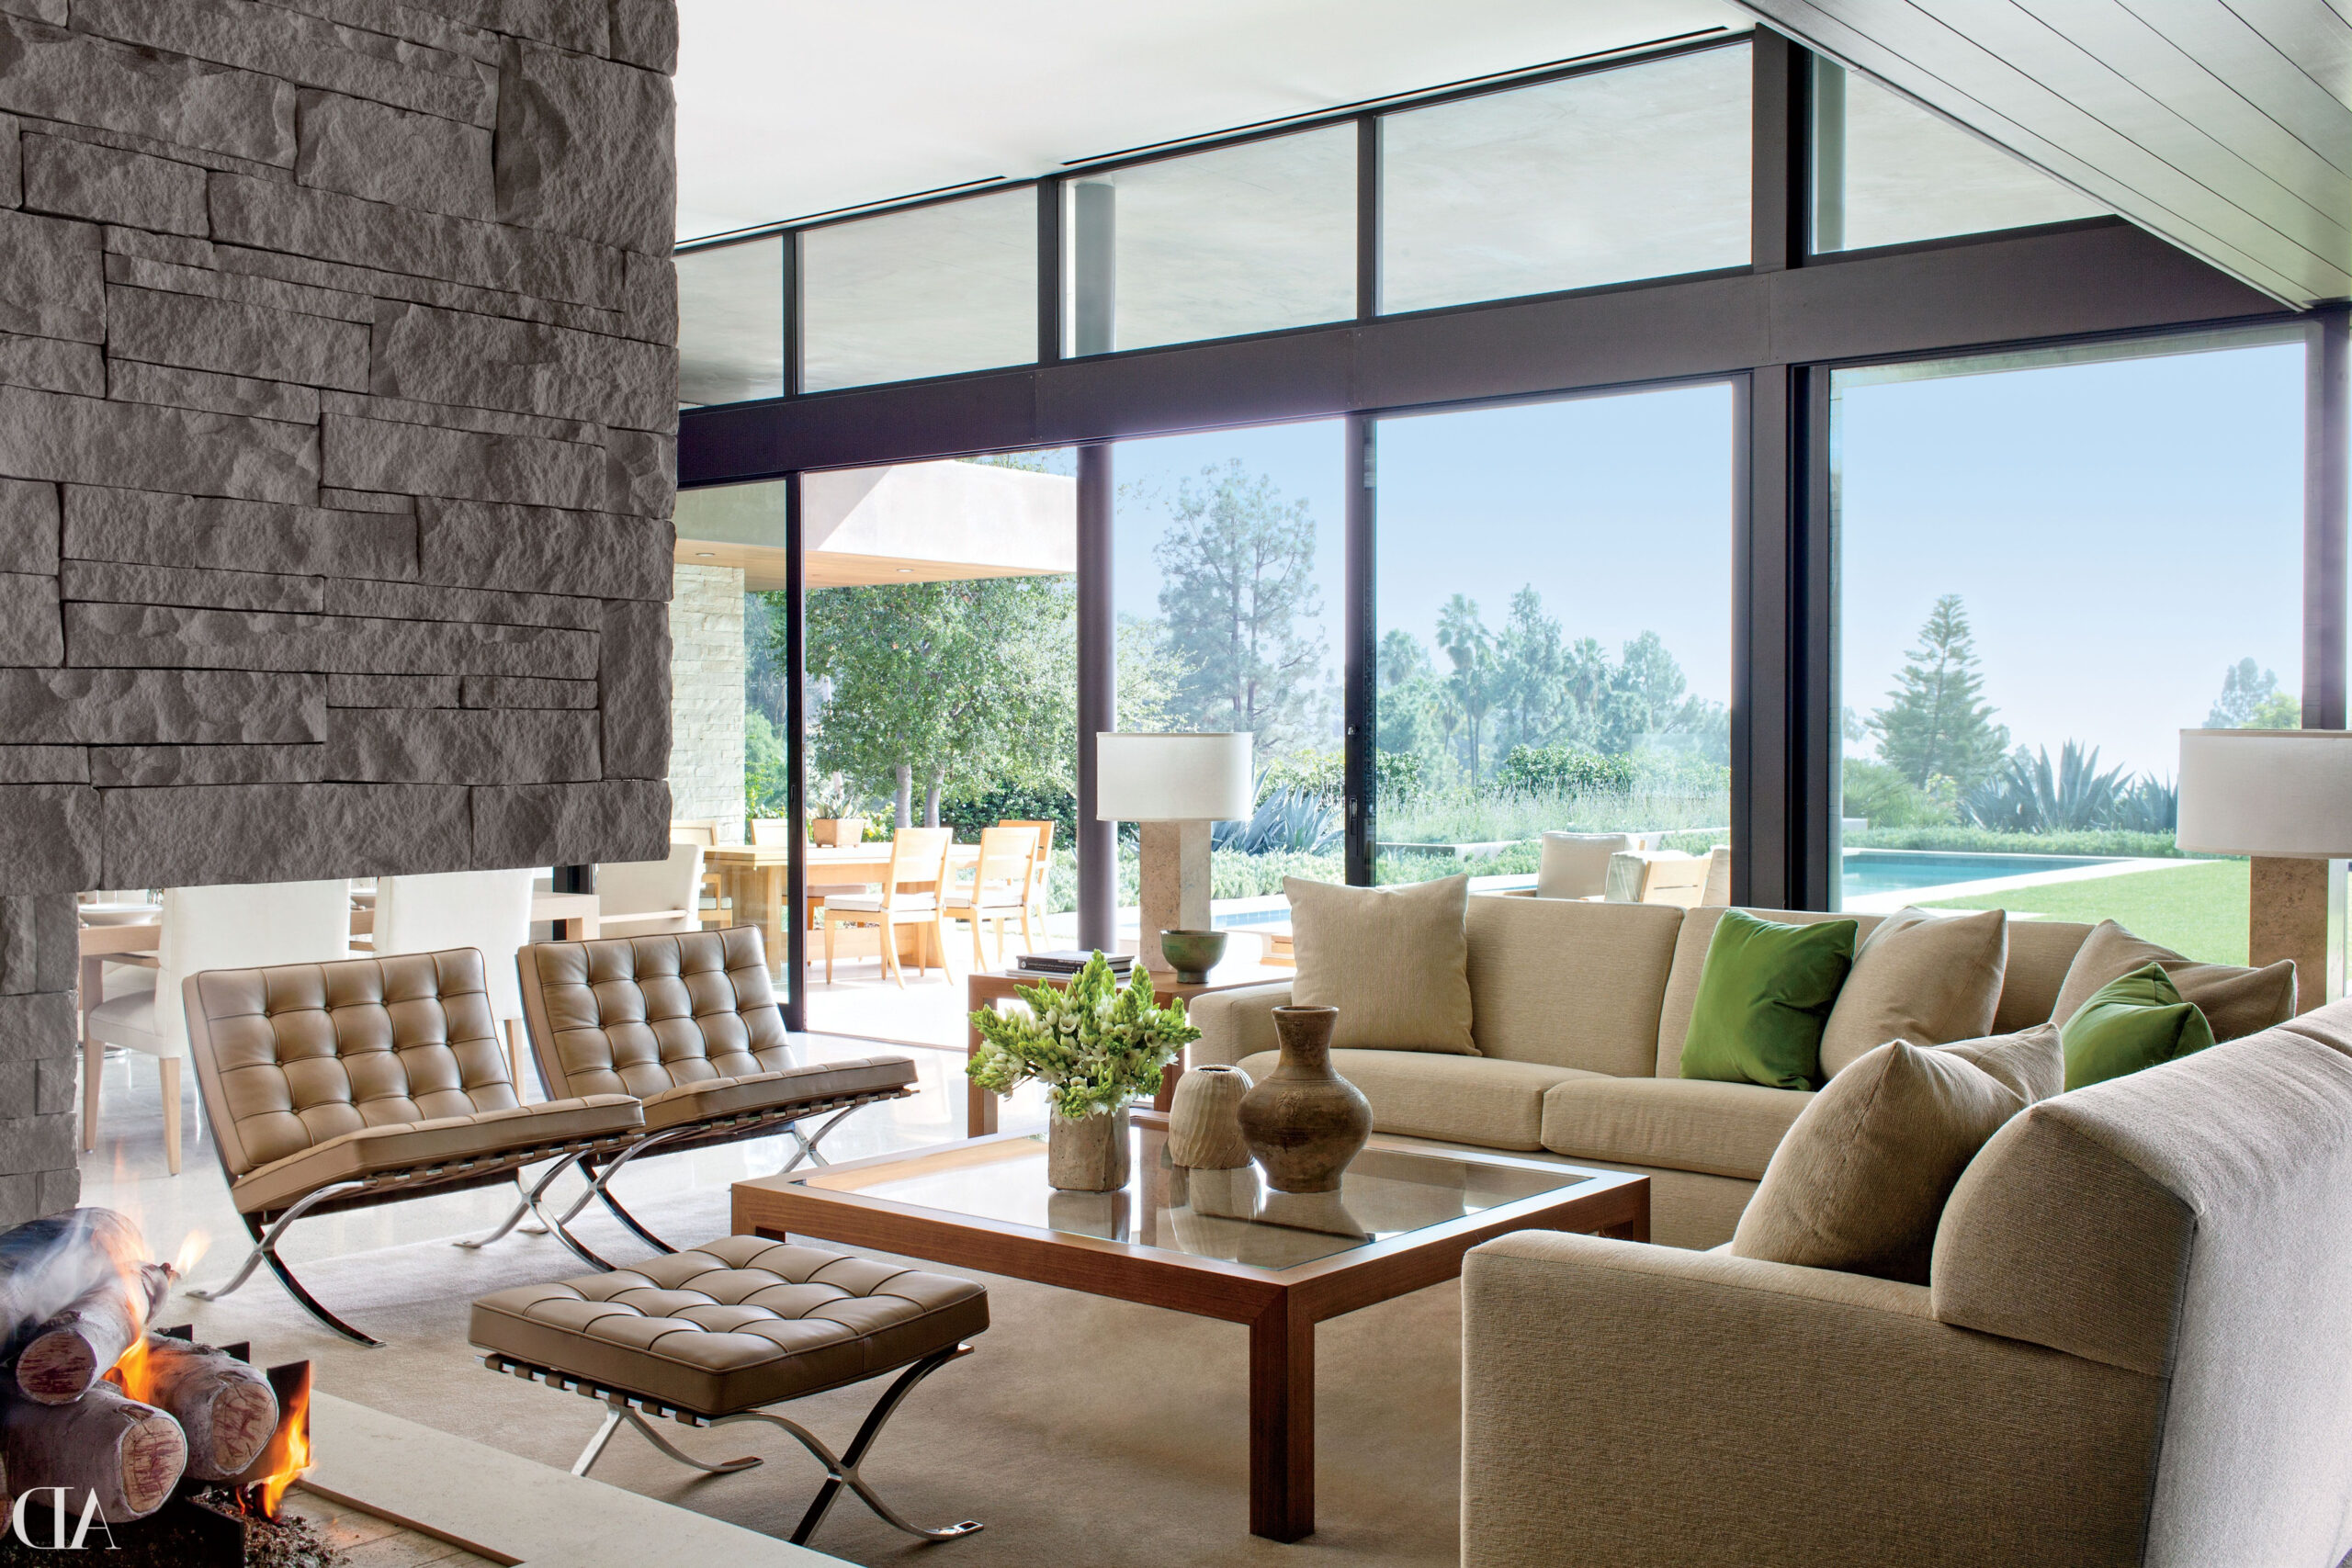
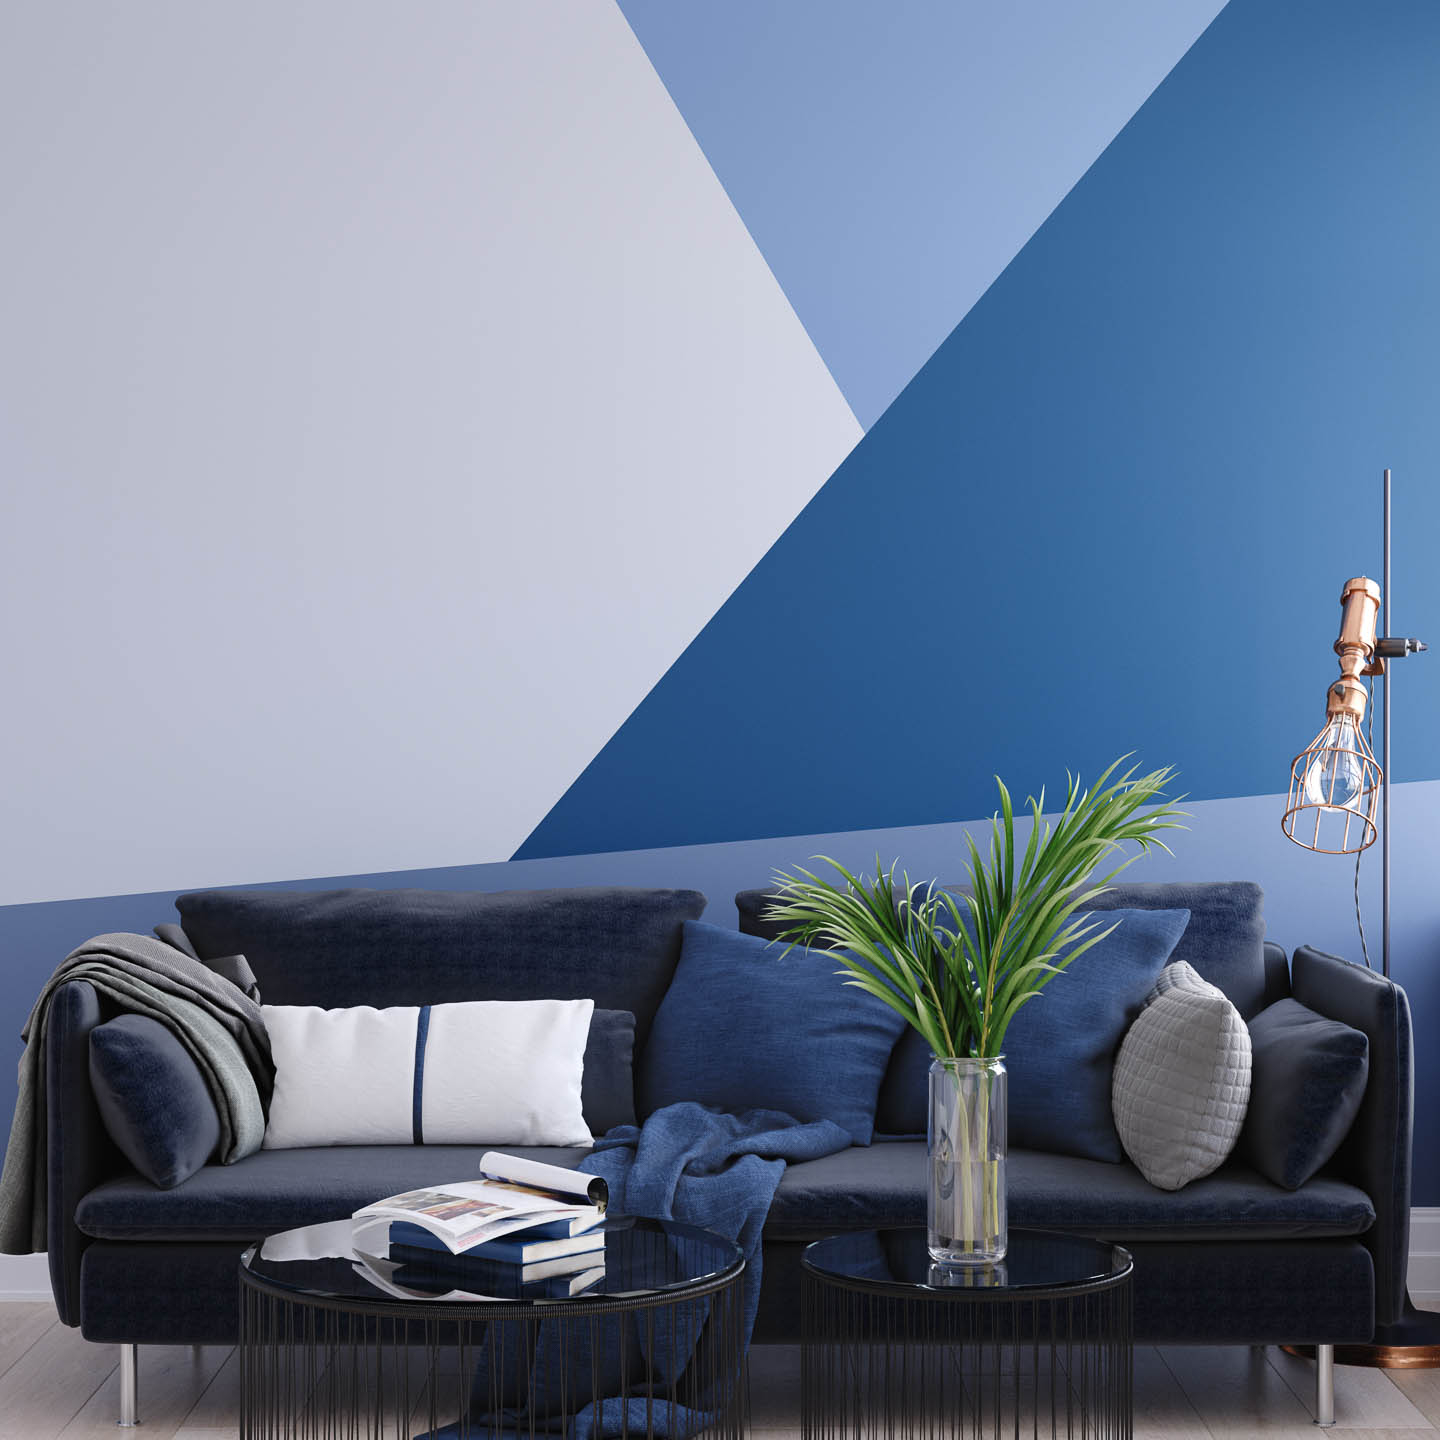
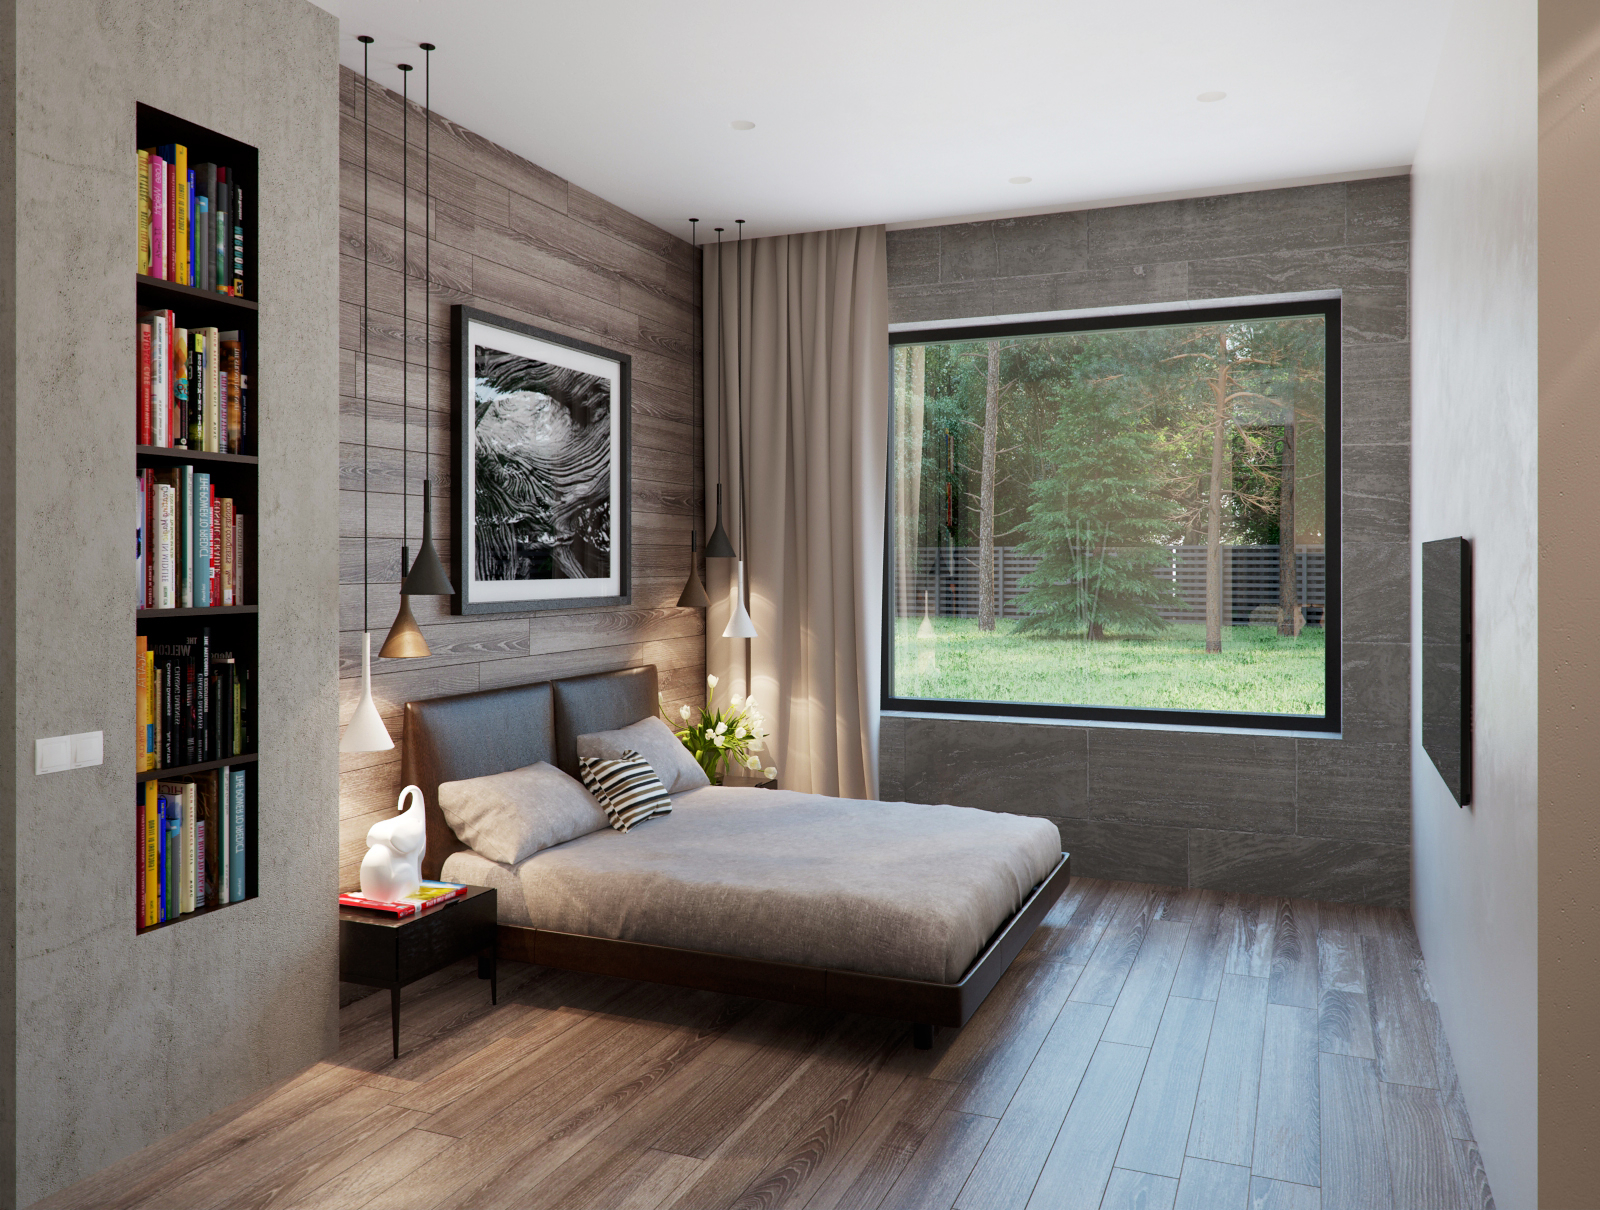
Paint is one of the easiest ways to completely change a space, and when it comes to campers, it’s often the most cost-effective solution. The trick isn’t just choosing a pretty color – it’s selecting something that works well in the conditions your camper faces. Light colors reflect light better, making small spaces feel bigger. White, cream, or soft beige tones can instantly make your cabin feel airy and spacious. But don’t shy away from bold choices either – many campers have found success with deep navy blues or forest greens that add character while still feeling modern. The key is using the right type of paint. Marine-grade paint is essential for areas that might get moisture, like bathrooms or near sinks.
For general cabinetry, choose a paint that’s specifically designed for wood surfaces. Don’t forget about prep work – cleaning surfaces thoroughly and sanding lightly makes a world of difference in how the paint adheres. Many people skip this step, thinking it’s unnecessary, but the results are always better when you invest time upfront. You might also consider using different textures – a lightly stippled finish can hide minor imperfections while adding visual interest. Some folks even experiment with accent walls or painted trim to create focal points that draw the eye.
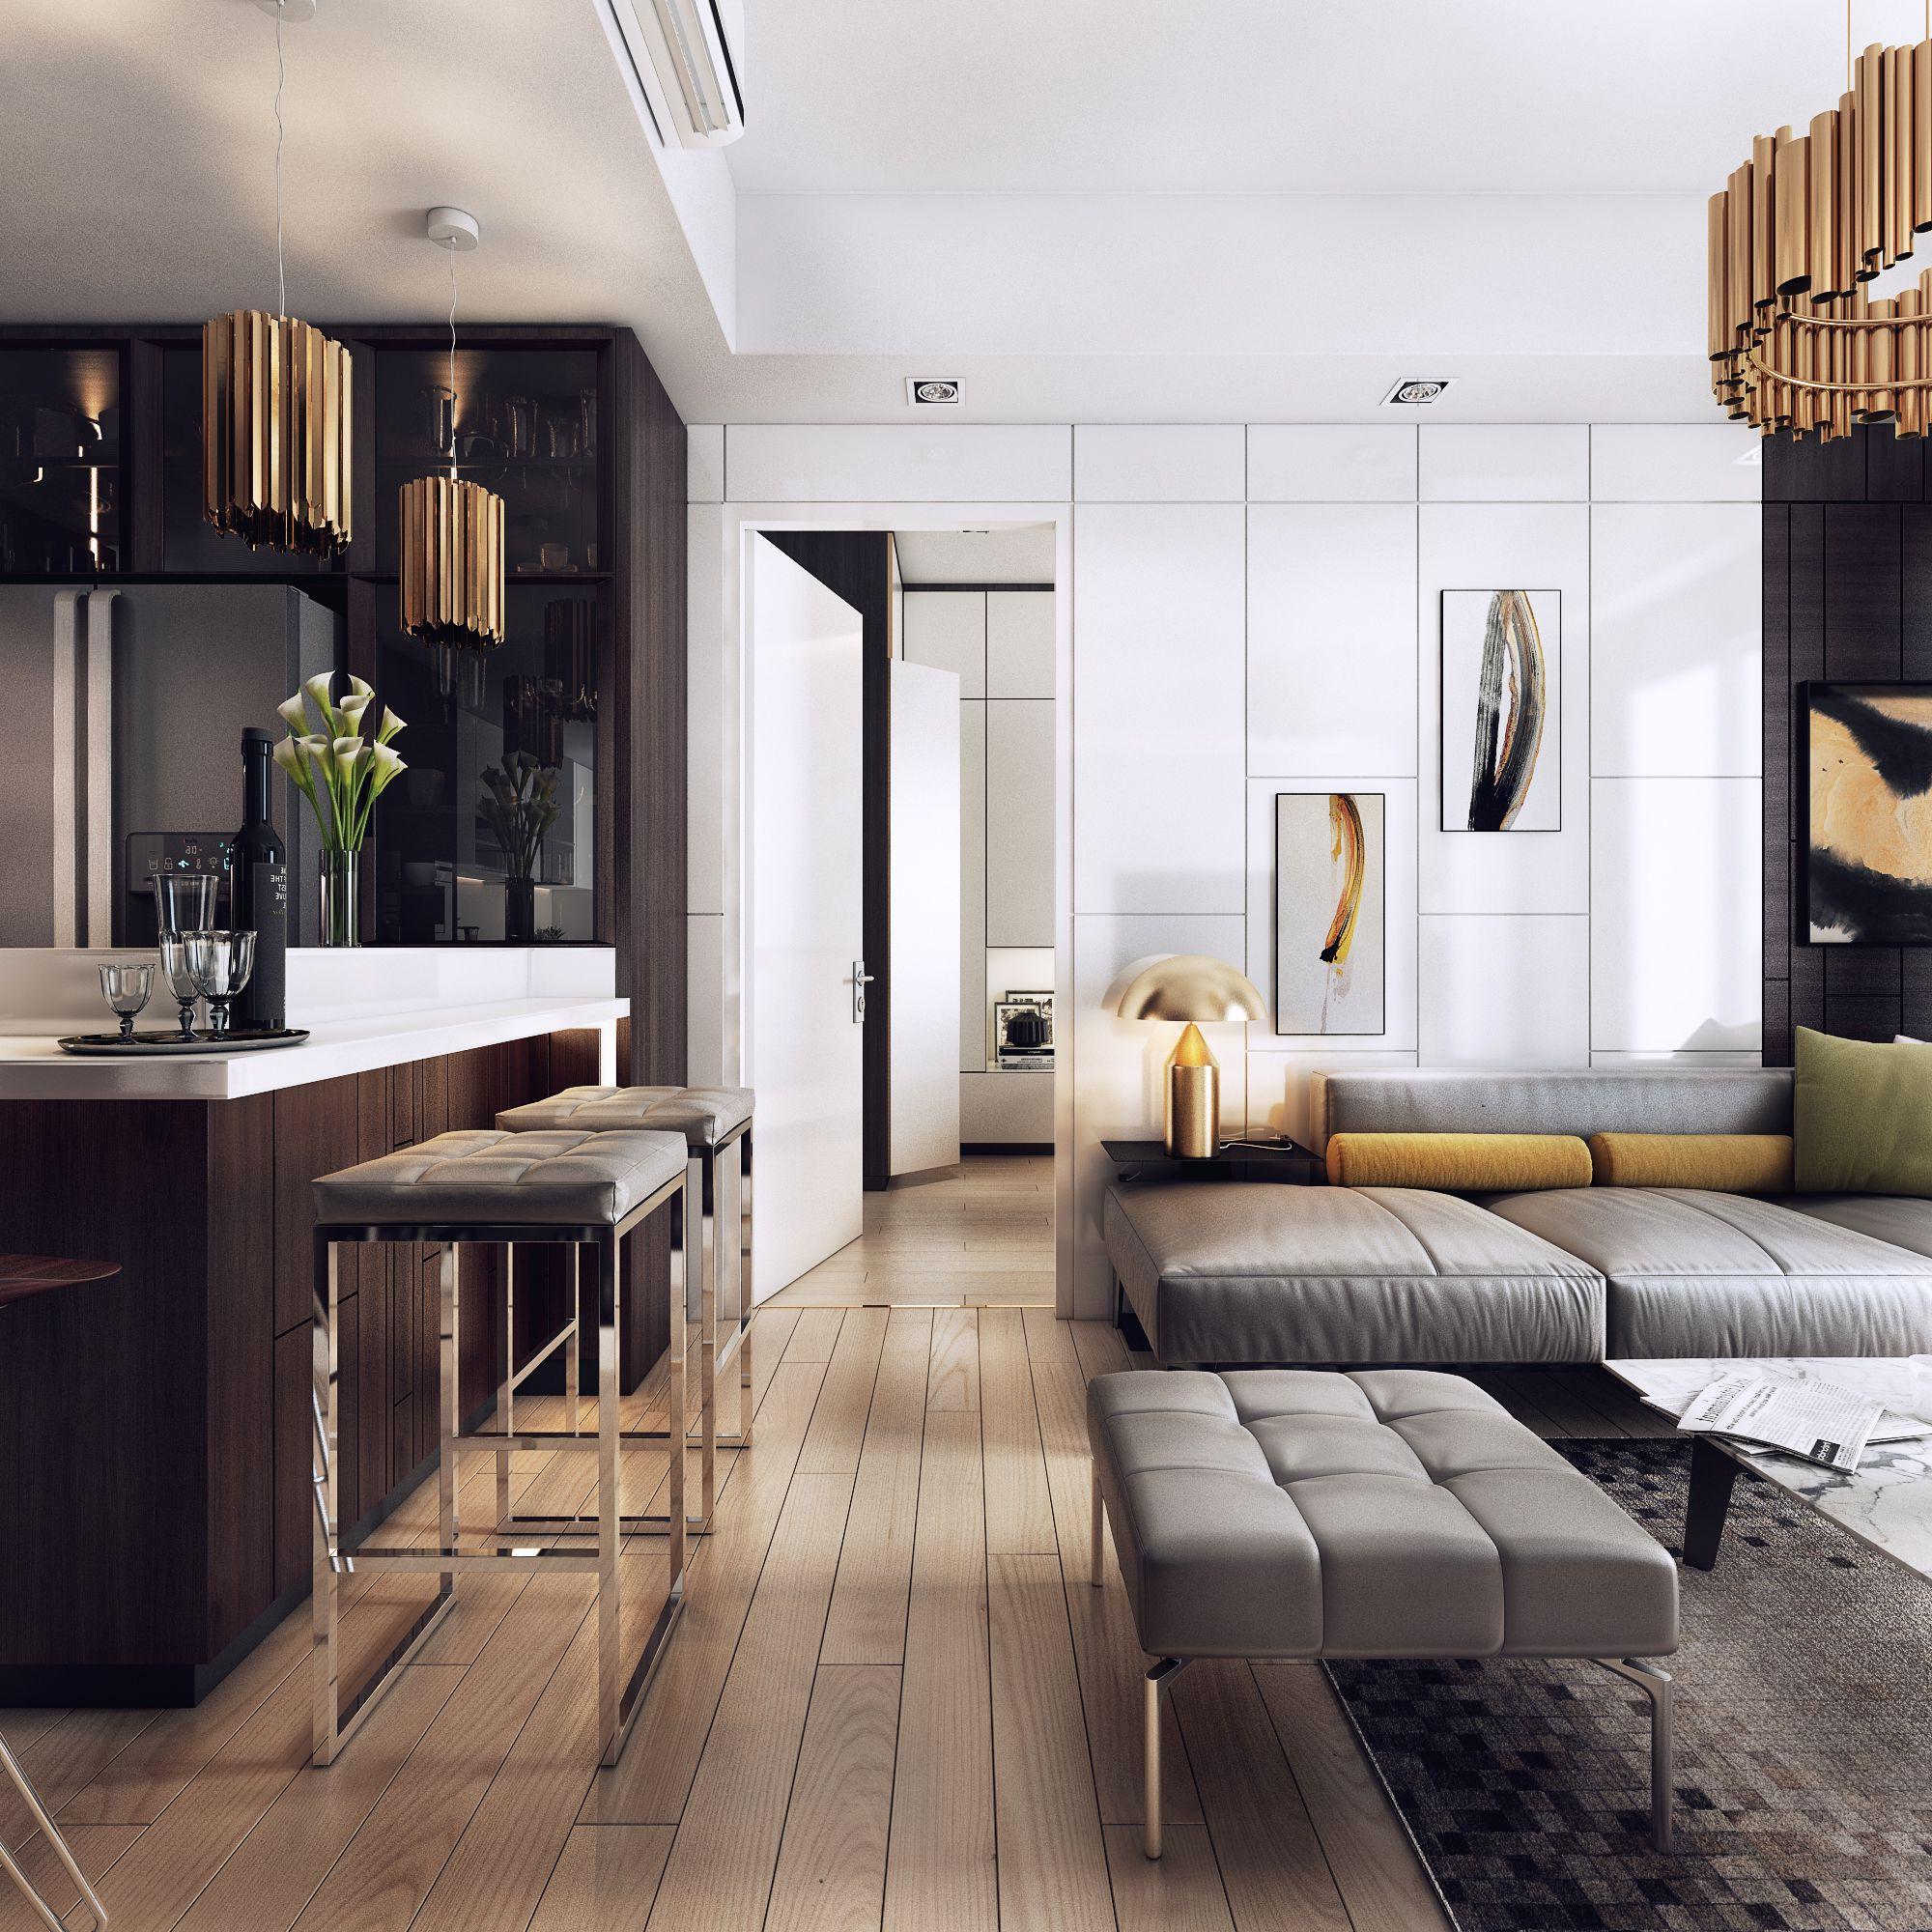
Smart Storage Solutions
This is where things get really practical. Campers don’t have much space, so every inch counts. The secret to good storage isn’t just having lots of shelves – it’s having smart organization that maximizes what you have. Start by assessing what you actually use regularly versus what sits in the back of drawers gathering dust. If you’re someone who uses a specific tool or item every trip, it should be easy to access. Consider adding pull-out drawers instead of just regular cabinet doors – they’re a game-changer for getting to items in tight spaces. Over-the-door organizers are another great option, especially for smaller campers.
These can hold everything from utensils to cleaning supplies. Vertical storage is crucial – installing shelves that go all the way to the ceiling makes use of that often-wasted space. Don’t forget about under-bed storage for seasonal items or extra gear. Sometimes, the most creative storage solutions come from thinking outside the box. For instance, using the space under a bunk bed for storage containers or installing hooks on the inside of cabinet doors for hanging items. The goal isn’t to overcrowd – it’s to make everything have its place. When everything has a designated spot, you’ll find yourself spending less time searching and more time enjoying your trip.
Cabinet Makeover Secrets
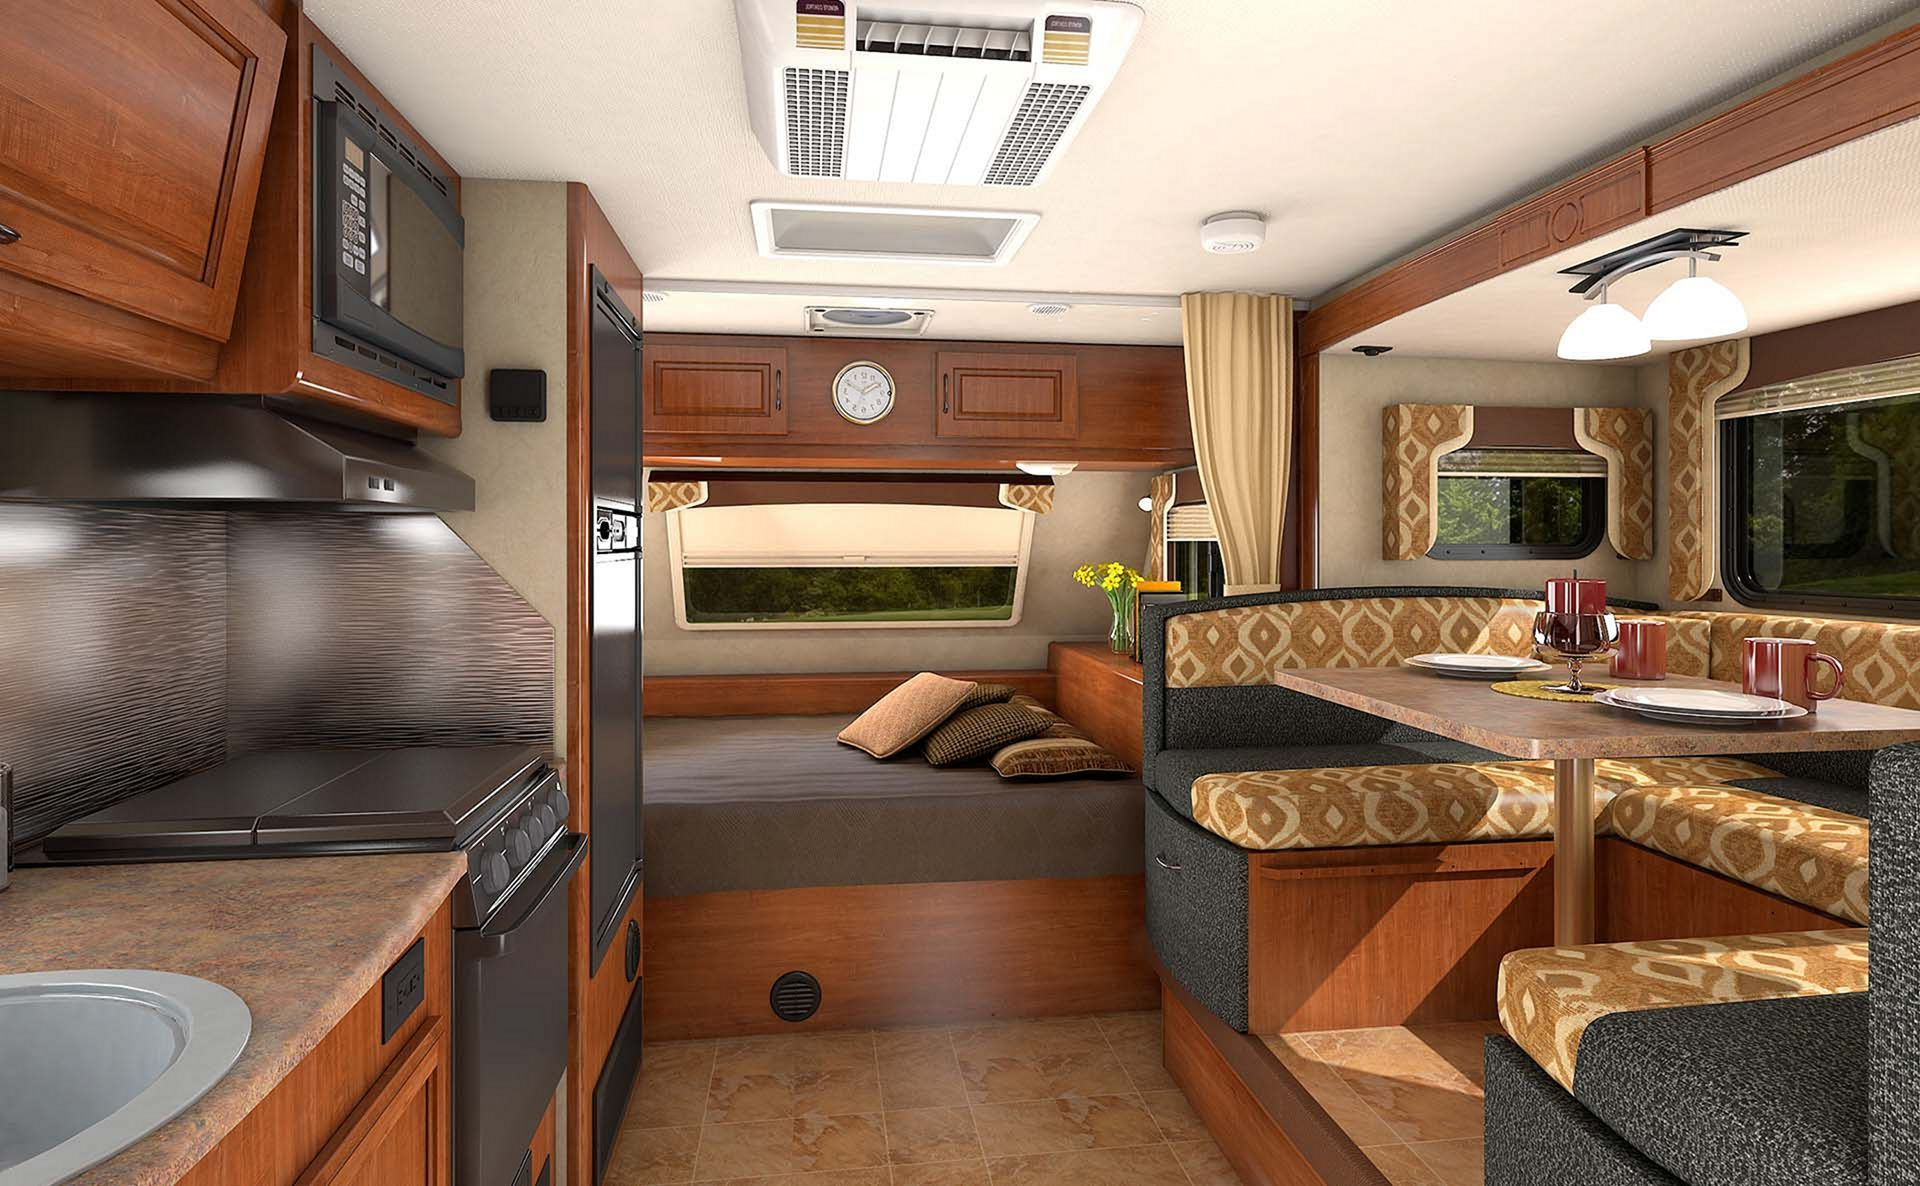
If your kitchen cabinets are looking tired, you don’t need to replace them entirely. A good cabinet makeover can be a fantastic investment of time and money. The first step is to decide whether you want to paint or stain them. Painting gives you more color options and can completely transform the look, while staining preserves the natural wood grain. If you’re going with paint, make sure you choose a high-quality primer first. This prevents the old color from bleeding through and ensures better adhesion. Sanding between coats is important for a smooth finish. Many people rush through this part, but taking the time for proper preparation pays off in the final result.
You might also consider adding new hardware – replacing old handles with something sleeker or more modern can make a huge difference. Simple changes like switching out cabinet pulls or adding decorative knobs can make your kitchen feel brand new. For those on a tighter budget, consider using contact paper or peel-and-stick materials to update the appearance without the commitment of painting. These temporary solutions can be easily removed and replaced later if you decide to change your mind. The beauty of cabinet makeovers is that they can be done gradually – tackle one cabinet at a time over several weekends rather than trying to do everything at once.
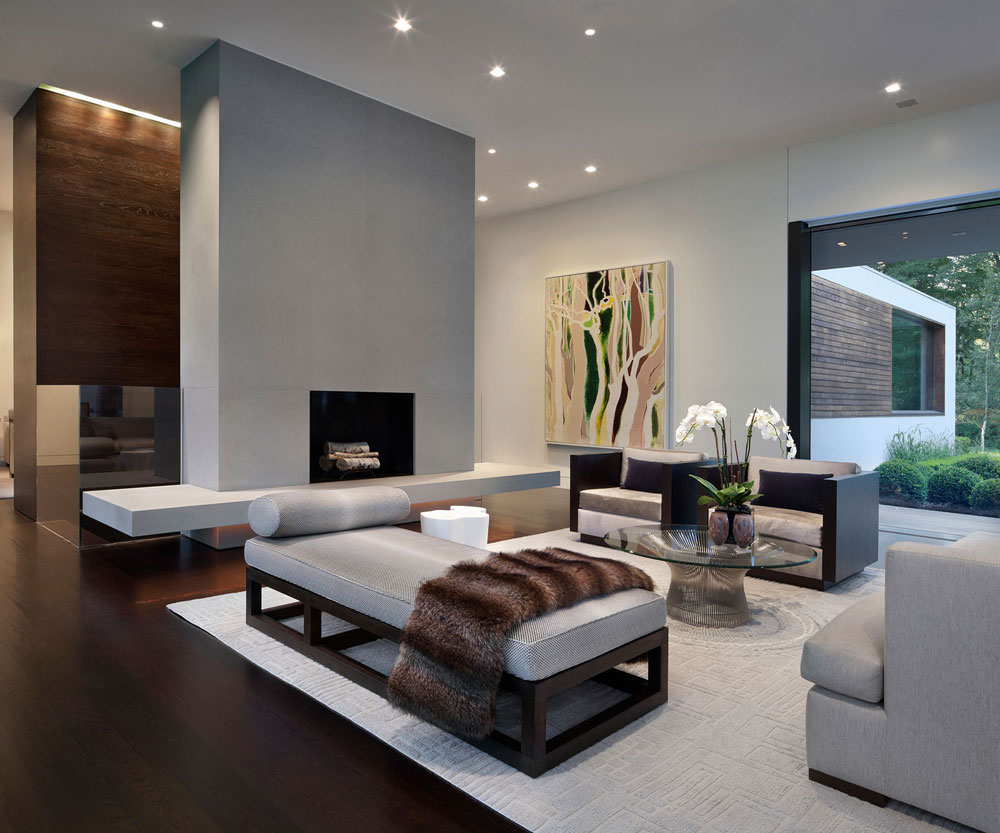
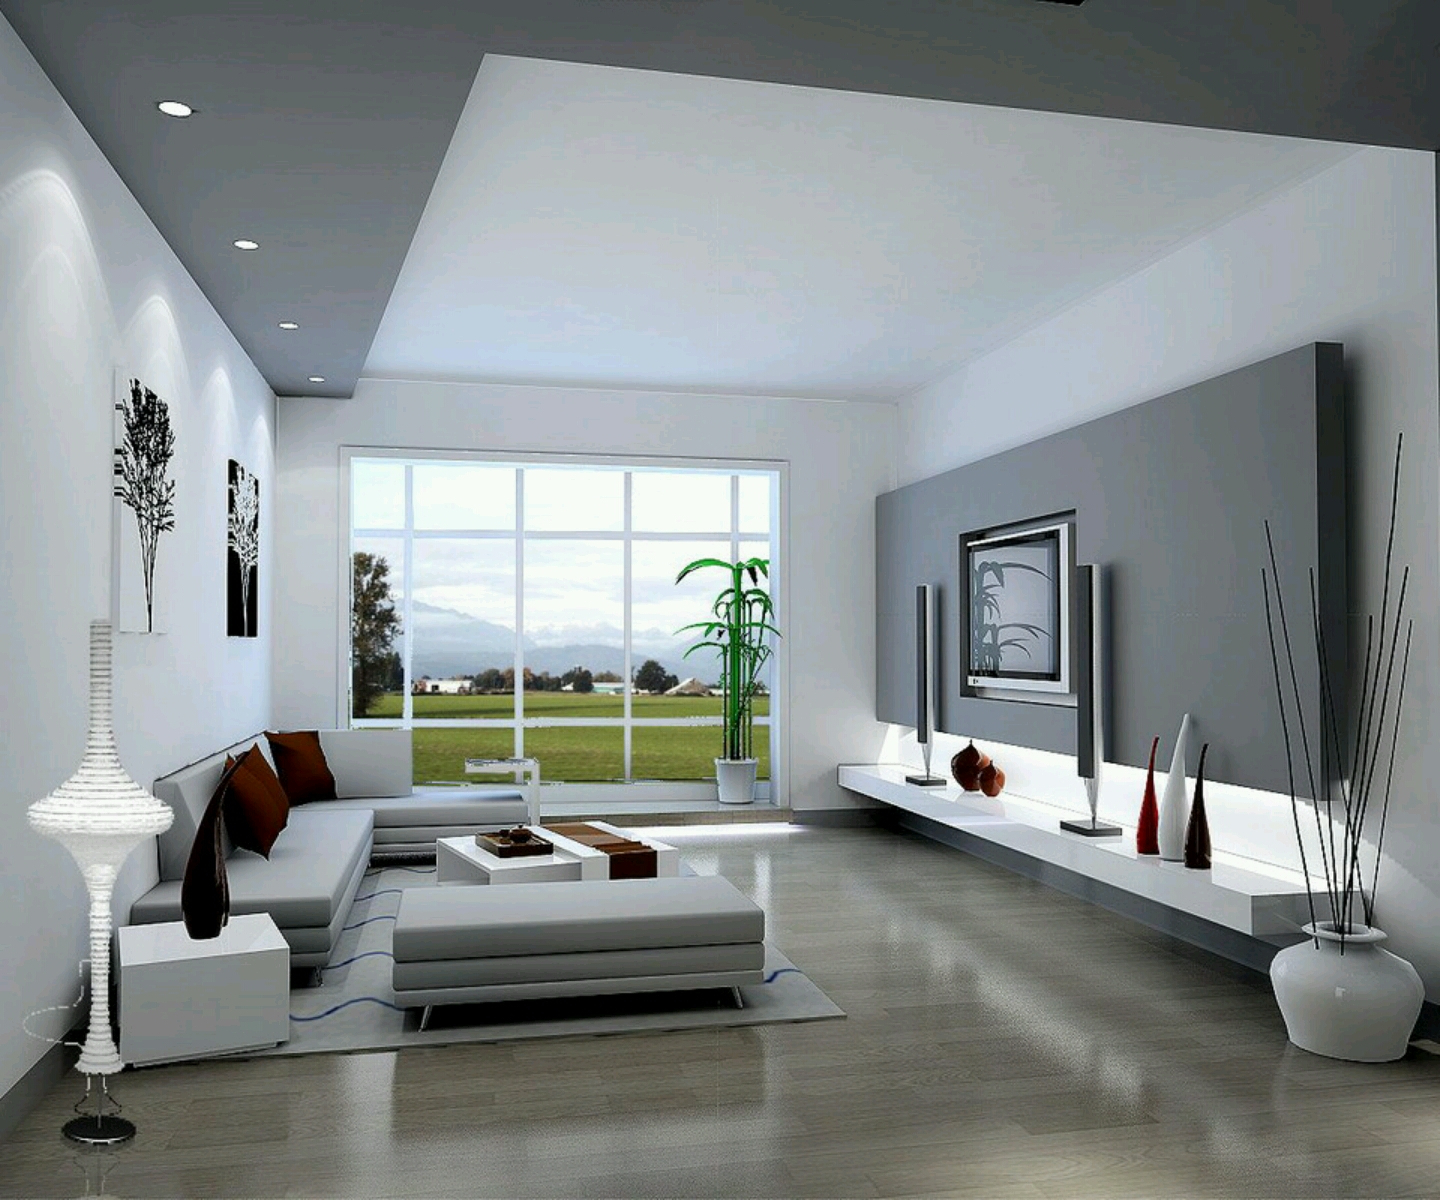
Lighting Up Your Space
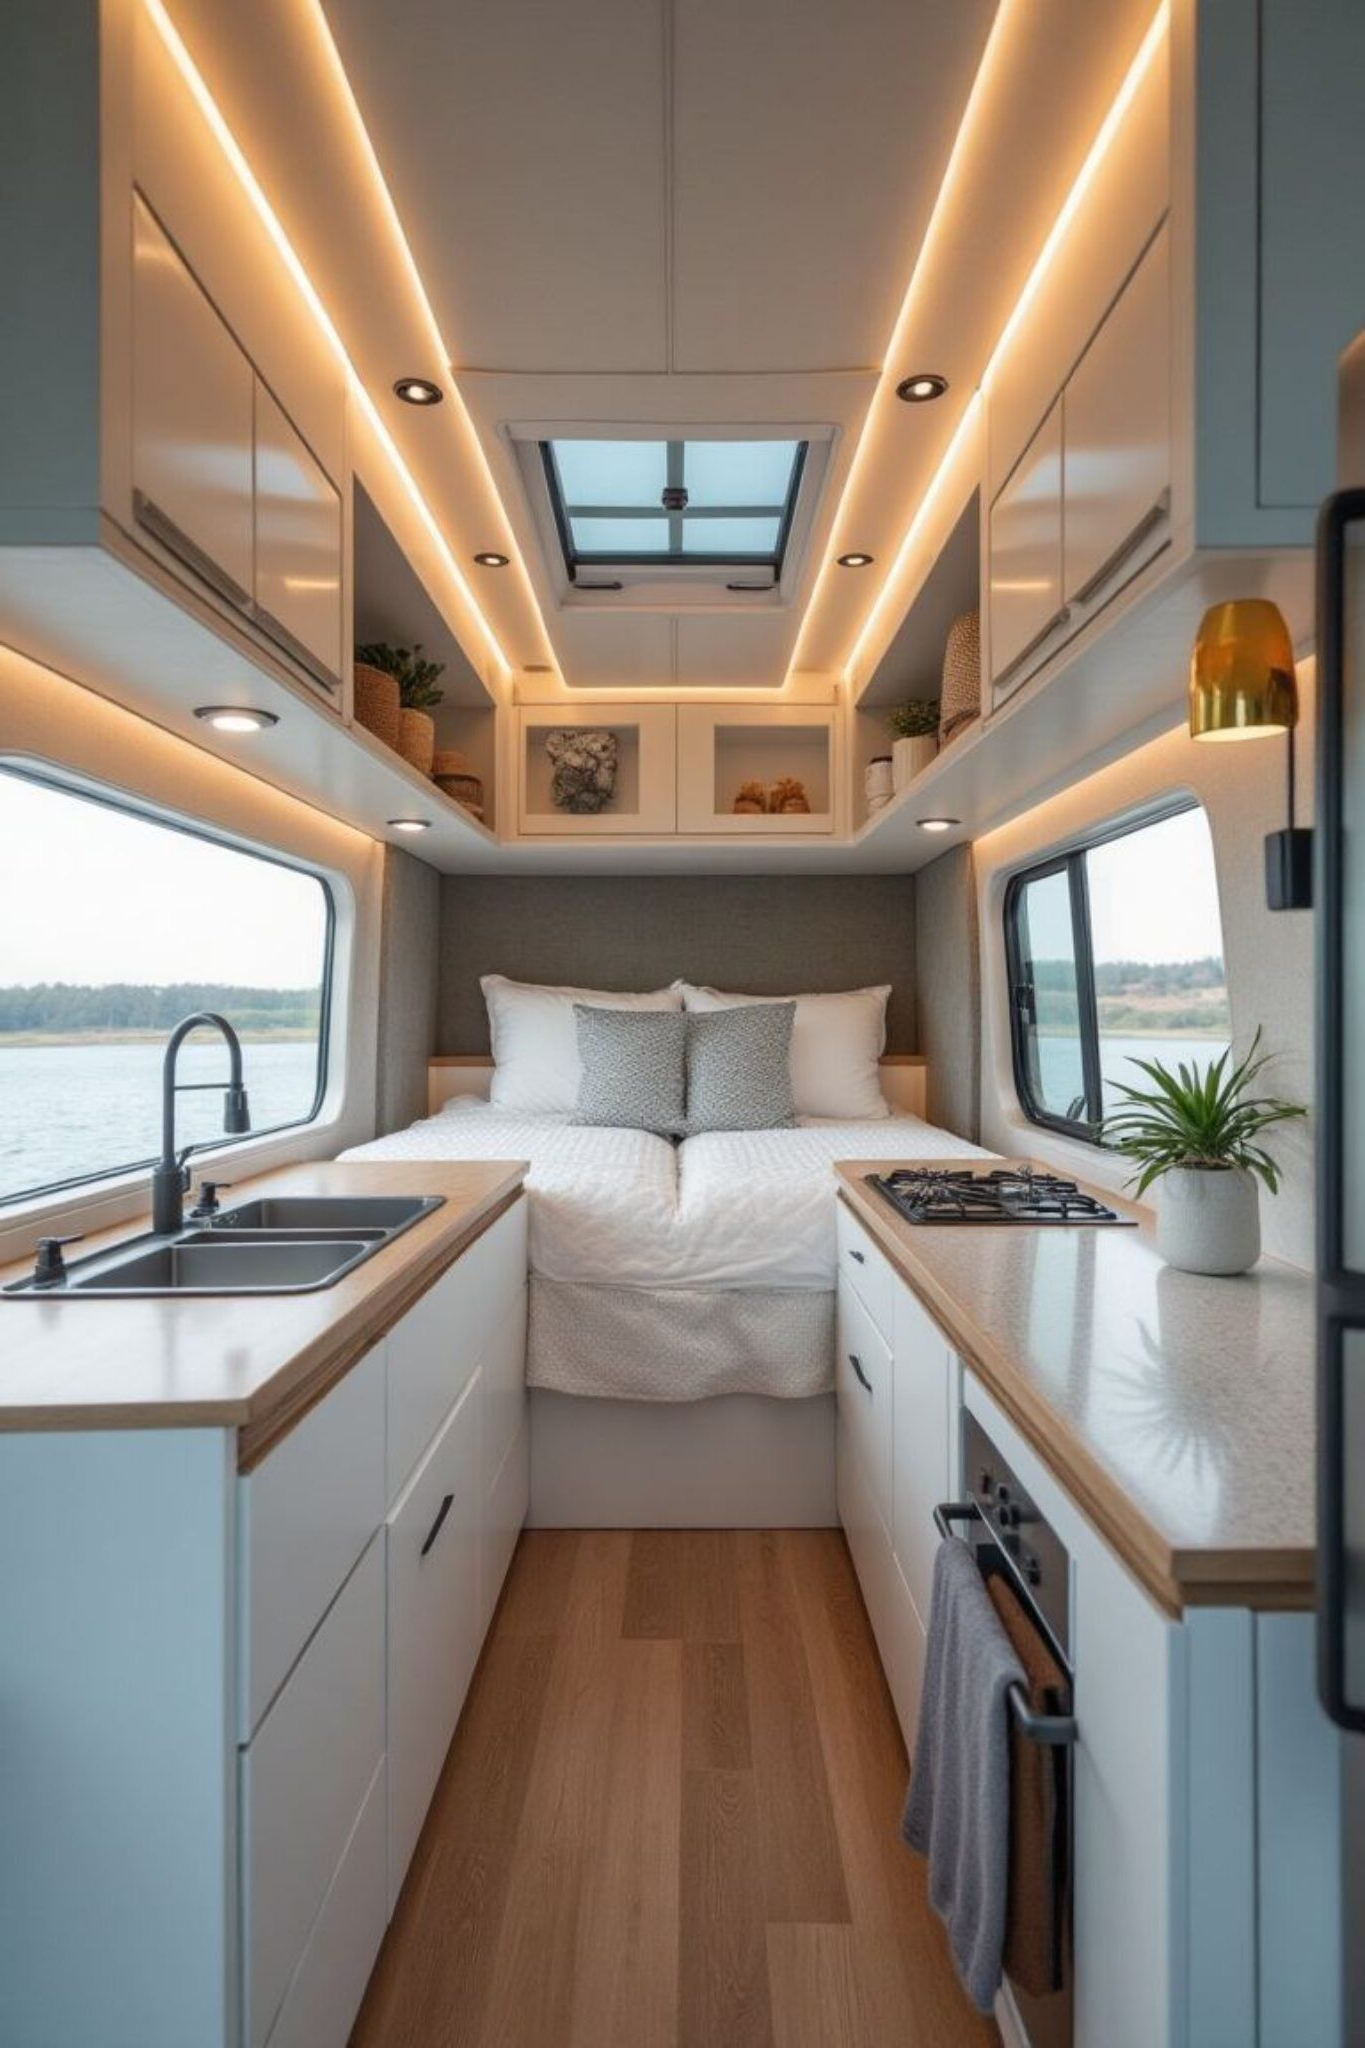
Good lighting can completely change how your camper feels and functions. Natural light is great, but you’ll often find that artificial lighting is what makes the difference. Start with layering different types of light – ambient lighting for general illumination, task lighting for specific activities, and accent lighting for atmosphere. LED strip lights installed along cabinet edges or under countertops create a modern look while providing practical illumination. These are particularly useful in low-ceiling spaces where traditional overhead lighting might feel cramped. Don’t underestimate the power of a good lamp or two – they can provide both functional light and visual warmth.
Some people even install dimmer switches to control the mood. Smart lighting systems that can be controlled via smartphone apps are becoming more affordable and offer even more flexibility. When choosing fixtures, consider their durability – campers experience vibration and temperature changes that can affect standard lighting. Look for options that are rated for outdoor or marine use if your camper spends time in harsh conditions. Sometimes the simplest upgrade is replacing old bulbs with LED ones – they last longer, use less energy, and provide brighter, whiter light. The right lighting setup can make your entire interior feel more welcoming and functional.
Finishing Touches That Matter
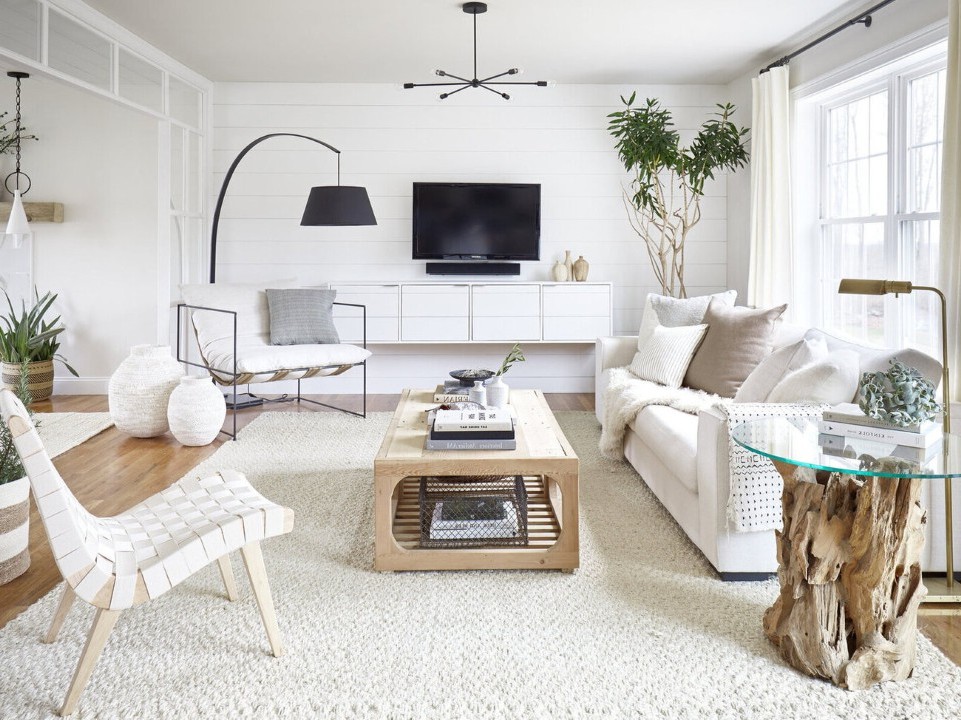
It’s easy to get caught up in major changes, but the small details often make the biggest impact. These finishing touches are what transform a good space into a great one. Start with textiles – a new set of curtains, throw pillows, or even just a couple of rugs can dramatically improve the feel of your cabin. Choose fabrics that are easy to clean and won’t fade quickly in sunlight. Wall art or photos can personalize your space without taking up valuable floor or cabinet space. Consider using command strips or magnetic boards for easy display that can be removed when you move.
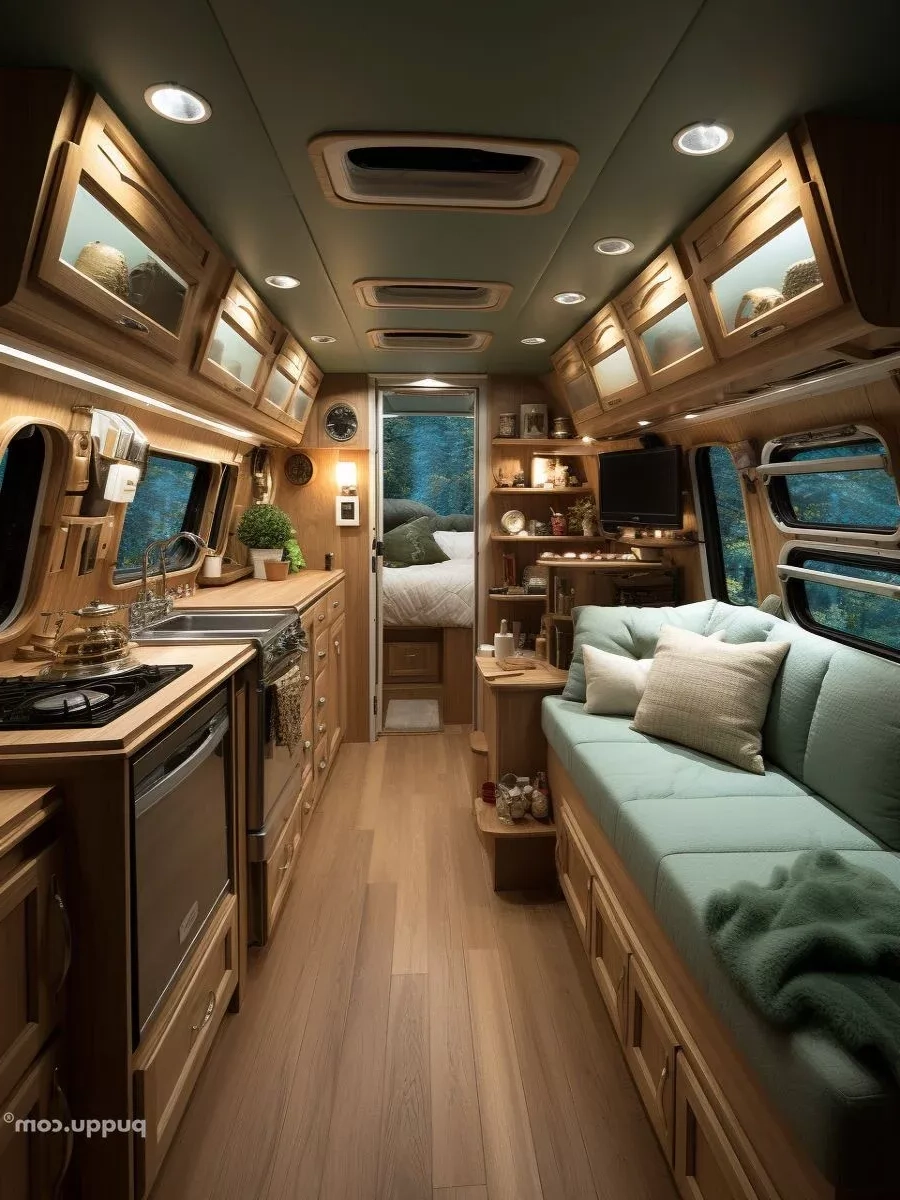
Plants are another great addition – they bring life and color to any space. Choose low-maintenance options that can handle the travel and varying conditions of camping life. Sometimes, a simple update like new door handles, a fresh shower curtain, or even just a few new towels can make a huge difference in how your space feels. The key is consistency – make sure whatever you add complements the overall style and function of your space. You might also consider adding some personal touches like family photos, books, or favorite items that remind you why you love camping in the first place. These elements help create a sense of home, even when you’re thousands of miles from civilization.
Budget-Friendly Approaches
You don’t need a large budget to create a great-looking camper interior. Many successful projects come from careful planning and smart shopping decisions. Start by setting a realistic budget and sticking to it. Identify the most important areas that will give you the biggest return on investment – usually kitchens, bathrooms, and sleeping areas. Shop at discount stores, garage sales, and online marketplaces for furniture and decor items. Many people find great deals on gently used items that can be refreshed with a little effort. DIY projects often save money because you’re not paying for labor costs.
But remember, quality materials are important – investing in good paints, adhesives, and hardware can prevent costly repairs later. Consider buying items in bulk when possible, or wait for sales to stock up on essentials. Sometimes, the best upgrades are the ones that don’t require new purchases at all – like reorganizing existing items or repurposing furniture for new uses. You might also explore local resources like community tool libraries or friends who might have equipment you could borrow. The key is to be patient and strategic with your spending. It’s better to do one thing well than to spread your budget too thin across multiple projects.
Real-World Success Stories
These aren’t just theoretical ideas – people have actually done this and seen real results. Sarah from Colorado transformed her 1995 camper by painting the entire interior white and adding new cabinet hardware. She reported that her trips felt more comfortable and relaxing after just a few hours of work. Mike and his wife spent three weekends updating their kitchen, replacing old cabinets with new paint and hardware, and adding LED lighting. They saved over $3,000 compared to hiring a contractor. Another couple in Florida completely revamped their bathroom on a budget by replacing fixtures, adding new paint, and installing a small towel rack system.
Their camper now feels like a luxury hotel room. These stories show that the key isn’t perfection – it’s progress. Even small changes can make a huge difference in how you feel about your space. Many people find that starting with just one room or one project builds confidence for tackling larger improvements later. The satisfaction of seeing your own work come together is often more rewarding than any professional job could be. People often say that the hardest part isn’t the work itself, but finding the time and motivation to start. Once you get going, though, the momentum carries you forward.
Common Mistakes to Avoid
Even experienced DIYers make mistakes, so knowing what to watch out for can save you time, money, and frustration. One of the biggest errors is rushing the preparation phase. Skipping proper surface cleaning or sanding can lead to peeling paint or poor adhesion. Another common mistake is not considering the unique challenges of camper environments – vibration, temperature changes, and humidity can all affect materials differently than they would in a permanent home. Always test products in your specific conditions before committing to a full application.
Many people also make the mistake of trying to do too much at once, leading to burnout and rushed work. It’s better to do one thing well than to spread yourself thin. Another frequent error is underestimating the time required for projects. What seems like a quick job can take twice as long when you factor in preparation, drying time, and cleanup. Finally, don’t ignore the importance of ventilation – working in poorly ventilated spaces can be dangerous and affect the quality of your work. Take your time, plan carefully, and don’t hesitate to ask for advice or help when needed. The most important lesson is to be patient with yourself and your project.
Maintenance and Long-Term Care
Once you’ve completed your makeover, the real work begins – keeping it looking good. Regular maintenance is key to preserving your investment and ensuring your camper stays comfortable. Establish a routine cleaning schedule that fits your camping frequency. Even if you only camp a few times per year, doing a quick check-up before each trip helps catch issues early. Keep a small toolkit handy for minor repairs – a few basic tools can fix most problems that arise. Address small issues immediately before they become bigger problems. For example, a loose handle or a small paint chip can be fixed quickly and easily, but left alone, they can worsen over time.
Protect your surfaces from damage – use coasters for drinks, placemats for food, and avoid placing hot items directly on surfaces. Consider applying protective coatings to frequently used areas like countertops or cabinet doors. Regular inspections can help you identify problems before they cause bigger issues. The goal isn’t to obsess over every detail, but to stay aware of your space and take care of it properly. Many people find that maintaining their camper’s appearance becomes second nature after a few trips. It’s also worth noting that some materials may age differently in camper conditions, so being prepared to refresh certain elements periodically is wise.
Transforming your camper’s interior doesn’t have to be intimidating or expensive. The key is starting with a clear plan, focusing on practical improvements, and understanding that progress matters more than perfection. Whether you’re tackling one small area or planning a full renovation, these tips provide a foundation for creating a space that feels fresh, functional, and uniquely yours. Remember, the most important thing isn’t how fancy your space looks – it’s how well it serves your camping lifestyle.
You don’t need to be an expert to create a beautiful interior that works for you. Sometimes, the best projects are the ones that start with a single decision – maybe changing one cabinet handle, or painting one wall. From there, you’ll discover that the momentum builds naturally. The journey of improving your camper isn’t just about the end result – it’s about the satisfaction of creating something that truly reflects your personality and meets your needs. Every small change you make is a step toward making your mobile home feel more like home.