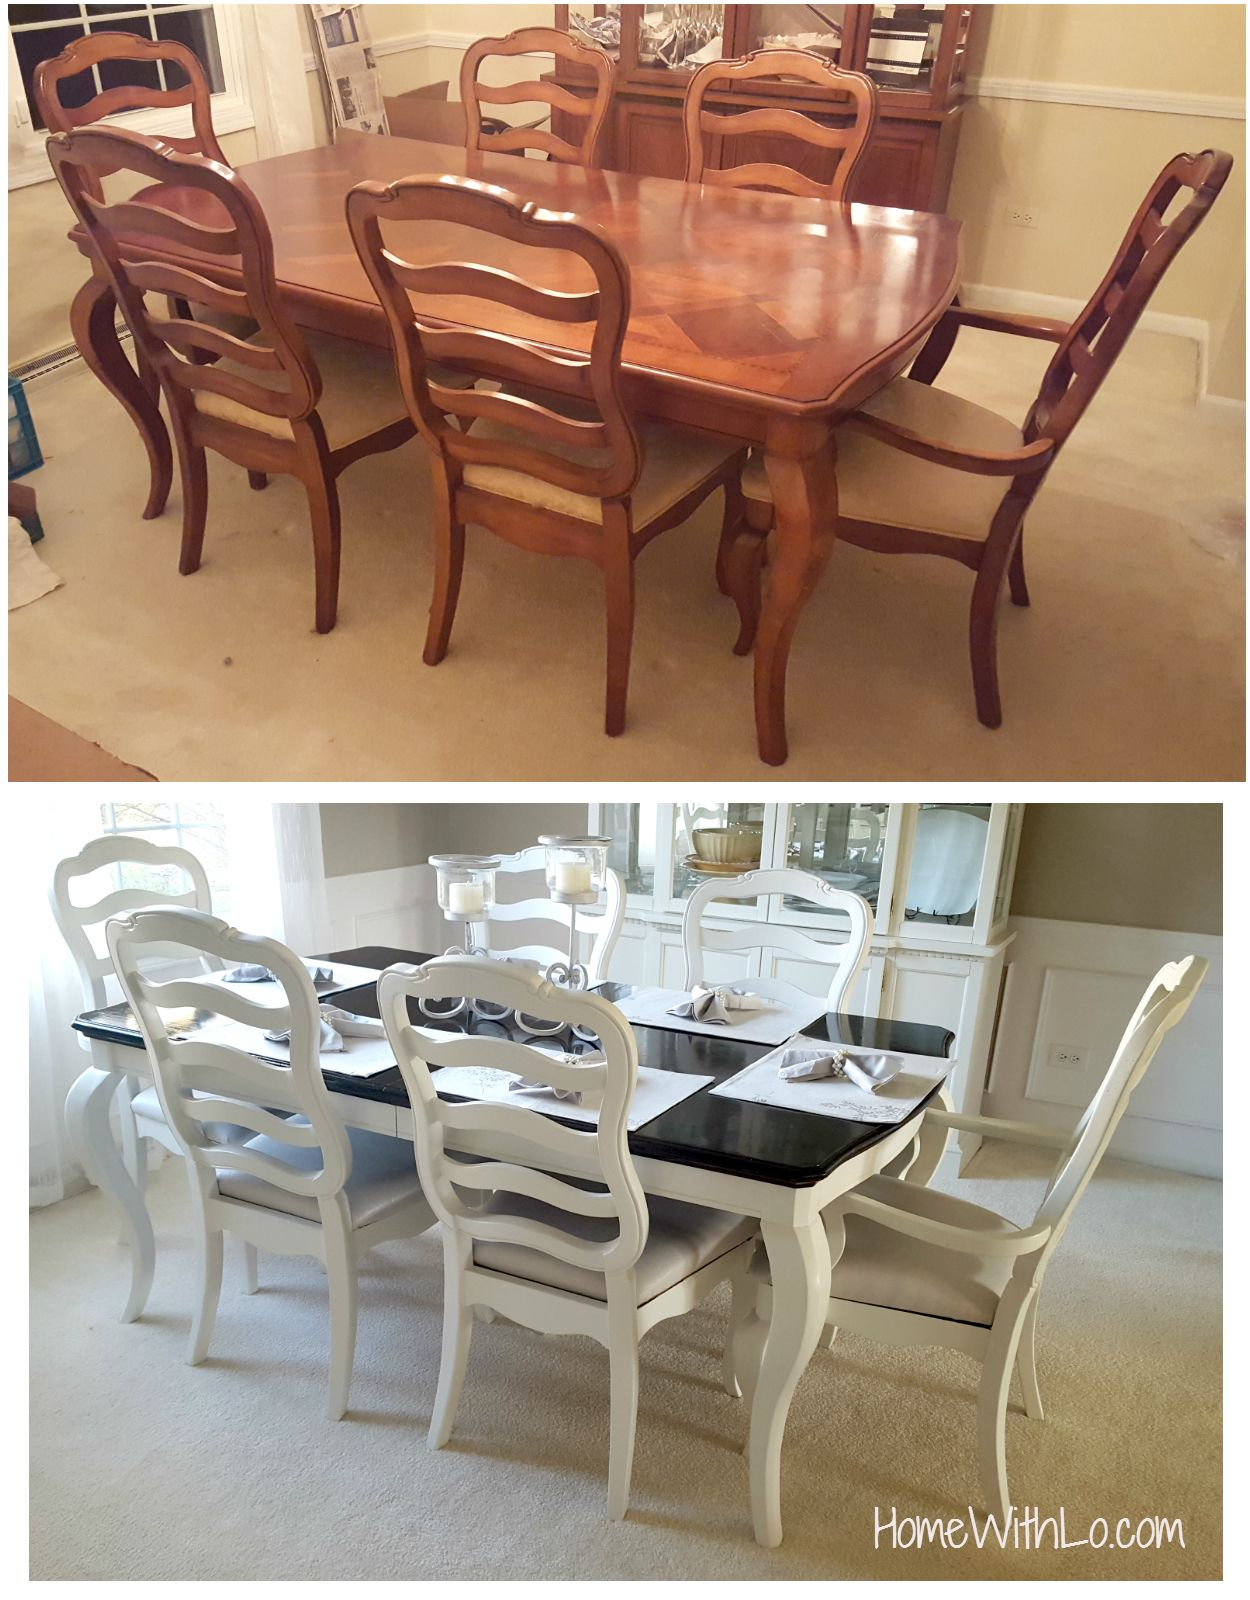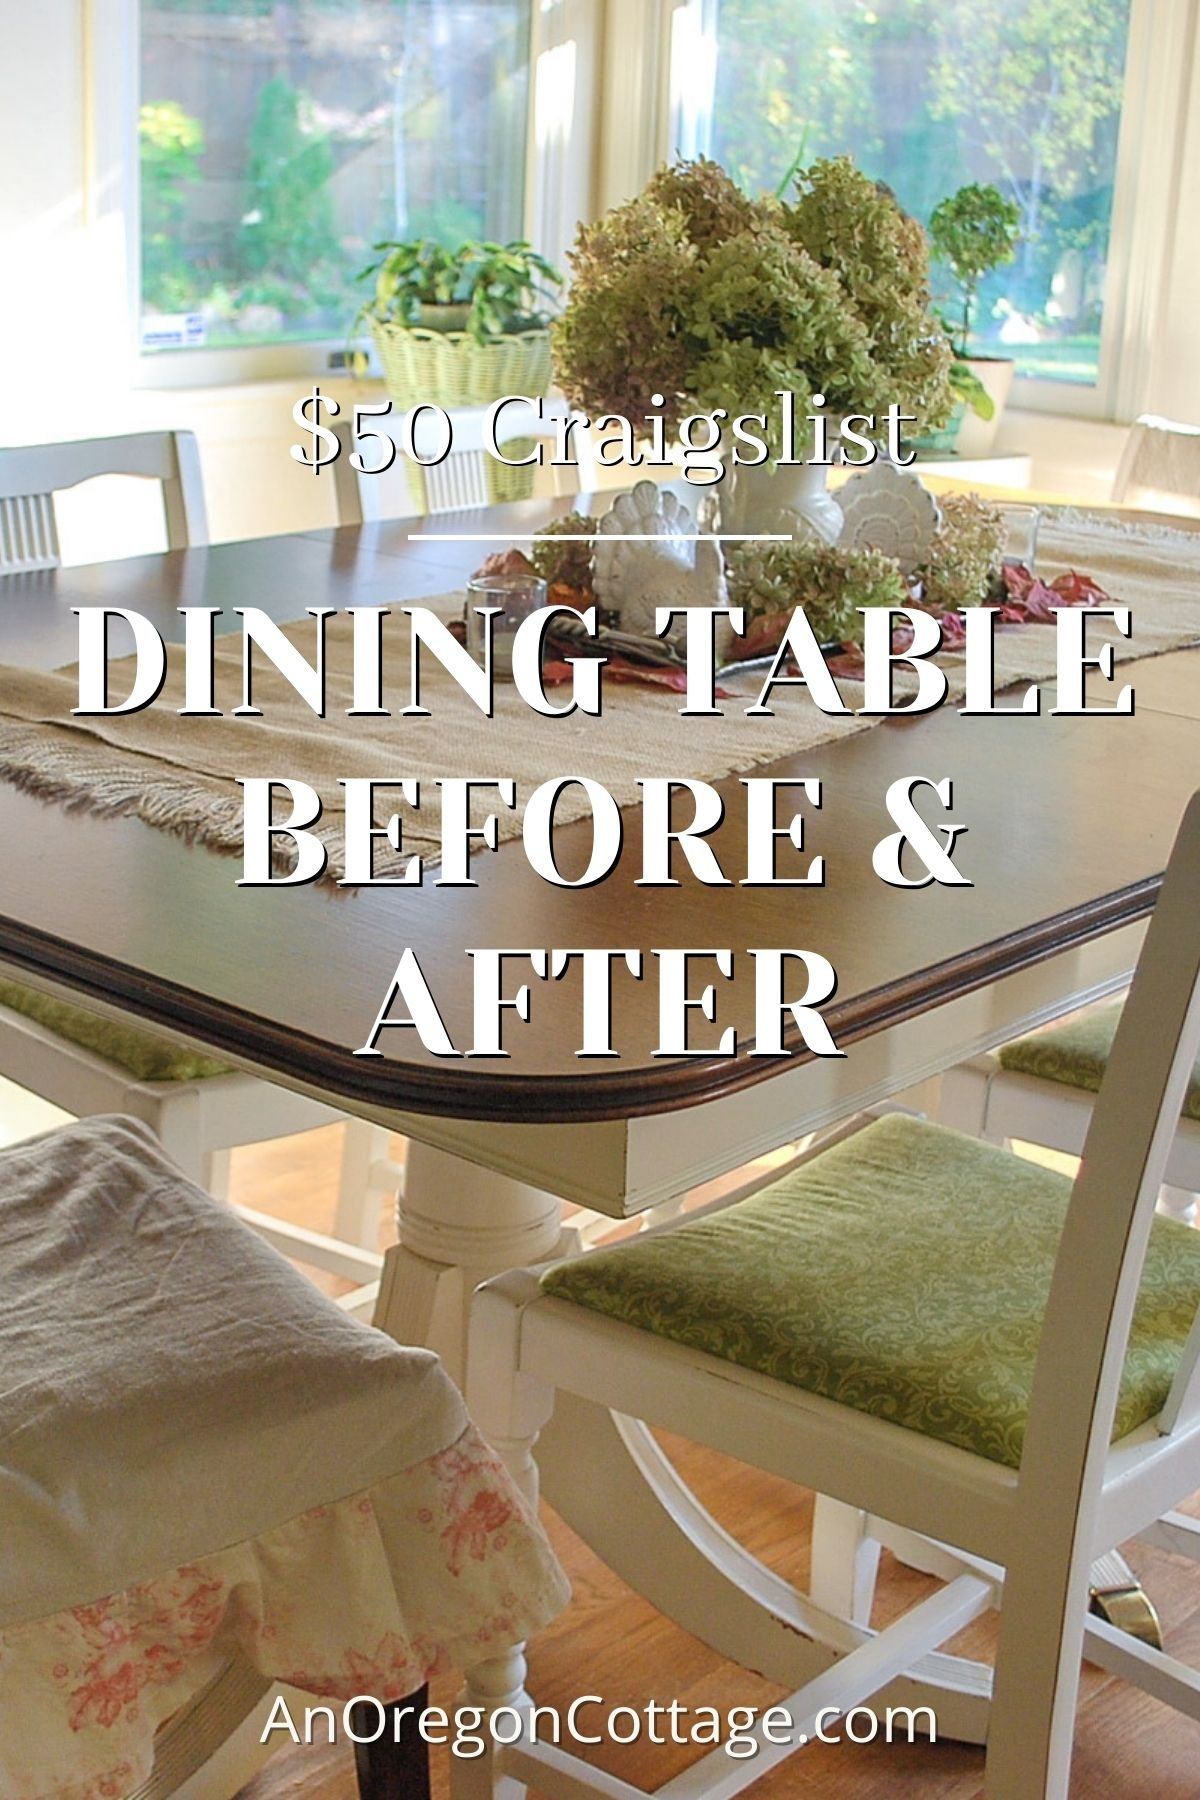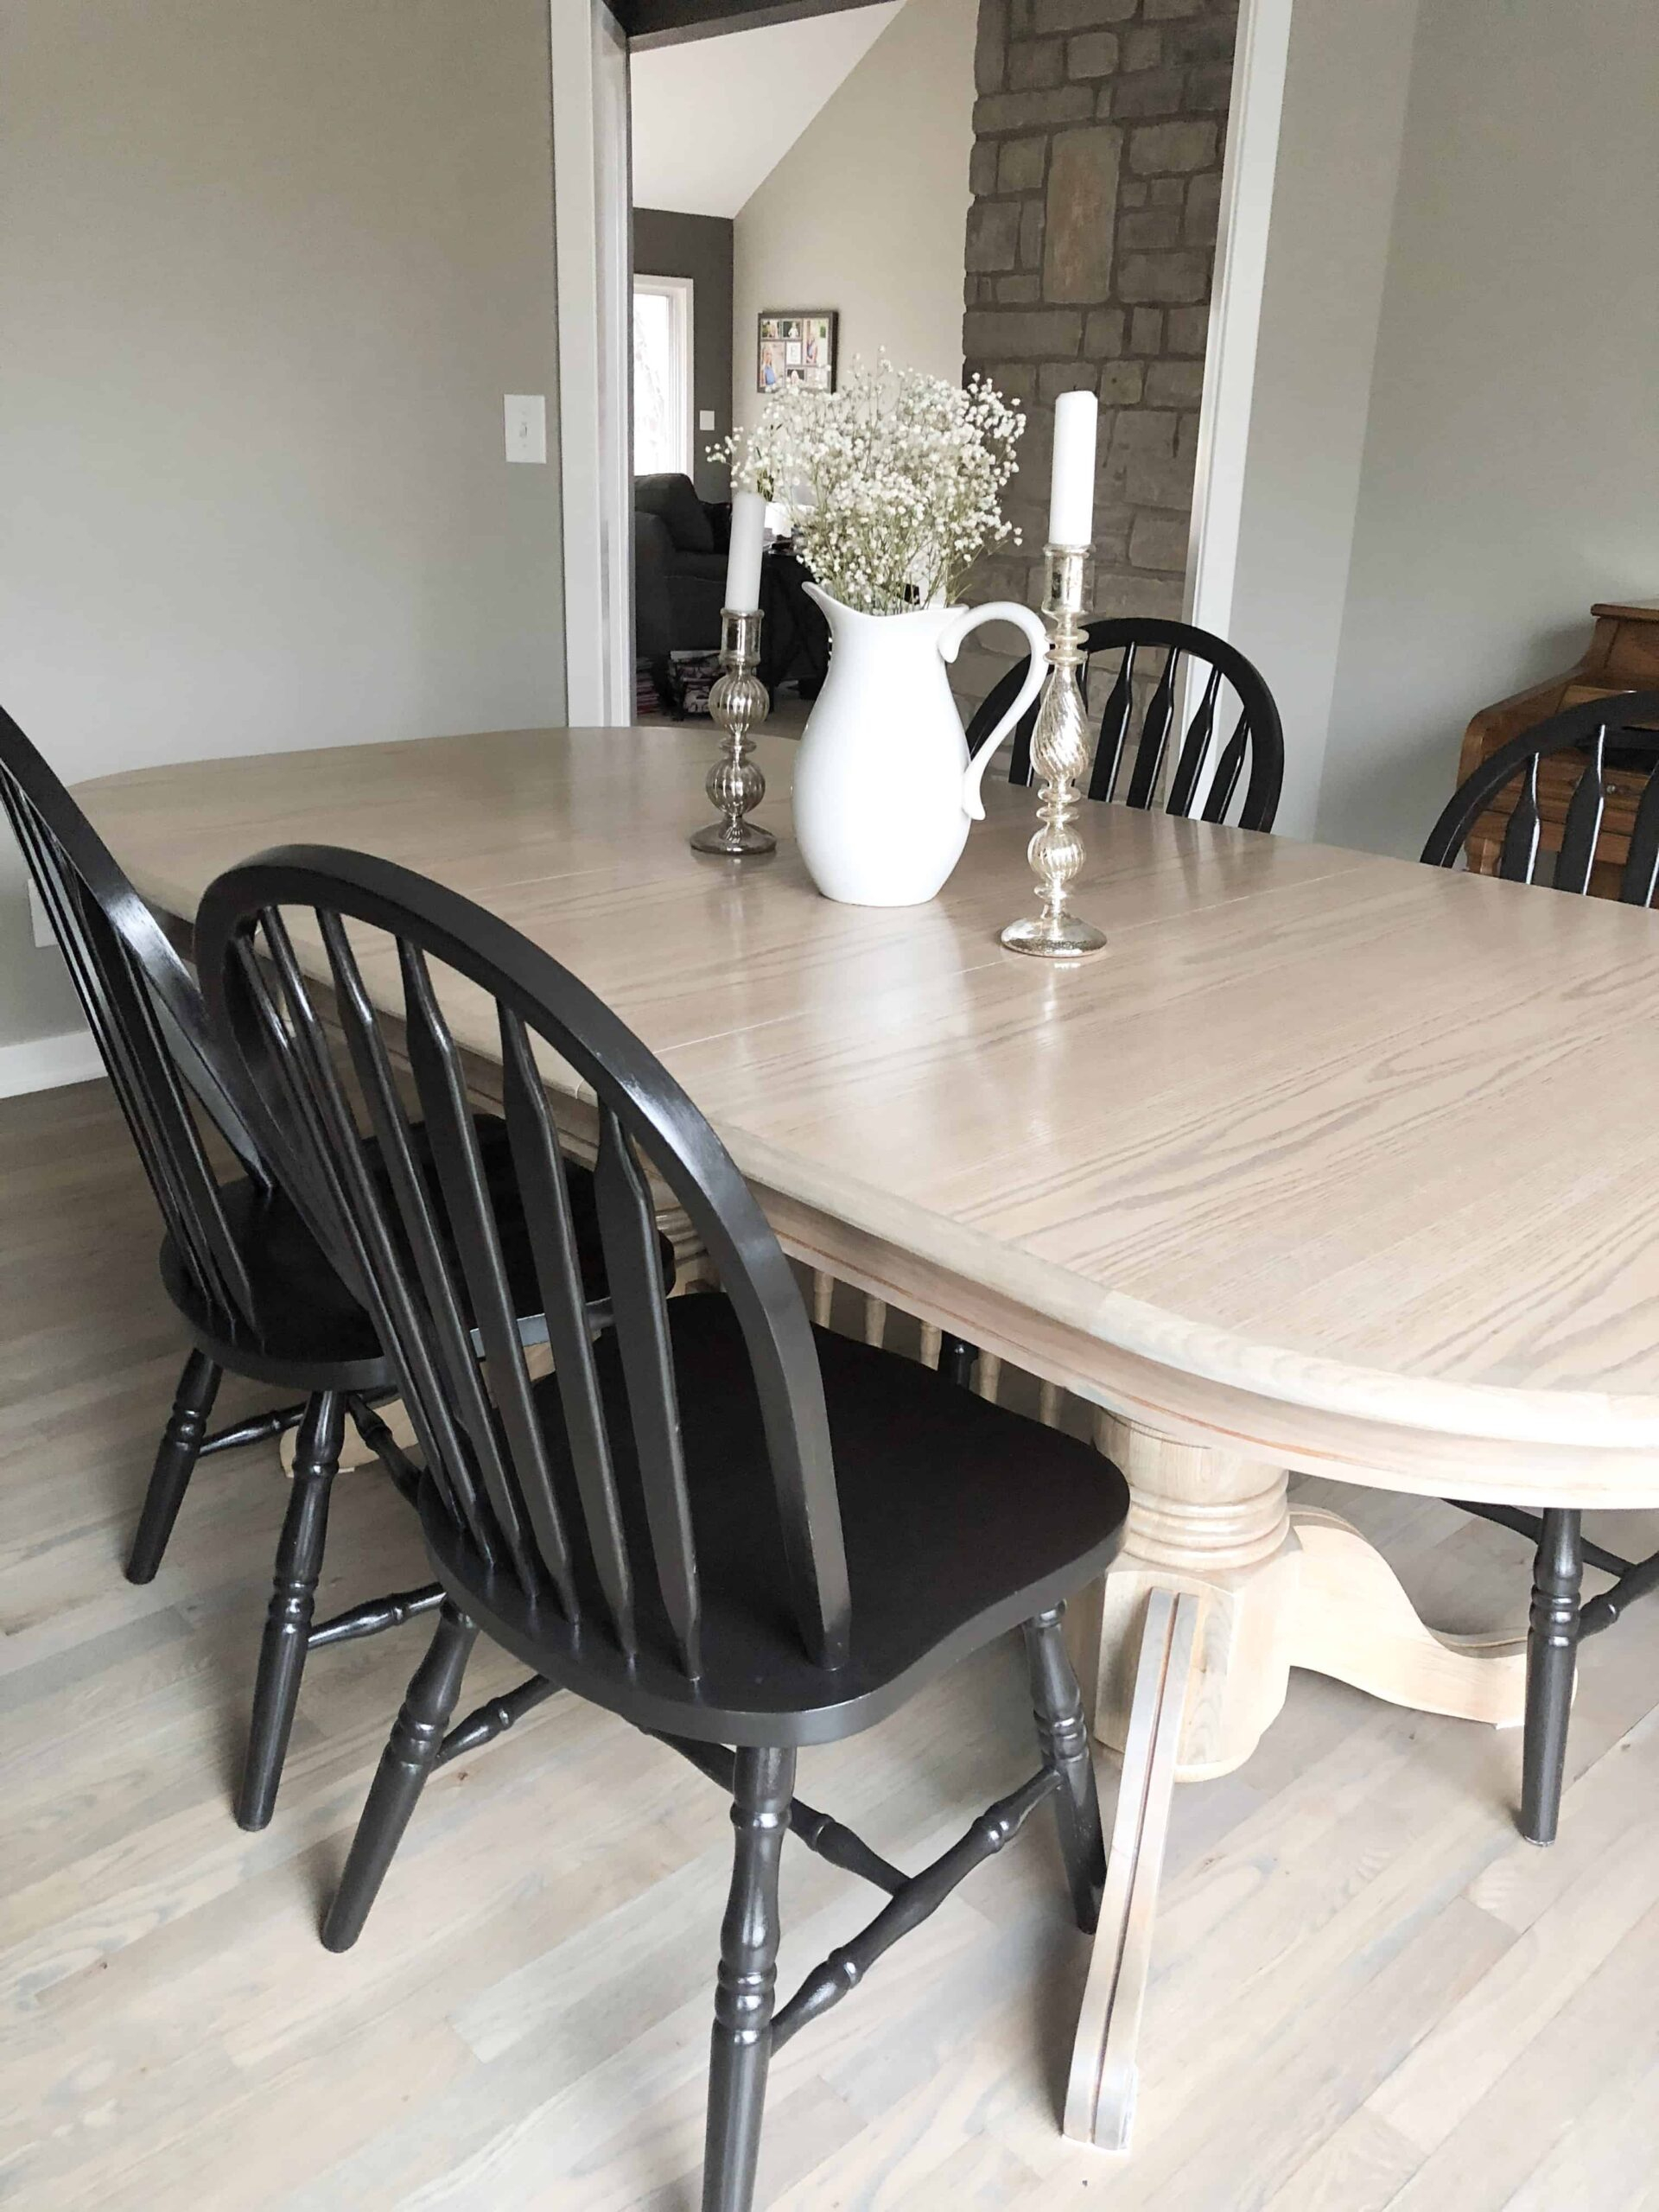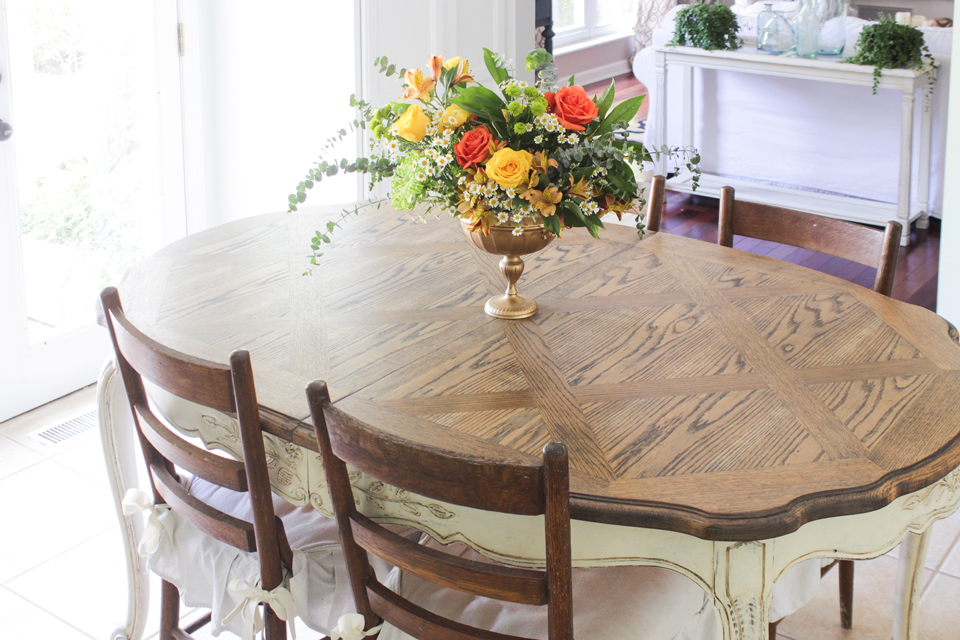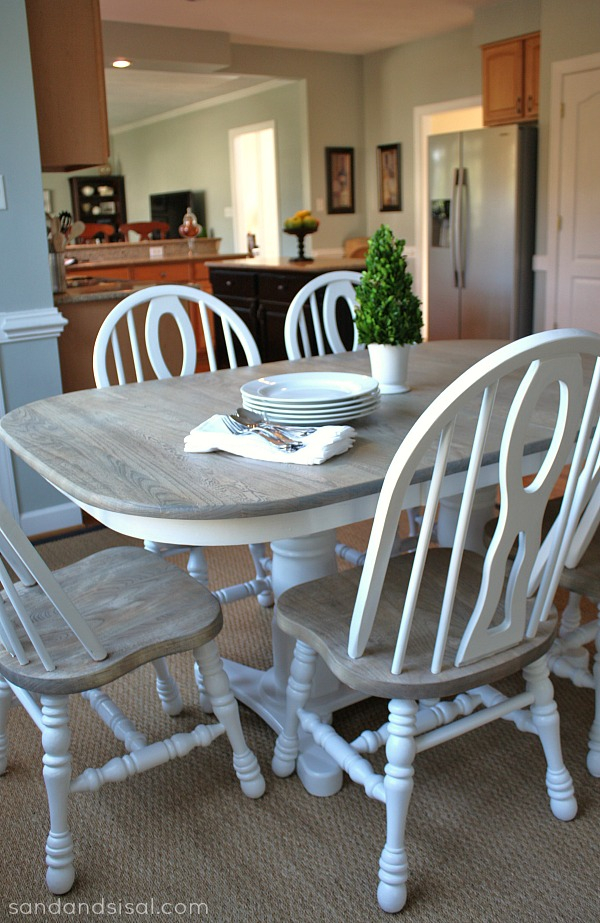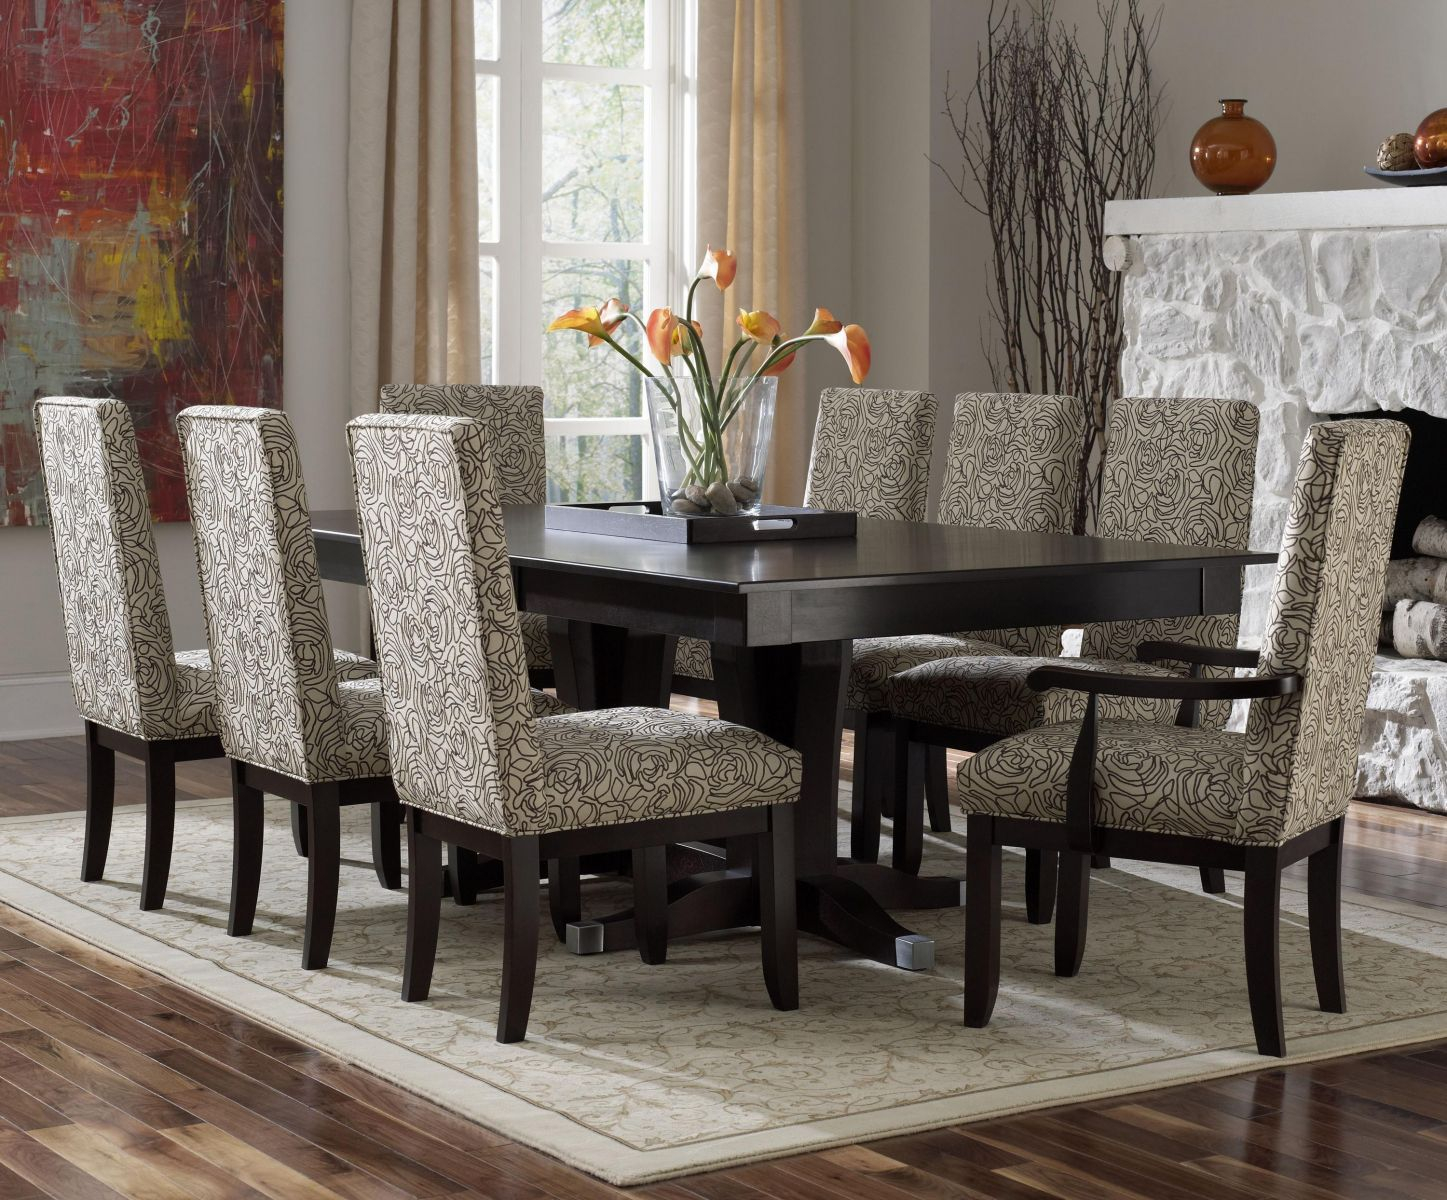
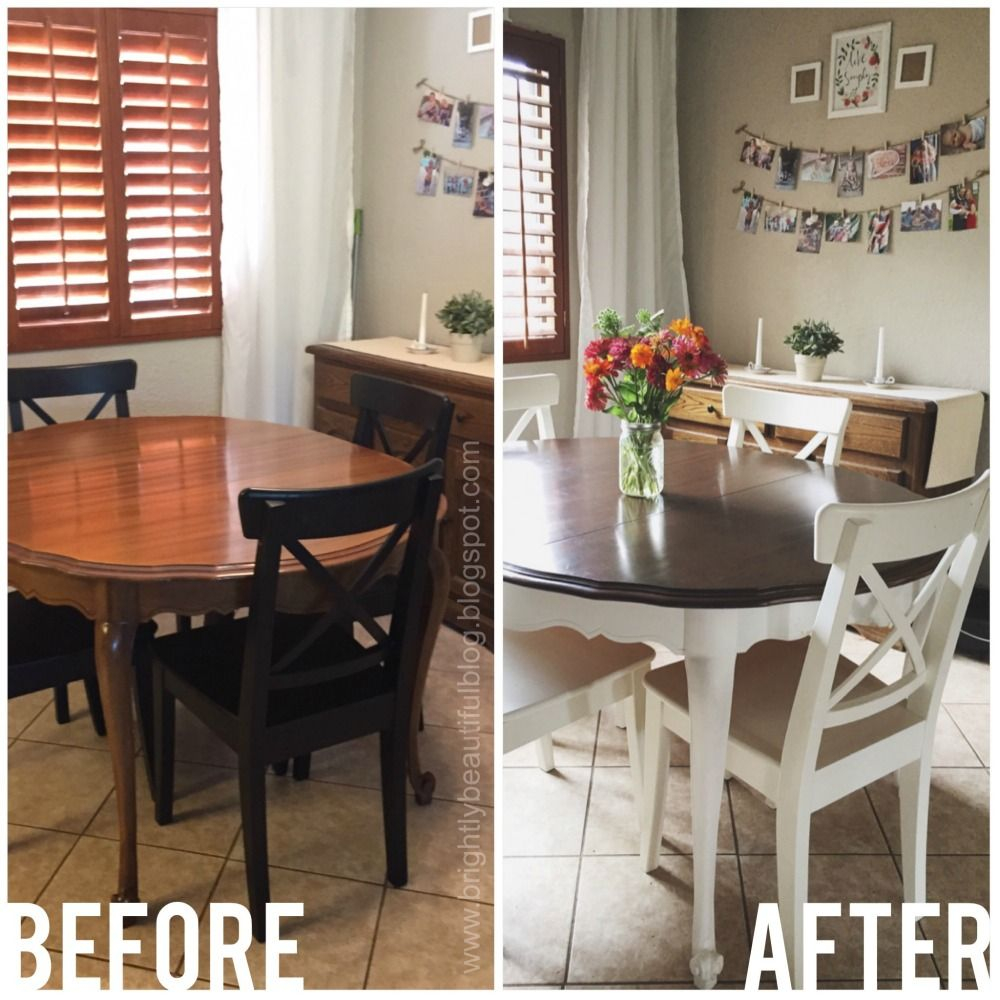
That old dining table, the one that’s seen countless family meals and maybe a few too many spills, doesn’t have to be relegated to the curb. With a bit of effort and some simple techniques, you can breathe new life into it. Refinishing your dining table isn’t just about making it look good again; it’s about preserving memories and creating a centerpiece for future gatherings. It might sound daunting, but honestly, it’s more achievable than you think. Let’s dive into how you can make your cherished table shine once more.
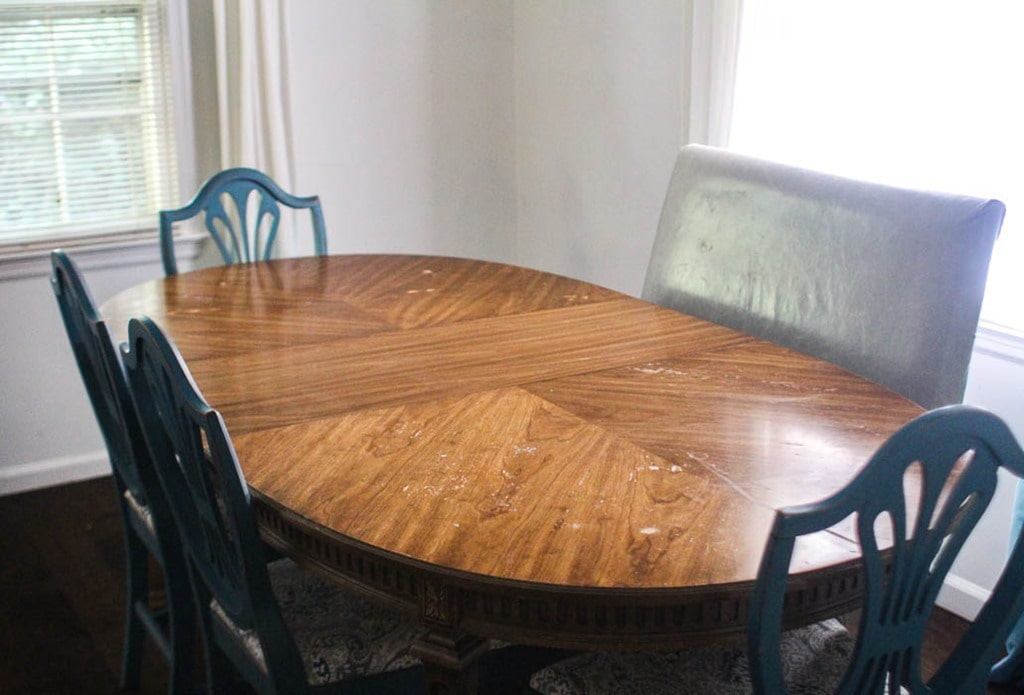
Is your dining table looking a bit tired? Scratches, dents, or a faded finish can really detract from the heart of your home. But before you consider replacing it, think about the power of refinishing. It’s a rewarding process that can dramatically change the look and feel of your dining space. Imagine a table that not only serves its purpose but does so with renewed beauty and character. This guide will walk you through the essentials of giving your dining table a fantastic makeover, making the process accessible even if you’re new to DIY projects.
Assessing Your Table’s Condition and Planning
The first step is always to take a good look at your table. What kind of wood is it? What’s the extent of the damage? Are we talking about minor scuffs, deep gouges, or is the finish completely worn away? Understanding this will help you choose the right approach and materials. For instance, a table with veneer might require a lighter touch than solid wood. Decide on the look you’re going for, too. Do you want to maintain the original wood tone, go for a darker stain, or perhaps a painted finish? Jotting down your plan and the supplies you’ll need is a smart move. This initial assessment prevents surprises down the road and ensures you have everything ready to go.
Gathering Your Supplies: What You’ll Need
You’ll want to assemble your toolkit before you begin. Essential items typically include:
- Sanding Supplies: Sandpaper in various grits (starting coarse, like 80-grit, moving to medium, like 120-grit, and finishing fine, like 220-grit), and possibly a sanding block or an orbital sander for larger areas. A palm sander can be a real time-saver.
- Stripper/Cleaner: Depending on the existing finish, you might need a chemical stripper to remove old paint or varnish, or simply a good wood cleaner.
- Wood Filler: For filling any deep scratches or gouges.
- Applicators: Brushes, foam rollers, or clean rags for applying stain and finish.
- Stain (Optional): If you’re changing the color.
- Topcoat/Finish: Polyurethane, varnish, lacquer, or wax for protection and sheen.
- Protective Gear: Gloves, safety glasses, and a mask are a must, especially when working with strippers and sanding.
- Cleaning Supplies: Tack cloths, rags, and mineral spirits for cleaning between steps.
The Stripping and Sanding Process: Preparing the Surface
This is where the real transformation begins. If your table has a thick, old finish, chemical strippers can be very effective. Apply the stripper according to the product instructions, let it sit, and then scrape away the softened finish with a putty knife. Be careful not to gouge the wood. Once the bulk of the old finish is gone, it’s time to sand. Start with a coarser grit sandpaper to remove any remaining residue and smooth out imperfections. Work your way up to finer grits. The goal is a smooth, clean surface. Always sand in the direction of the wood grain. For stubborn areas, you might need to repeat the stripping and sanding or use a higher grit sandpaper. Wipe the surface down with a tack cloth after sanding to remove all dust. A clean surface is crucial for the stain and finish to adhere properly.
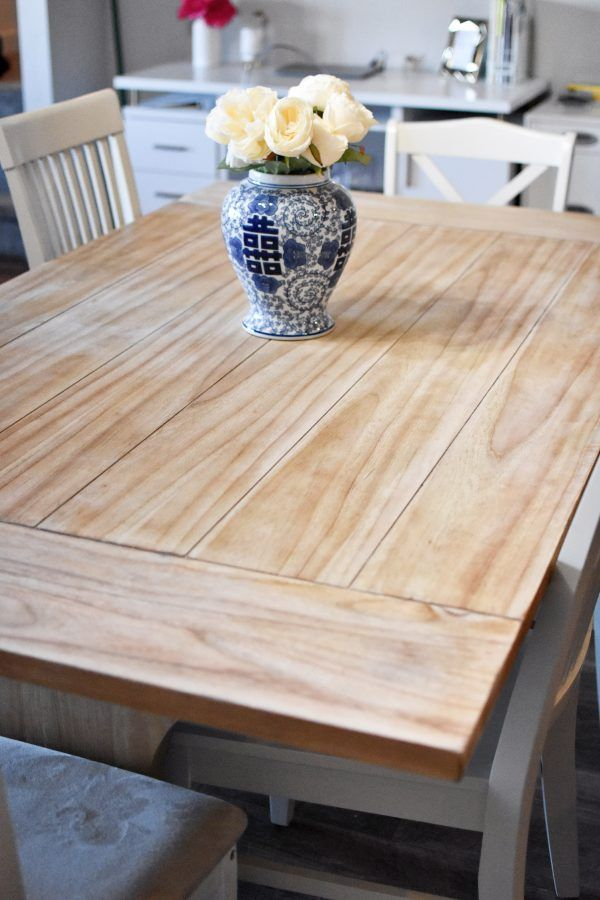
Staining Your Table: Adding Color and Depth
If you’re staining, this is the step where your table starts to really take on its new personality. Choose a stain color that complements your decor. Always test the stain on an inconspicuous area first, or on a scrap piece of wood from the same table if possible, to see how it looks. Apply the stain evenly with a brush or rag, working in the direction of the wood grain. Don’t let the stain puddle. After letting it penetrate for the time recommended on the can (usually 5-15 minutes), wipe off the excess stain with a clean rag. The longer you leave it, the darker the color. You might decide to apply a second coat for a richer hue. Allow the stain to dry completely – this can take 24 hours or more, depending on humidity and the type of stain.
Applying the Topcoat: Protection and Shine
The topcoat is what protects your beautiful new finish from everyday wear and tear. Polyurethane is a popular choice because it’s durable and readily available. You can choose between oil-based (more durable, amber tint) and water-based (clearer, faster drying) options. Apply thin, even coats using a high-quality brush or foam applicator. Avoid applying too much at once, as this can lead to drips and an uneven finish. Between coats, lightly sand with very fine-grit sandpaper (like 320-grit) and wipe with a tack cloth to ensure good adhesion. Most projects will require at least two to three coats, but four is even better for a dining table that sees a lot of use. Allow ample drying time between each coat, and let the final coat cure for several days before placing heavy items or using the table regularly.
Tips for a Flawless Finish and Maintenance
A few extra tips can make all the difference. Work in a well-ventilated area, and lay down drop cloths to protect your floors. If you’re using a chemical stripper, be sure to follow safety precautions. For a super smooth finish, consider using a pre-stain wood conditioner, especially on woods like pine or maple, which can absorb stain unevenly. When sanding, don’t rush the process; going through the grits is important for a smooth base. For maintenance, clean your table with a damp cloth and mild soap, and reapply a coat of wax or polish annually to keep the finish looking its best. Avoid harsh cleaners or abrasive pads, which can damage the protective topcoat.
Refinishing your dining table is a project that pays off in spades. You’ve not only saved money but also given a piece of furniture with history a new lease on life. The satisfaction of seeing your handiwork transform something old into something beautiful is immense. Now, gather your loved ones around your revitalized table, and make some new memories. It’s a testament to the fact that with a little patience and the right approach, you can achieve beautiful results and truly give your dining table new life.