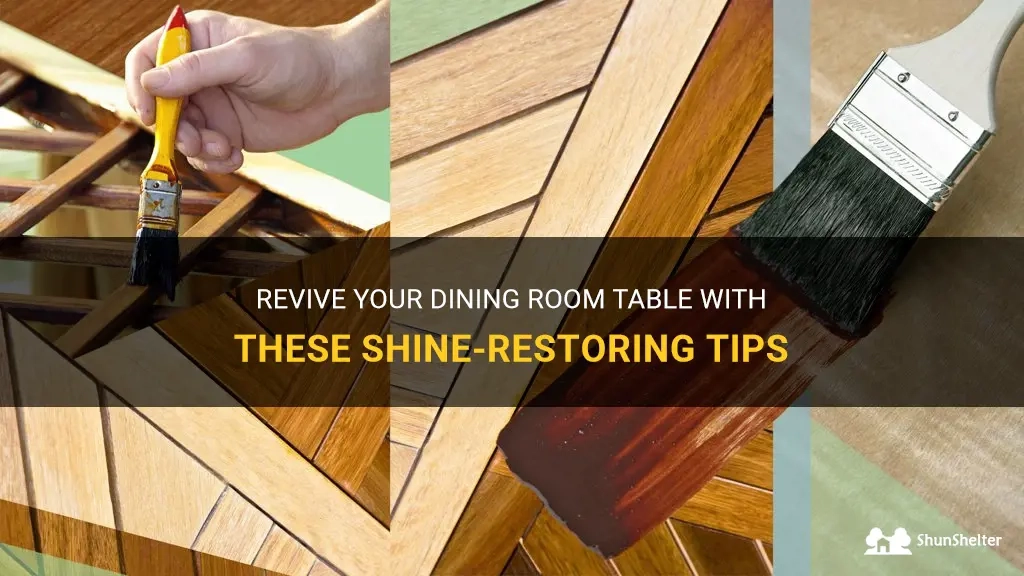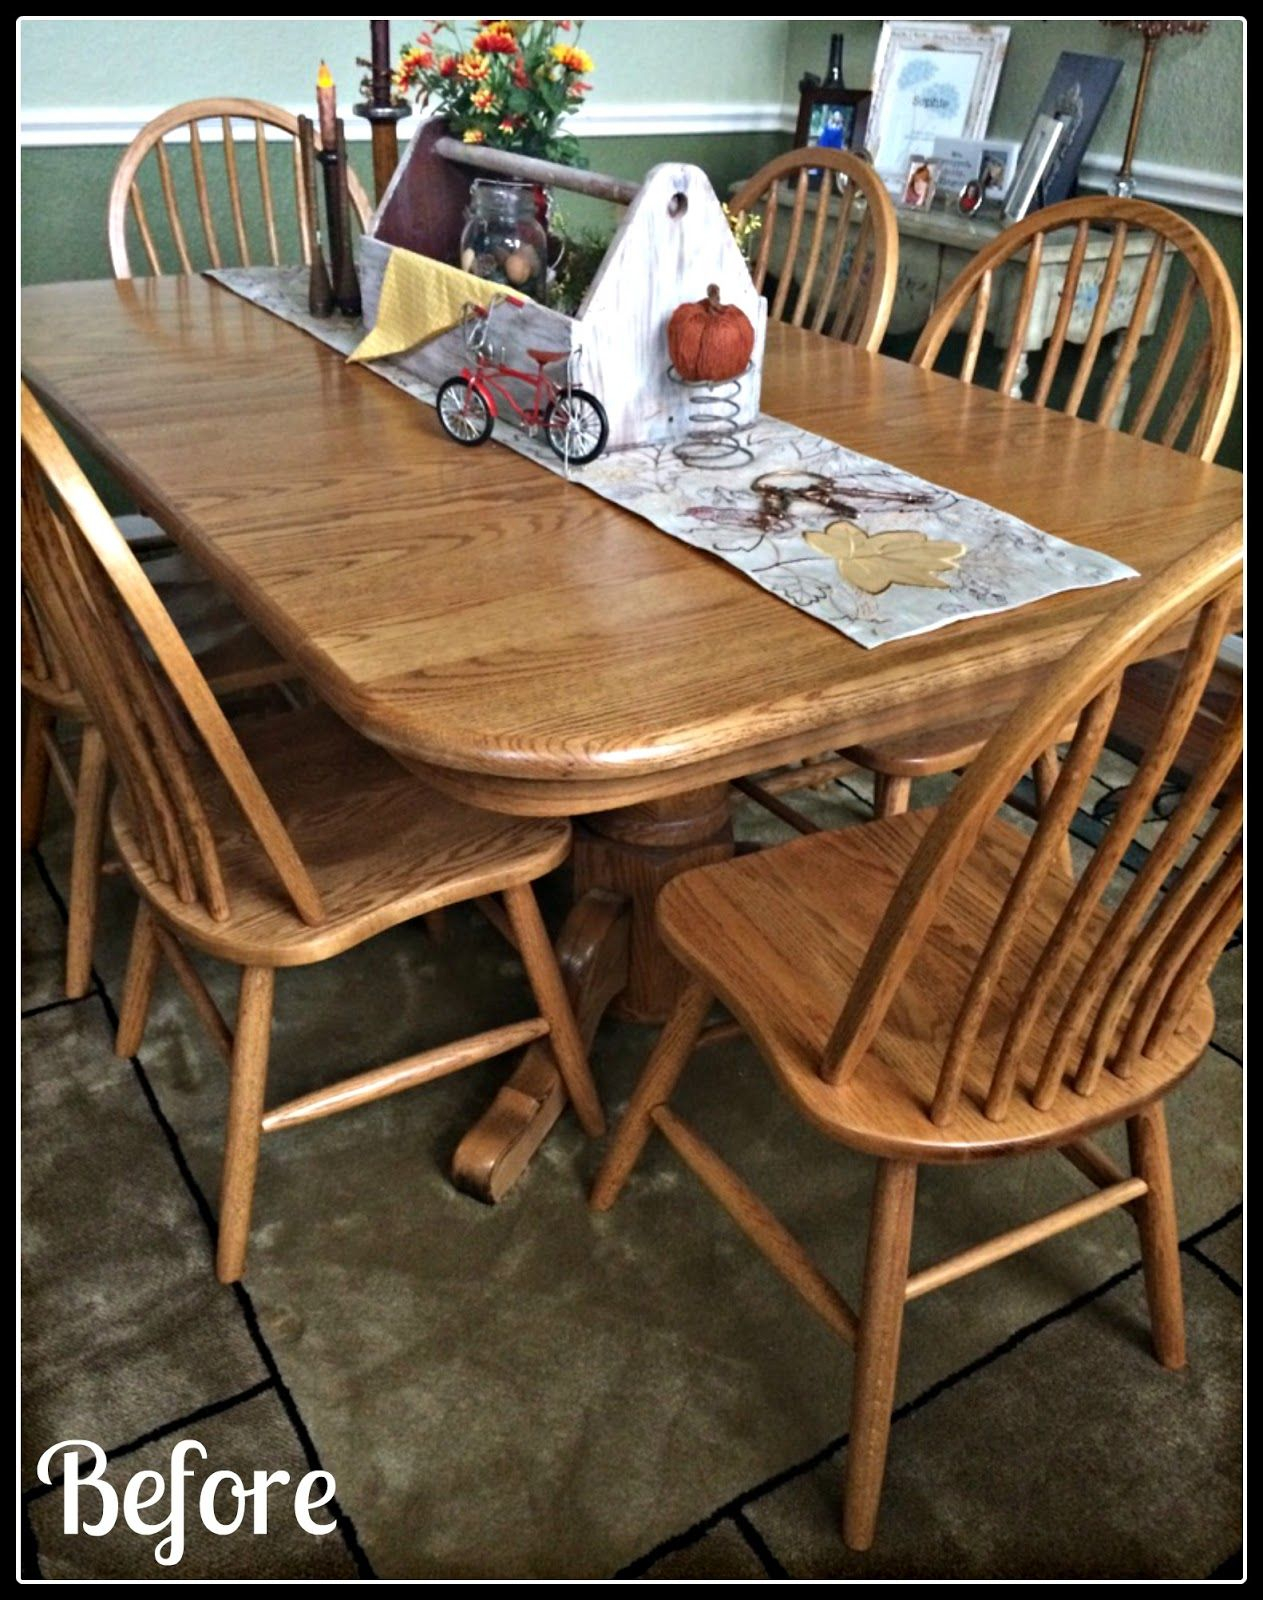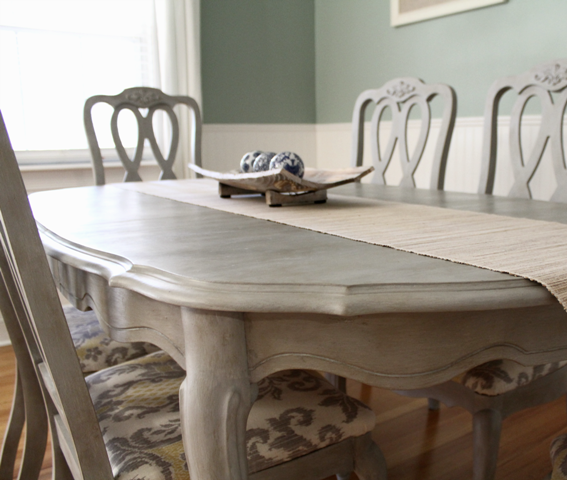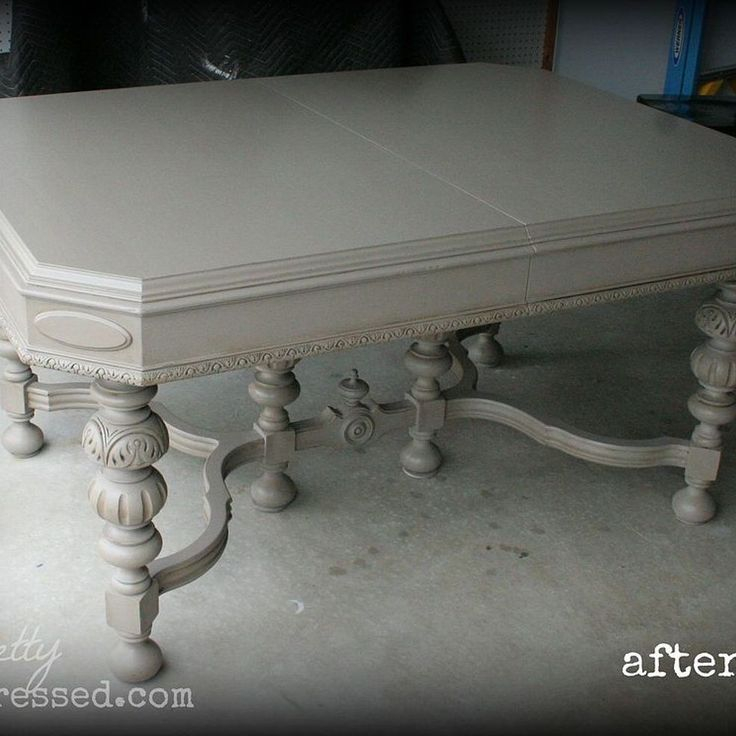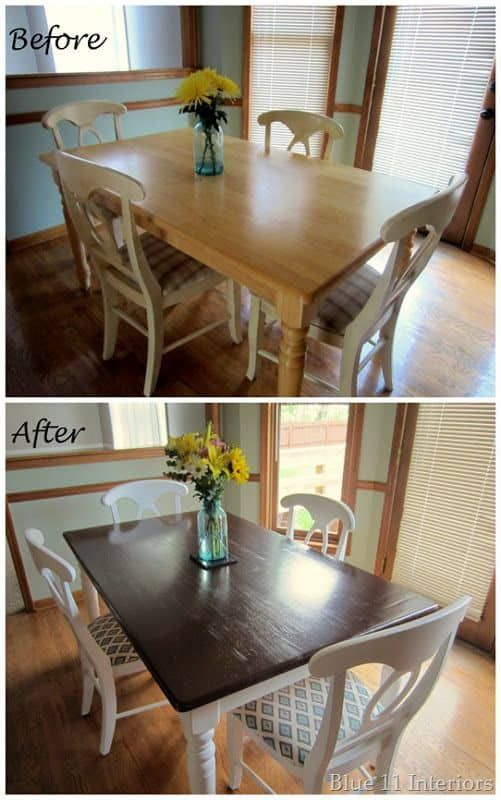
That old dining table, the one that’s seen countless family meals, homework sessions, and maybe a spill or two? It’s got character, for sure. But maybe it’s looking a little tired, chipped, or just not quite fitting with your current style. What if I told you that with a bit of effort and the right approach, you could transform it into a stunning focal point that you’ll be proud to showcase? Repainting a dining table isn’t as daunting as it might seem, and the results can be incredibly rewarding. Let’s dive in and discover how to give your beloved table a beautiful, new beginning.
There are so many reasons to consider a repaint. Perhaps the finish is worn and scratched, making it look neglected. Maybe you’ve redecorated your dining room and the table’s current color just doesn’t complement the new aesthetic. Or, you might simply be craving a fresh look without the expense of buying a brand-new piece. Whatever your motivation, a well-executed repaint can completely alter the feel of your dining space, breathing new life into a functional, and often sentimental, piece of furniture. It’s a fantastic way to be sustainable too, giving an existing item a second chance instead of contributing to waste. Ready to get started?
Step 1: Gathering Your Supplies – The Foundation of Success
Before you even think about touching that paintbrush, you need to make sure you have all your tools and materials ready. This is crucial for a smooth process. You’ll want to get your hands on:
- Sanding Supplies: Medium-grit (around 100-150) and fine-grit (around 220) sandpaper or an orbital sander. Don’t forget a sanding block for those tricky spots.
- Cleaning Supplies: A good degreaser or TSP (trisodium phosphate) substitute, a clean cloth or sponge, and some water.
- Primer: A high-quality primer appropriate for your table’s material (wood, laminate, etc.).
- Paint: Choose a durable paint. For dining tables, oil-based enamel, latex enamel, or chalk paint with a robust topcoat are excellent choices. Consider the finish you desire – matte, satin, or semi-gloss.
- Brushes and Rollers: A good quality angled paintbrush for details and edges, and a foam roller for smooth, even coverage on larger surfaces.
- Topcoat/Sealer: Polyurethane, polycrylic, or a furniture wax is essential for protection and durability.
- Drop Cloths: To protect your floors and surrounding areas from dust and paint drips.
- Screwdriver/Wrench: If you need to remove legs or other hardware.
Step 2: Preparing Your Table – The Secret to a Flawless Finish
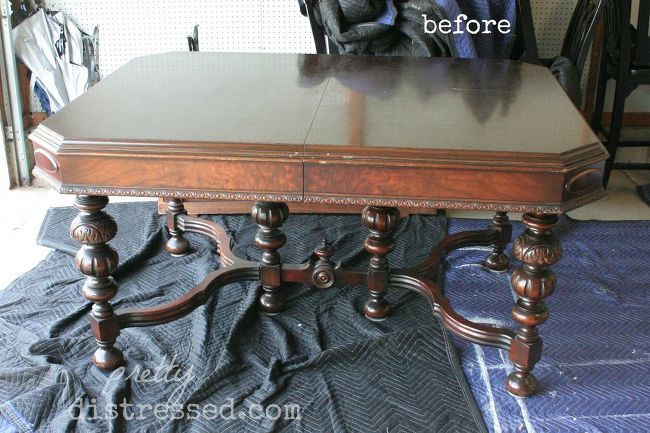
This is arguably the most important stage. Skipping or rushing preparation is a recipe for a less-than-perfect outcome. Start by thoroughly cleaning the table. Use your degreaser to remove any grease, grime, or wax buildup. Wipe it down with a damp cloth and let it dry completely. Next, it’s time for sanding. The goal here isn’t to strip all the old finish unless it’s severely damaged, but rather to rough up the surface enough so the primer and paint can adhere properly. Use your medium-grit sandpaper first, working with the grain of the wood. Then, follow up with fine-grit sandpaper for a smoother surface. After sanding, wipe the table down with a tack cloth or a slightly damp microfiber cloth to remove all the dust. Ensure all hardware, like knobs or leg attachments, are removed if possible. This allows for more even application of paint.
Step 3: Priming – Building the Base
Primer is your best friend when repainting furniture. It seals the surface, blocks stains from bleeding through, and provides a uniform base for your paint color. Apply a thin, even coat of primer using your brush or roller. Avoid applying it too thickly, as this can lead to drips and an uneven finish. Allow the primer to dry completely according to the manufacturer’s instructions. Depending on the original finish and the color you’re painting, you might need a second coat of primer for optimal coverage. Lightly sand the primed surface with your fine-grit sandpaper after the first coat dries, then wipe away the dust before applying the second coat. This extra step helps ensure a super-smooth finish.
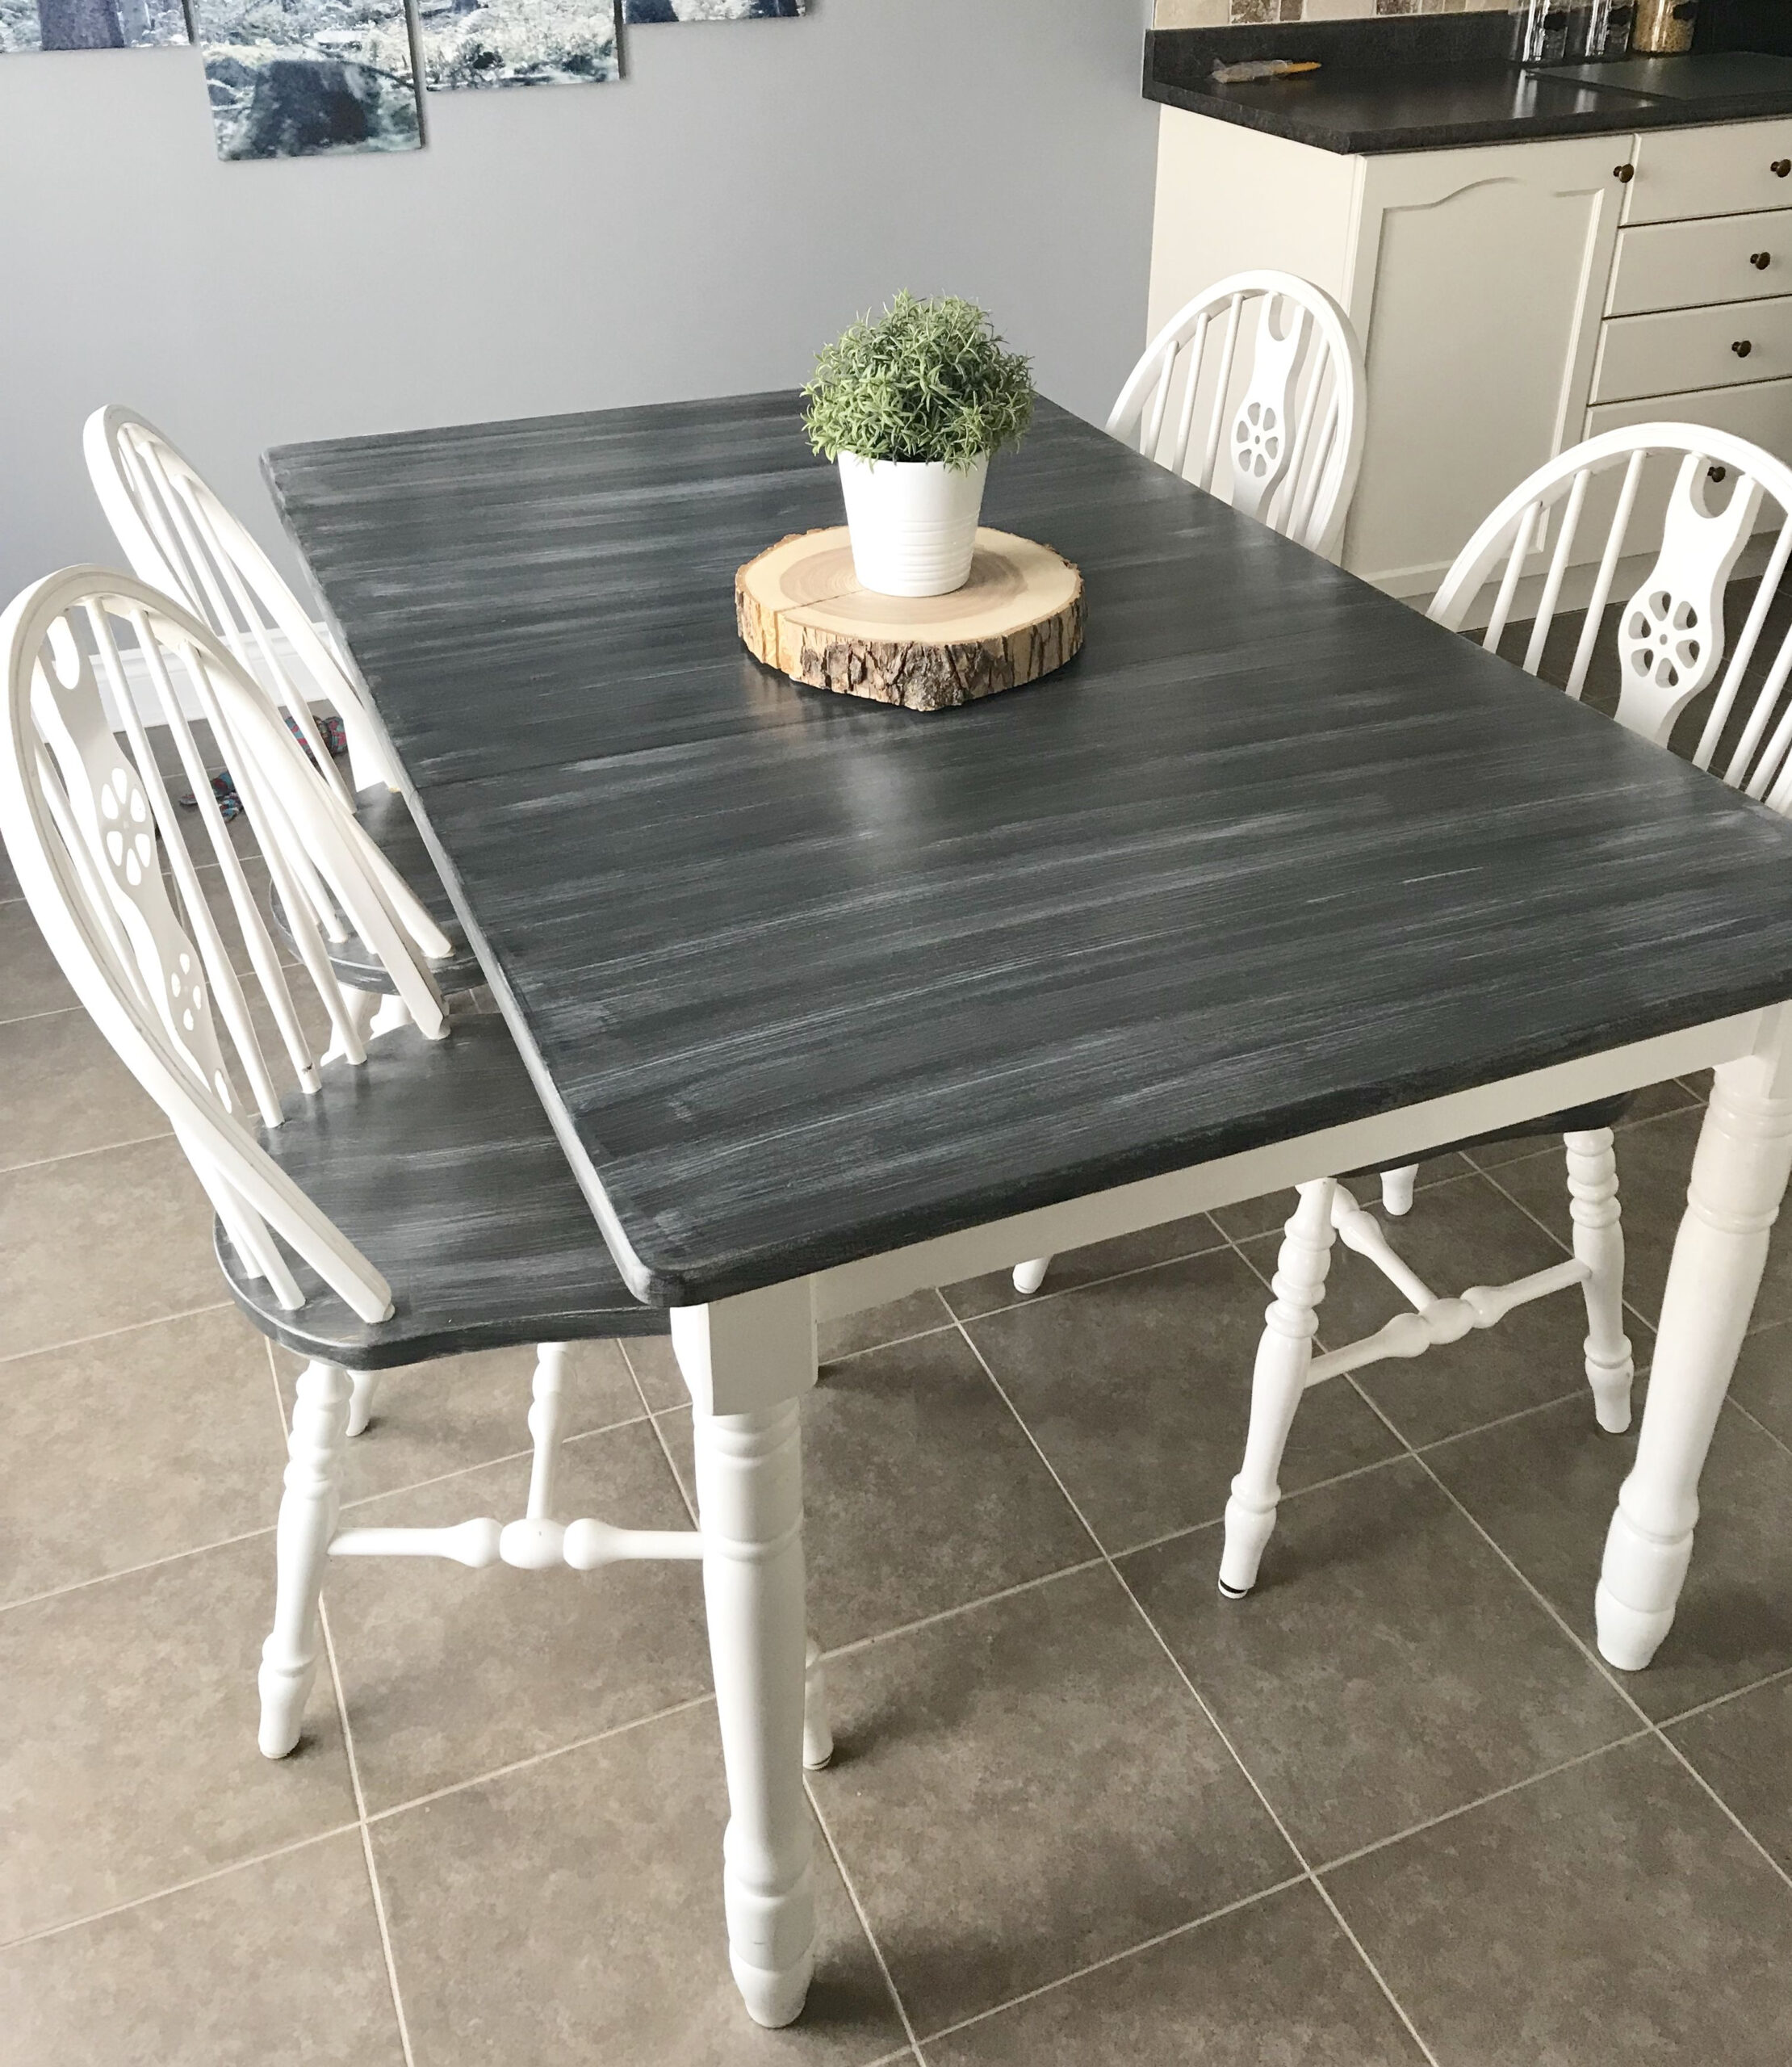
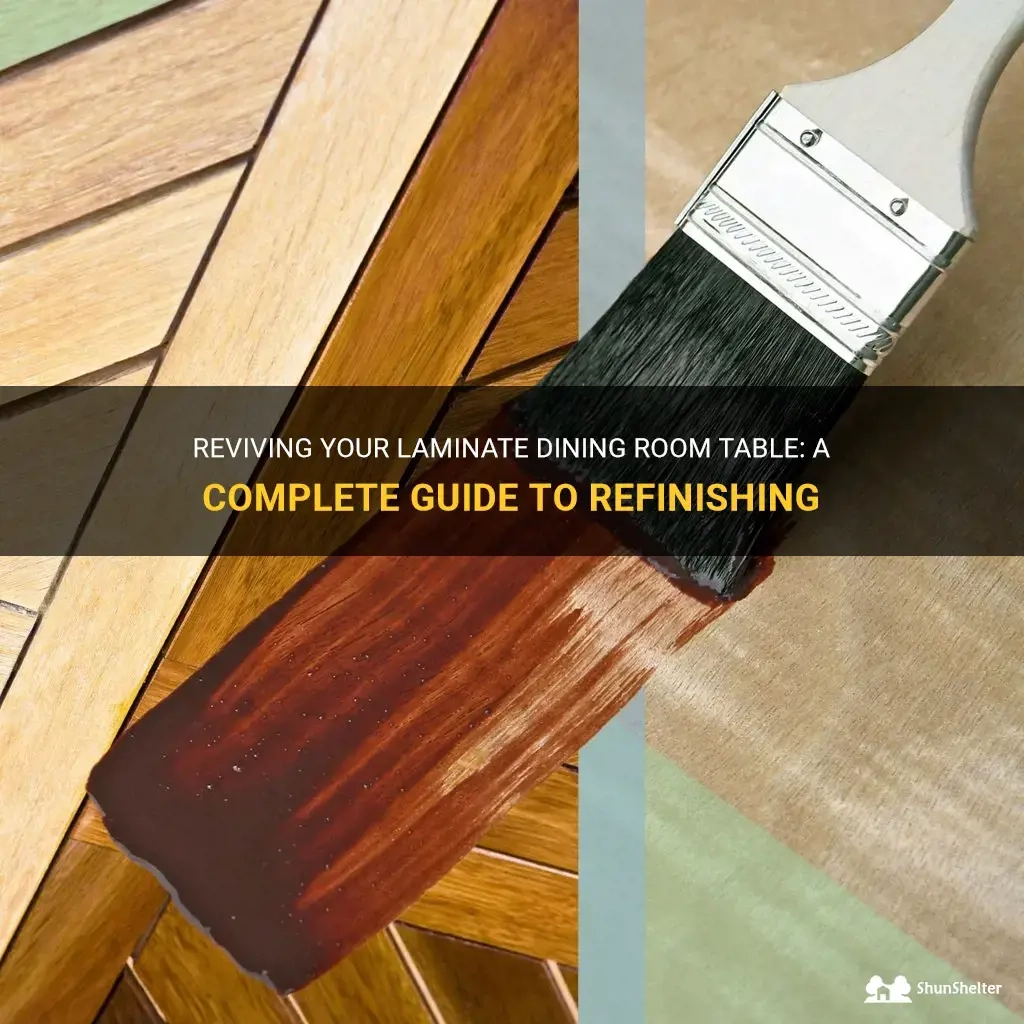
Step 4: Painting – Bringing Your Vision to Life
Now for the fun part! Stir your paint well, don’t shake it, as this can create air bubbles. Begin by applying a thin, even coat of your chosen paint. Use long, smooth strokes, working with the grain of the wood. For the tabletop, a foam roller is usually best for achieving a flawless, streak-free finish. For the legs and edges, use your angled brush. Avoid overloading your brush or roller. It’s always better to apply multiple thin coats than one thick one. Allow each coat to dry completely before applying the next. Lightly sanding with very fine-grit sandpaper (220 or higher) between coats can help smooth out any imperfections and promote better adhesion for the next layer. Again, always wipe away dust with a tack cloth after sanding.
Step 5: Applying the Topcoat – Protection and Durability
A dining table needs a durable finish because it experiences a lot of wear and tear. The topcoat is what will protect your beautiful new paint job. Choose a high-quality, clear protective finish like polyurethane or polycrylic. Apply it in thin, even coats, just like you did with the paint. You’ll likely need at least two to three coats for adequate protection. Allow each coat to dry thoroughly before applying the next. For an extra smooth finish, you can lightly sand with very fine-grit sandpaper (320 grit or higher) between coats, and always wipe away dust. If you’re using chalk paint, a furniture wax or a polycrylic topcoat will seal and protect it. Make sure to follow the drying and curing times recommended by the product manufacturer. Curing can take several days or even weeks, during which time the finish will harden to its maximum durability.
Step 6: Reassembly and Enjoyment
Once the final coat of topcoat is completely dry and cured, you can reattach any hardware you removed. Carefully move your newly repainted dining table back into place. Give yourself a pat on the back! You’ve just transformed a piece of furniture, saved money, and probably learned a thing or two. Now, set the table, invite some friends over, and enjoy the fruits of your labor. Remember to use placemats and coasters, especially during the initial curing period, to give your new finish the best chance to harden fully and resist scratches and spills.
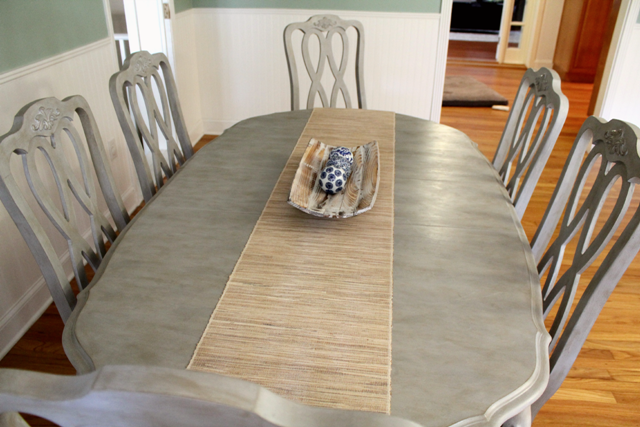
Repainting your dining table is a project that offers immense satisfaction. It’s a chance to infuse your personal style into your home, revive a beloved item, and create a space that feels fresh and inviting. By following these steps, paying close attention to preparation, and using quality materials, you can achieve a stunning, professional-looking finish. So, don’t let that tired table get you down. Embrace the process, and enjoy the beautiful transformation you can achieve with your own two hands. Happy painting!