
Whether you’re renovating your kitchen or updating your bathroom, understanding how to install a contemporary sink properly is crucial. These days, sinks aren’t just functional fixtures—they’re design statements that can transform your entire space. But getting it right requires more than just following a few basic steps. It’s about understanding materials, measuring precisely, and ensuring everything fits together perfectly.
Sink installation might seem straightforward, but it’s actually a delicate balance of plumbing precision and aesthetic judgment. Today’s sinks come in all shapes and sizes, from sleek undermount models to bold farmhouse styles. What makes modern installation particularly interesting is how much it reflects our changing relationship with kitchen and bathroom spaces. We want more than just functionality—we want beauty, durability, and seamless integration with our overall design vision. The good news? With the right approach, anyone can master this essential home improvement skill. Let’s break down exactly what you need to know.
Understanding Different Sink Types
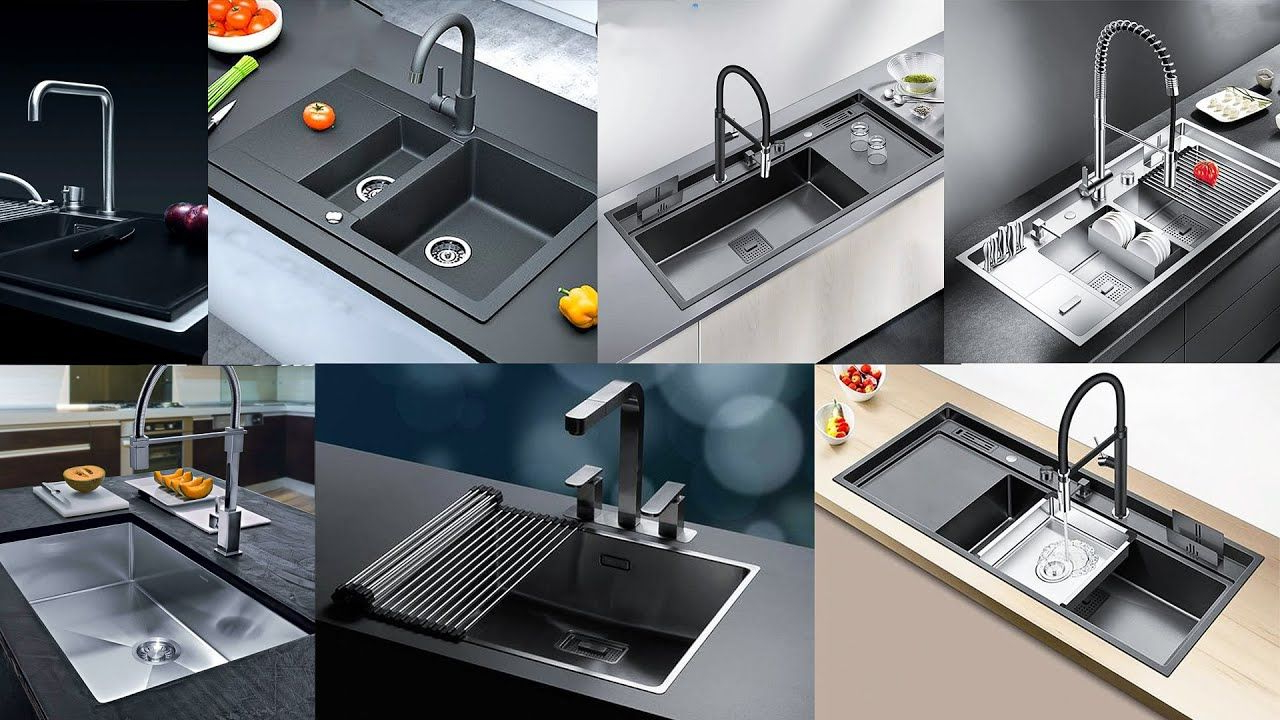
Contemporary sinks vary dramatically in style, material, and installation method. The most popular types today include:
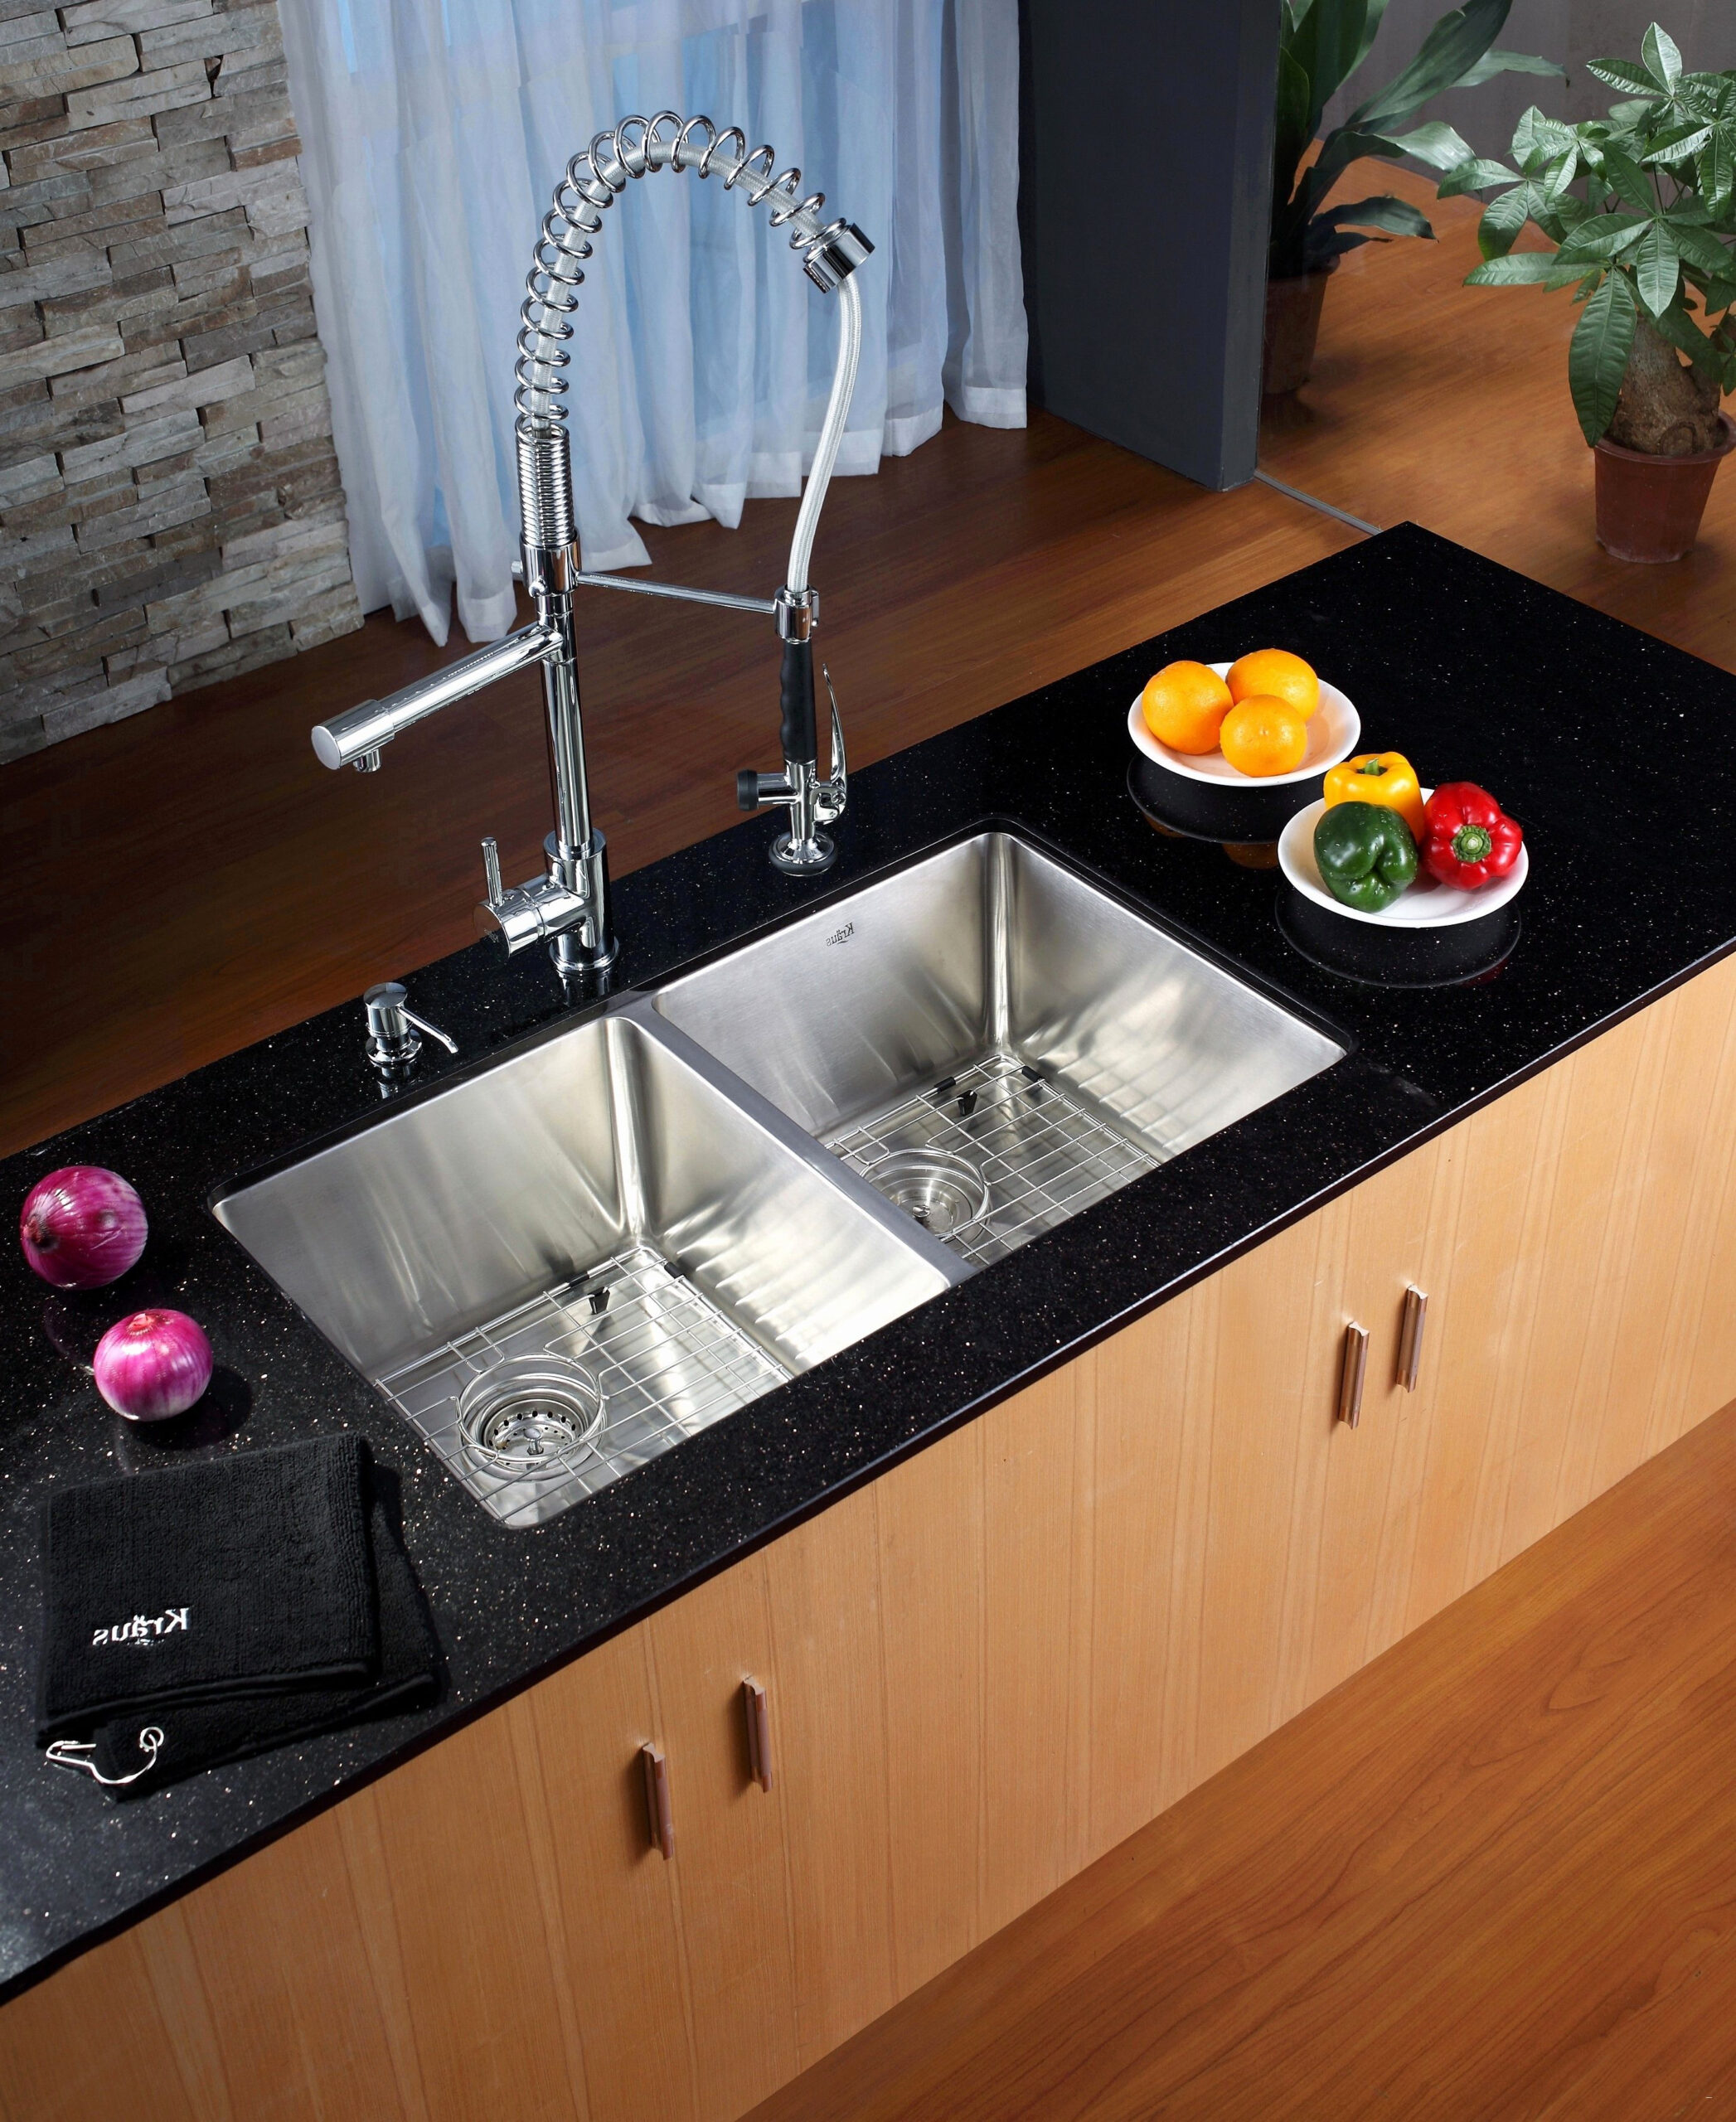
• Undermount sinks – These sit beneath the countertop, creating a seamless look that’s easy to clean. They require precise cutting and strong mounting brackets.
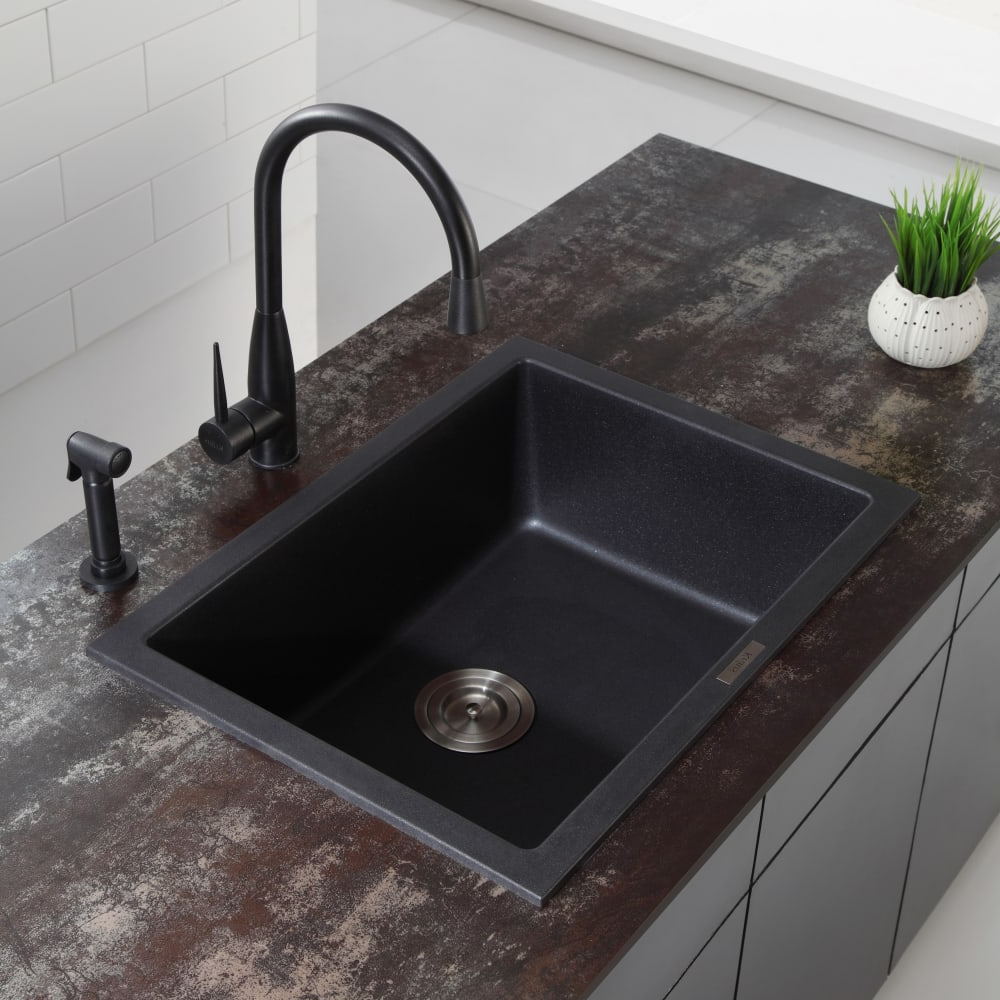
• Top-mount sinks – Also called apron-front sinks, they sit on top of the counter and often feature decorative fronts. Easier to install but may have more visible edges.
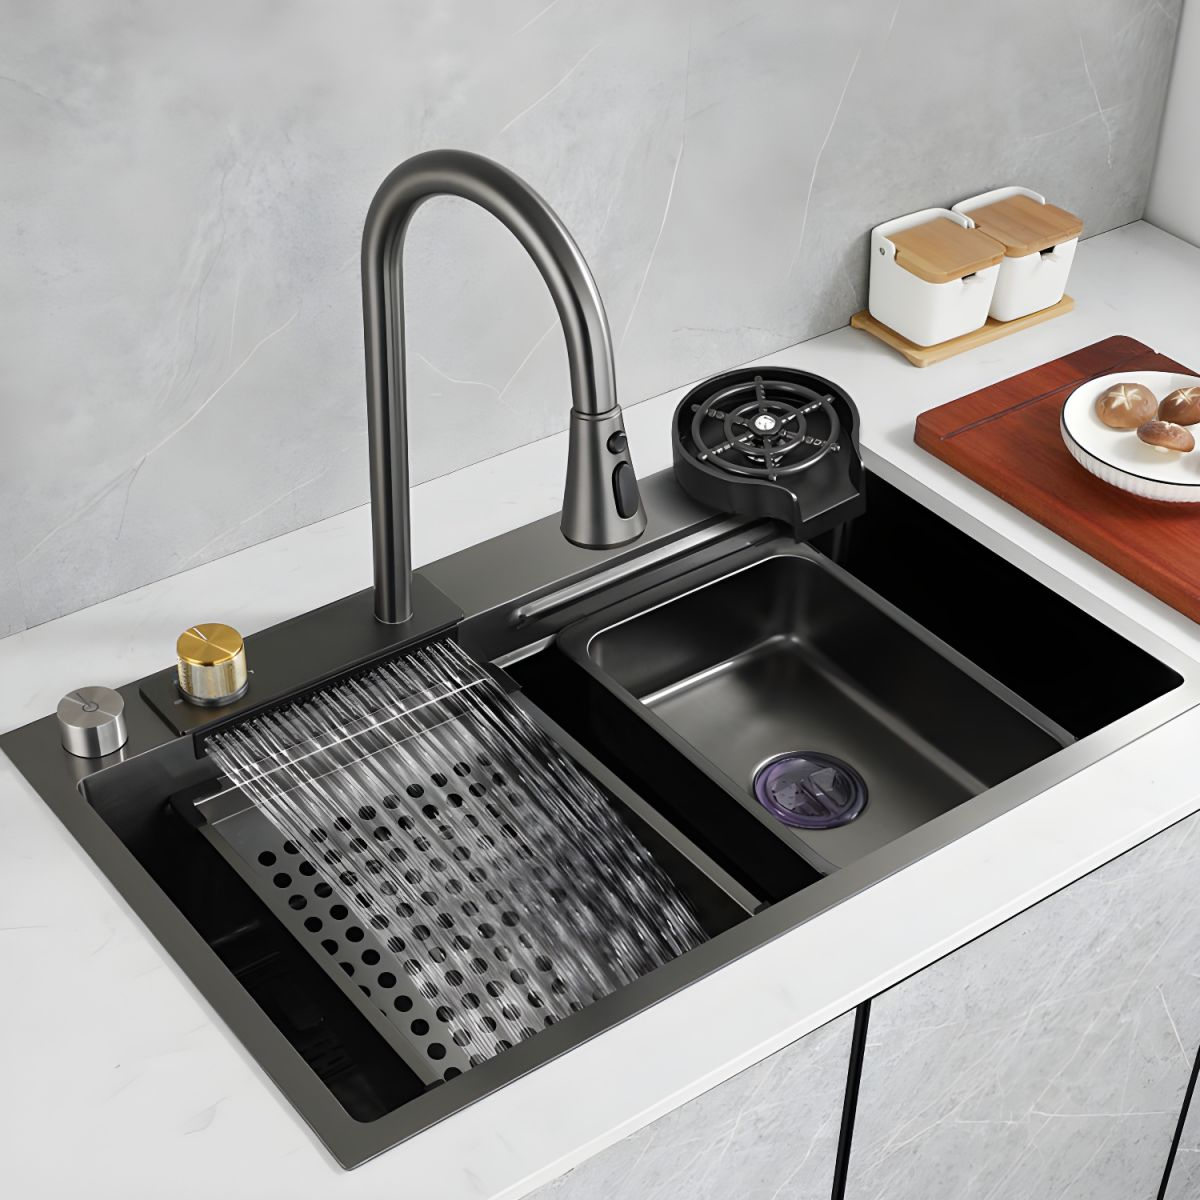
• Integrated sinks – Built directly into countertops, offering maximum design flexibility but requiring careful planning during construction.
• Drop-in sinks – Sit in a cutout and are supported from above. They’re versatile and budget-friendly.
Each type demands different preparation and mounting techniques. For instance, undermount sinks need special attention to waterproofing around the edge, while drop-in models focus more on proper fitment and sealant application.
Essential Tools and Materials
Before diving into installation, gather these key items:
• Measuring tape and level for accuracy
• Drill with various bits for mounting holes
• Screwdriver set and wrenches
• Silicone caulk gun and appropriate sealant
• Safety gear including gloves and goggles
• Stud finder for locating wall supports
Modern installations often involve specialized materials too. High-quality silicone sealants now offer better longevity and resistance to moisture. Some premium sinks even come with pre-drilled holes, saving time and reducing error potential. Quality hardware like stainless steel brackets and mounting screws can make the difference between a job that lasts decades versus one that needs fixing within months.
Planning and Measurements
This step is where many DIYers run into trouble. Proper measurement prevents costly mistakes later. Start by taking detailed measurements of your existing space:
• Width and depth of sink opening
• Thickness of countertop material
• Distance between faucet holes
• Space available for plumbing connections
It’s also important to consider the sink’s placement within the overall layout. A well-planned sink position can improve workflow in the kitchen and comfort in the bathroom. For example, a sink placed too close to a stove creates heat issues, while positioning it too far from the cooking area disrupts kitchen efficiency. Always double-check that your chosen sink will work with your existing plumbing setup and cabinet dimensions.
Preparing the Workspace
Cleanliness and organization are critical before beginning any installation. Remove old fixtures carefully to avoid damaging surrounding areas. If replacing a sink, check that your countertop is still in good condition. Sometimes, the countertop itself needs repair or replacement before new sink installation. Make sure your workspace is well-lit and ventilated. If working in a bathroom, ensure adequate ventilation since some sealants emit fumes. Having all tools and materials within reach helps maintain momentum and reduces the chance of missing steps.
Installation Process Overview
The actual installation follows several key stages:
- Mounting hardware preparation – Attach brackets or mounting systems according to manufacturer instructions
- Positioning the sink – Carefully place the sink in its designated spot
- Securing the sink – Apply sealant and fasten securely to prevent leaks
- Connecting plumbing – Attach supply lines and drain connections
- Final sealing and testing – Check for water tightness and proper alignment
Each phase requires attention to detail. Even small misalignments can lead to significant problems later. For instance, if a sink isn’t perfectly level, water may pool unevenly or the faucet may not align correctly with the spout.
Common Mistakes and How to Avoid Them
Even experienced installers encounter challenges. Here are typical pitfalls and solutions:
• Poor measurement – Always measure twice, cut once. Double-check all dimensions before purchasing
• Inadequate sealing – Use high-quality silicone and apply generously around all edges
• Incorrect plumbing connections – Match faucet hole spacing exactly; consider using template guides
• Over-tightening hardware – This can crack delicate materials like ceramic or granite
• Ignoring local building codes – Some areas require permits or specific installation methods
Many of these issues stem from rushing through the process. Taking time to carefully plan and execute each step leads to better results and fewer headaches down the road.
Maintenance Tips for Longevity
A properly installed sink can last decades with minimal care. Regular maintenance keeps it looking fresh and functioning smoothly:
• Clean regularly with mild soap and water
• Avoid harsh chemicals that could damage finishes
• Check for loose fittings periodically
• Address minor leaks immediately
• Consider professional cleaning for heavily used areas
For high-end materials like granite or stainless steel, follow manufacturer recommendations specifically. Some surfaces benefit from periodic polishing or sealing. Understanding how your particular sink handles daily wear helps extend its life significantly.
When to Call a Professional
While many installations are manageable for DIY enthusiasts, certain situations warrant professional help:
• Complex plumbing layouts that require extensive modifications
• Older homes with outdated plumbing systems
• Very large or unusual sink configurations
• When dealing with specialty materials like natural stone
• If you’re unsure about electrical connections for integrated features
Professionals bring experience with unexpected complications and specialized tools. They can also ensure compliance with local building codes and provide warranties for their work. Sometimes investing in professional installation saves money in the long run by avoiding costly corrections.
Installing a contemporary sink is more than just following instructions—it’s about bringing your design vision to life while ensuring long-term functionality. Whether you choose a sleek modern model or a classic farmhouse style, the key lies in proper preparation and attention to detail. From choosing the right type of sink to understanding the importance of correct measurements and quality materials, every step matters. Remember that patience pays off when it comes to achieving a successful installation. With the right approach and some practice, you’ll find yourself confidently handling sink installations for years to come. The investment in learning this skill pays dividends not just in savings, but in the satisfaction of completing a project that truly enhances your living space.
[sps_html tag=”img” src=”https://roofdrivein.com/wp-content/uploads/2026/01/kitchen-sinks-and-faucets-designs-throughout-everything-you-need-to-know-about-contemporary-sink-installation.jpg” alt=”Kitchen Sinks And Faucets Designs throughout Everything you need to know about contemporary sink installation” style=”width: 100%; height: auto;”]
[sps_html tag=”img” src=”https://roofdrivein.com/wp-content/uploads/2026/01/modern-kitchen-sinks-a-guide-to-finding-the-perfect-focal-point-for-with-modern-kitchen-sink-scaled.jpg” alt=”Modern Kitchen Sinks: A Guide To Finding The Perfect Focal Point For … with Modern Kitchen Sink” style=”width: 100%; height: auto;”]
[sps_html tag=”img” src=”https://roofdrivein.com/wp-content/uploads/2026/01/modern-kitchen-sinks-images-kitchen-info-in-everything-you-need-to-know-about-contemporary-sink-installation.jpg” alt=”Modern Kitchen Sinks Images – Kitchen Info in Everything you need to know about contemporary sink installation” style=”width: 100%; height: auto;”]
[sps_html tag=”img” src=”https://roofdrivein.com/wp-content/uploads/2026/01/modern-kitchen-sink-single-basin-kitchen-sink-with-soundproofing-sink-pertaining-to-modern-kitchen-sink.jpg” alt=”Modern Kitchen Sink Single Basin Kitchen Sink With Soundproofing - Sink … pertaining to Modern Kitchen Sink” style=”width: 100%; height: auto;”]
[sps_html tag=”img” src=”https://roofdrivein.com/wp-content/uploads/2026/01/modern-kitchen-sink-designs-and-ideas-2020-pertaining-to-modern-kitchen-sink.jpg” alt=”Modern Kitchen Sink Designs And Ideas 2020 pertaining to Modern Kitchen Sink” style=”width: 100%; height: auto;”]