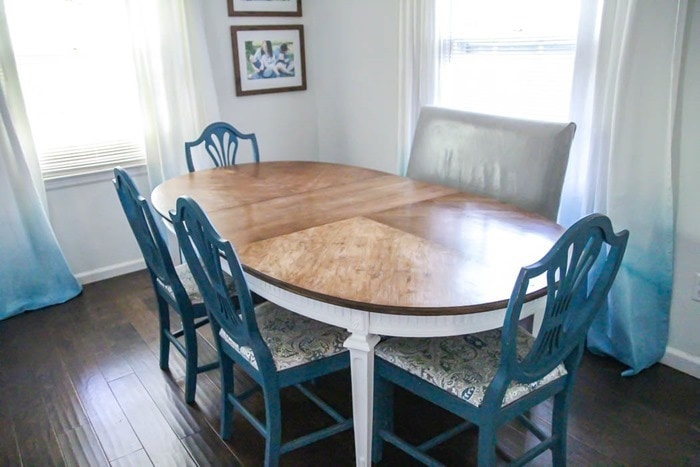
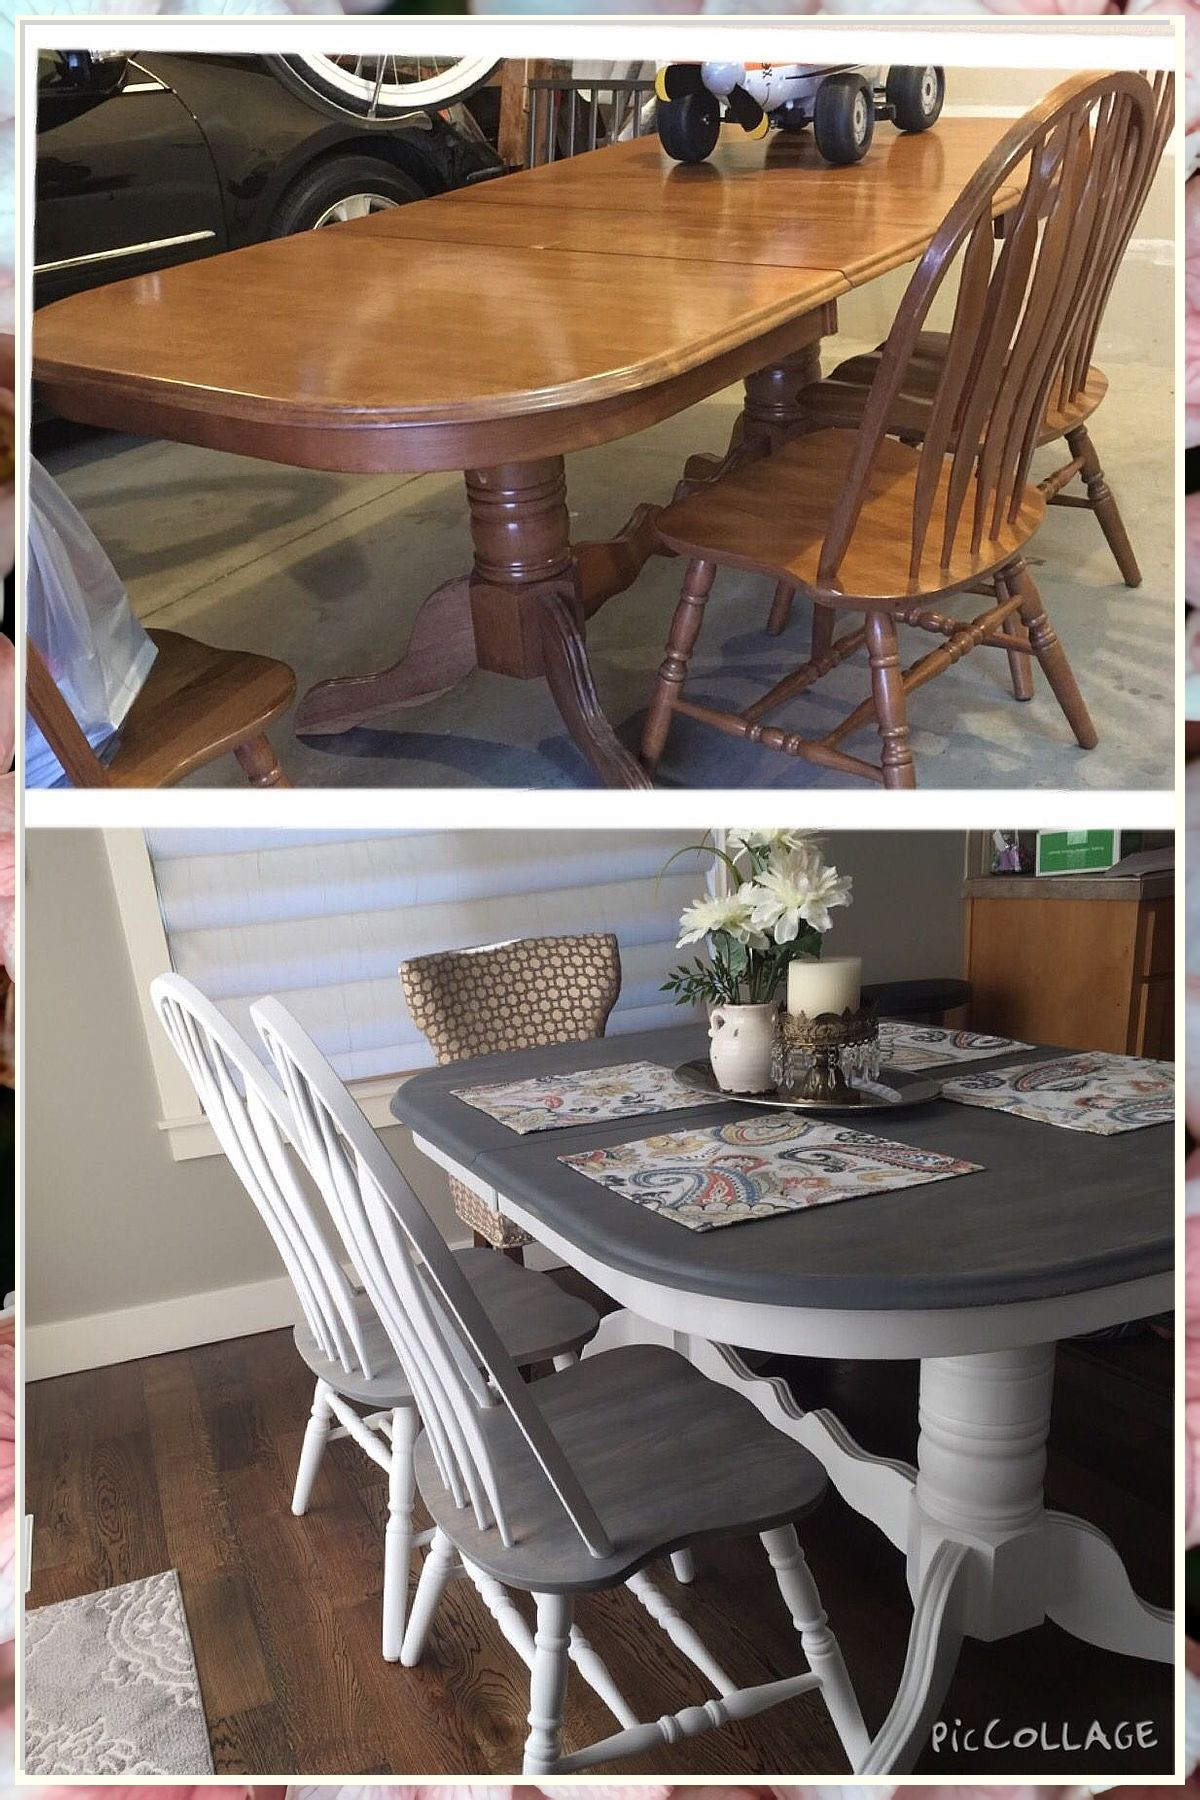
That dining table. It’s seen countless meals, heard endless conversations, and maybe even weathered a few spills. But what happens when its shine starts to fade, or a scratch tells a story you’d rather forget? It’s time to talk about giving your cherished dining table a beautiful second act. This isn’t just about fixing it up; it’s about breathing new life into a centerpiece of your home, ensuring it continues to be a gathering spot for years to come. Let’s explore how to achieve that perfect, flawless finish.
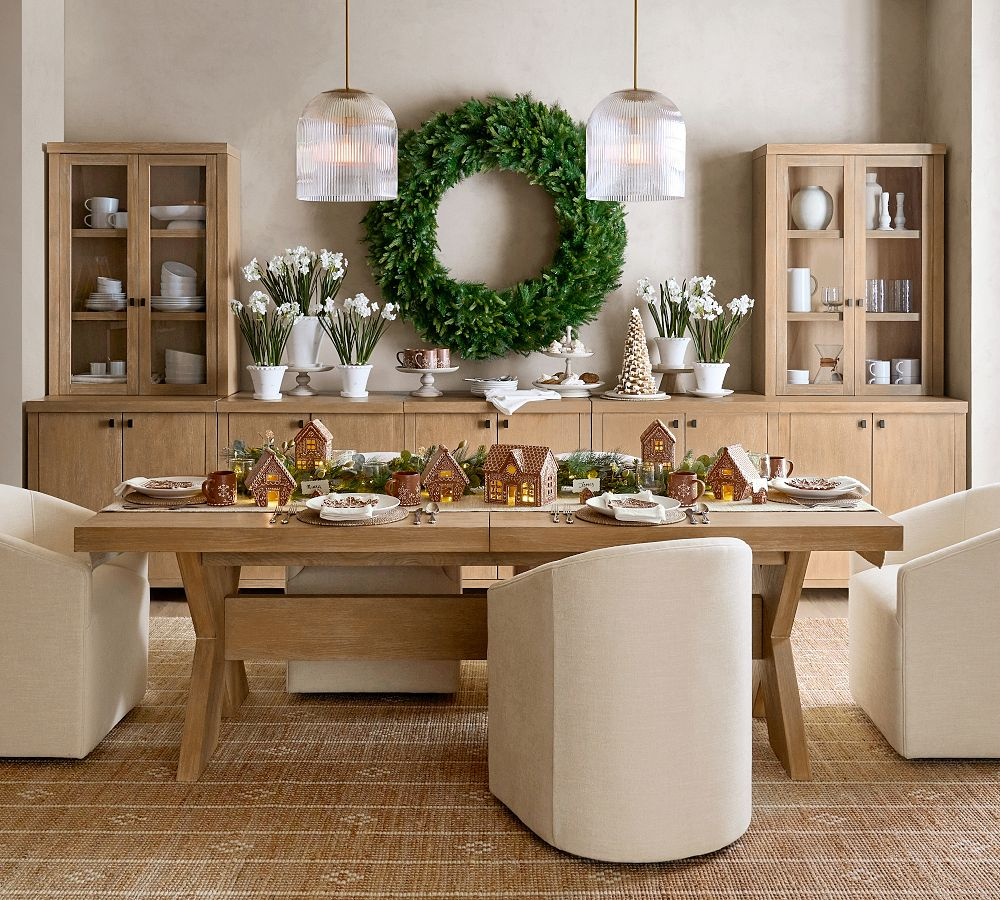
Your dining table is more than just furniture. It’s the stage for family dinners, holiday feasts, homework sessions, and late-night chats. Over time, though, even the most well-loved tables can show their age. Scratches, water rings, dull finishes – they all tell a story. But a fading narrative doesn’t mean the end. In fact, it can be the beginning of a wonderful transformation. Giving your dining table a second act, through careful restoration and finishing, is incredibly rewarding. It’s about preserving memories and creating new ones, all while enhancing the beauty of your home. Ready to make your table look its absolute best again?
Assessing the Damage: What Needs Fixing?
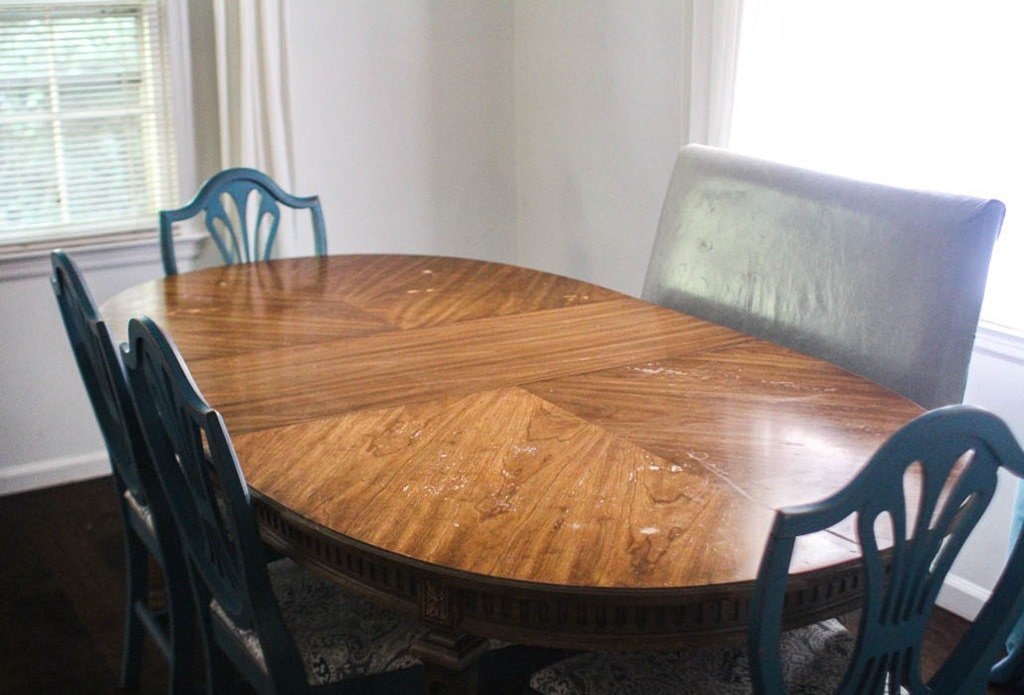
Before diving into any restoration work, take a good, hard look at your table. What are the main issues? Are we talking about superficial scratches, deeper gouges, stubborn water stains, or a generally worn-out finish. Understanding the extent of the damage will guide your approach and the products you’ll need. Sometimes, a simple cleaning and a good polish can work wonders. Other times, you might be looking at sanding and refinishing. Don’t be intimidated. Breaking it down into manageable steps makes the whole process less daunting. Think of it like a doctor’s check-up for your table.
Preparation is Key: The Foundation for a Flawless Finish
This is arguably the most crucial stage. A great finish starts with excellent preparation. If you’re planning to refinish, you’ll need to strip away the old finish. This can be done with chemical strippers or by sanding. Chemical strippers are effective but require good ventilation and protective gear. Sanding is more physical but can be done with orbital sanders or even by hand for smaller areas. Always start with a coarser grit sandpaper (like 80 or 100) to remove the old finish and work your way up to finer grits (like 180 or 220) for a smooth surface. Clean the table thoroughly after sanding to remove all dust. Any dust left behind will ruin your new finish. Seriously, wipe it down with a tack cloth or a slightly damp microfiber cloth. Multiple times. It’s that important.
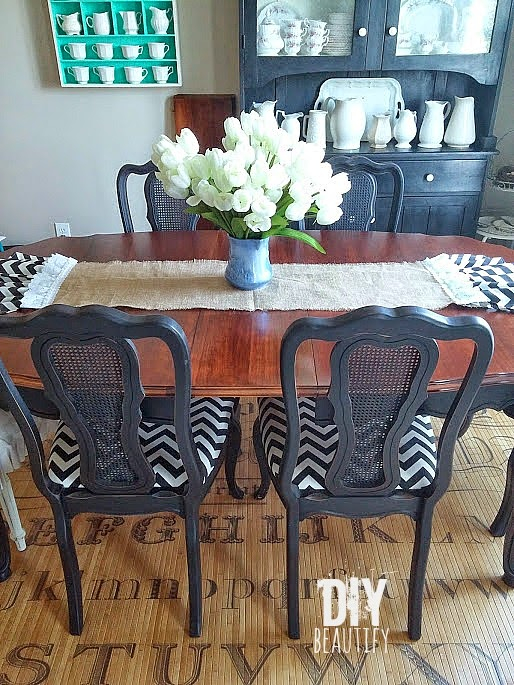
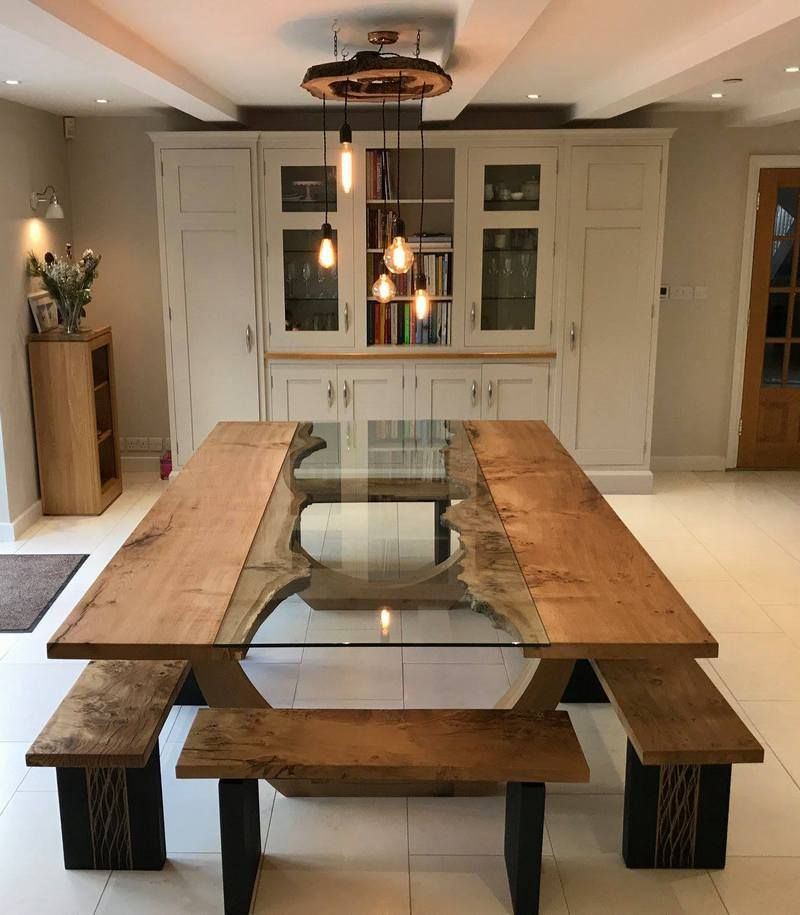
Choosing Your Finish: From Natural Beauty to Bold Statements
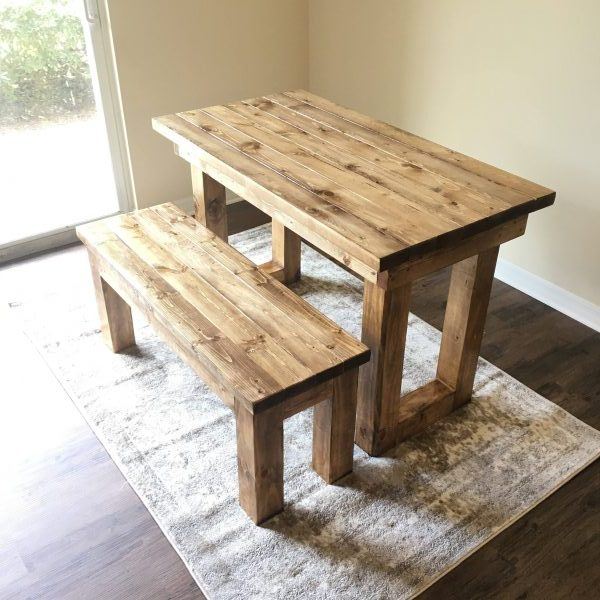
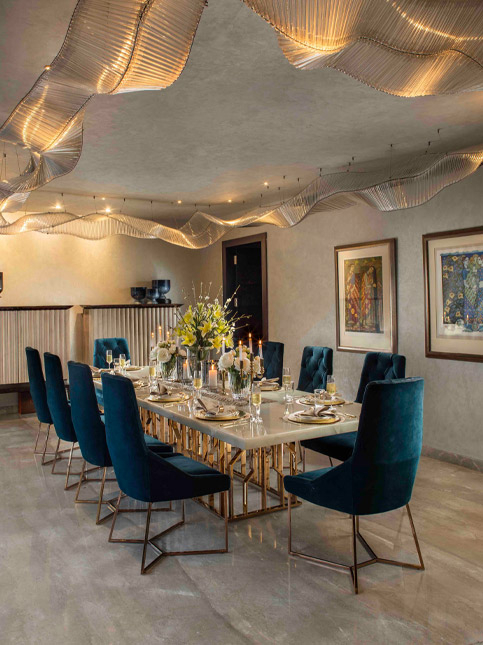
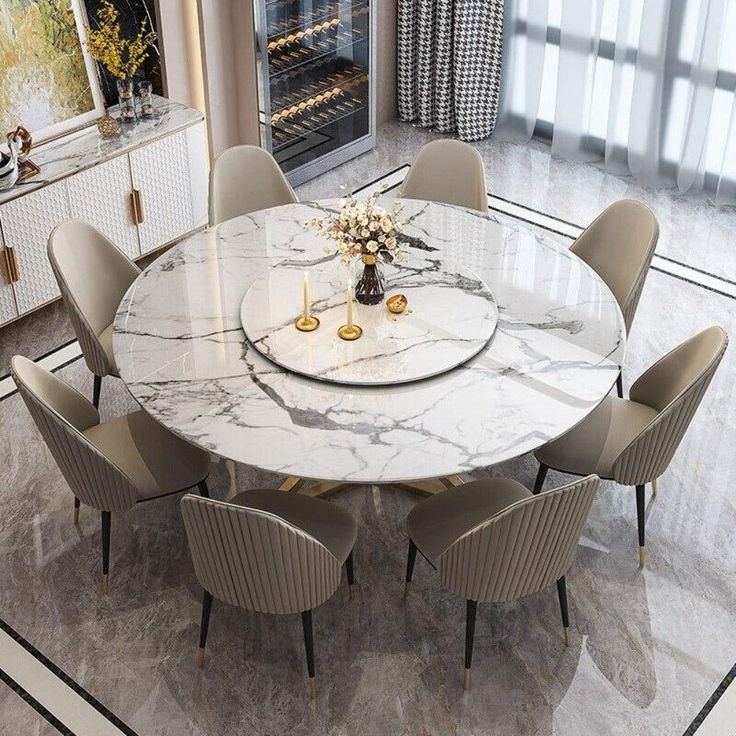
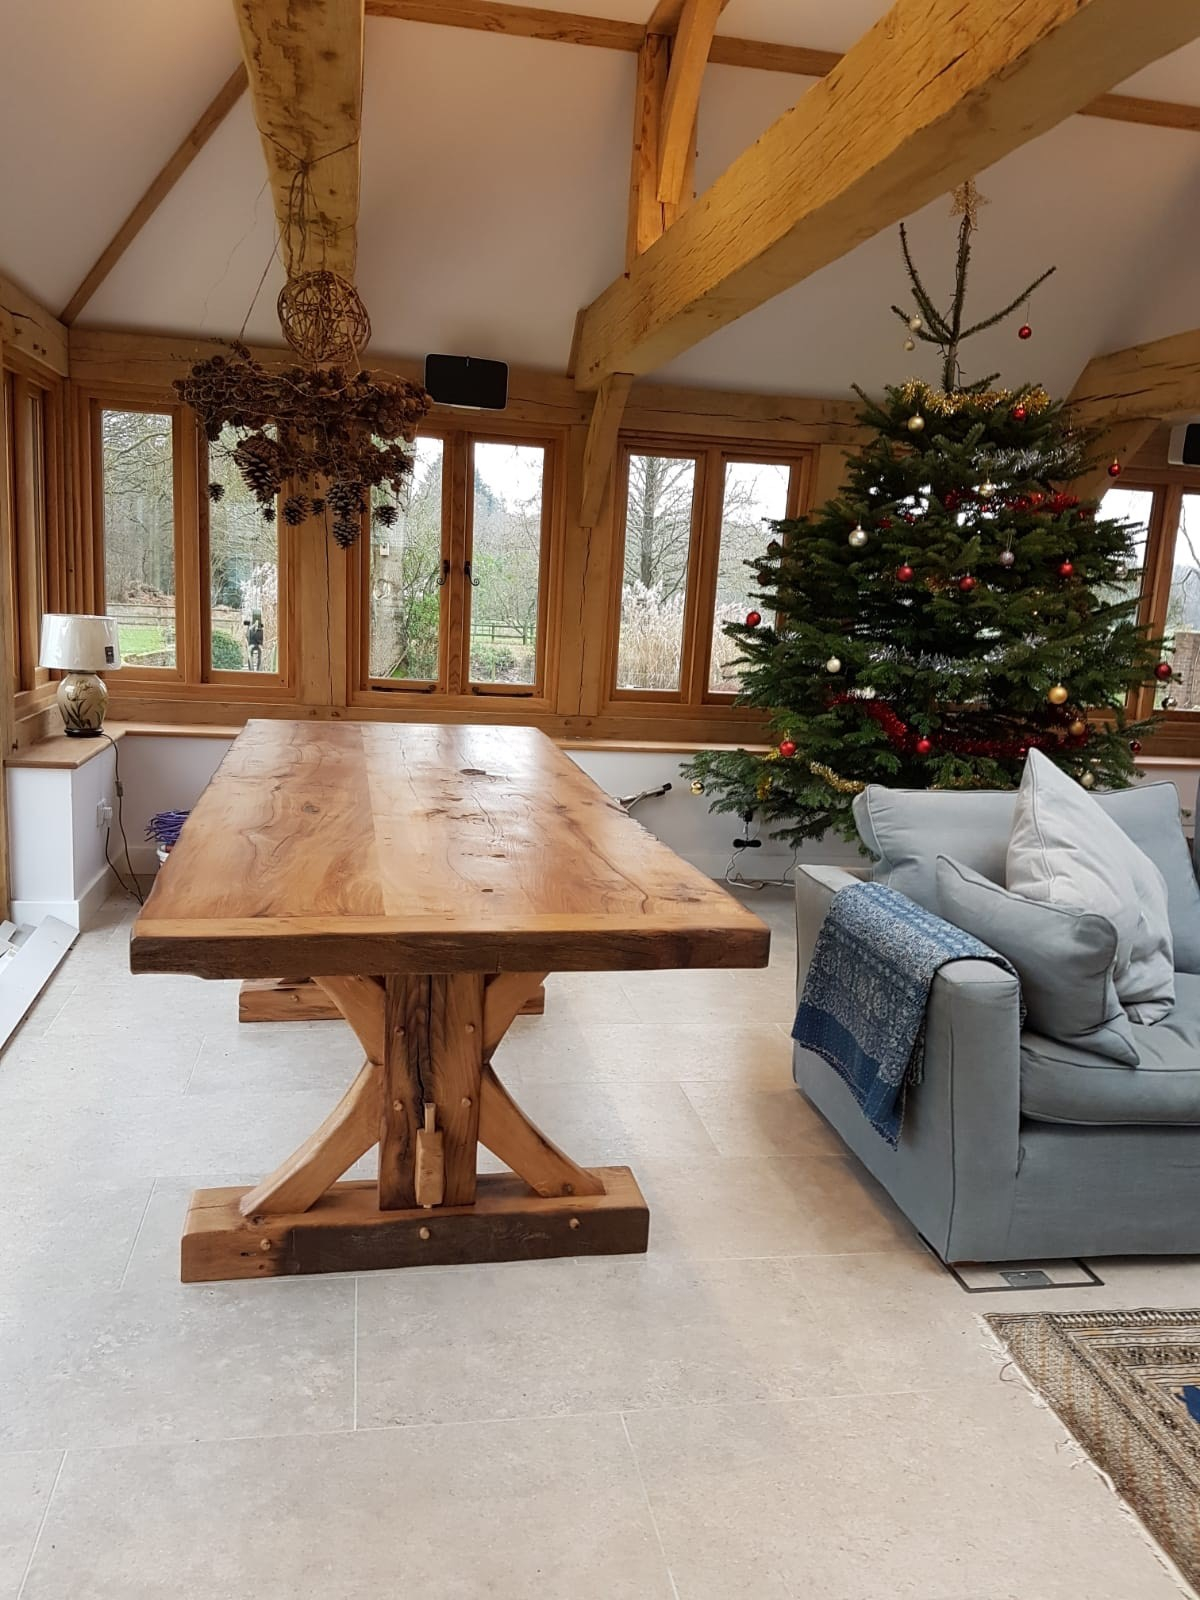
The world of finishes is vast and exciting. For a natural look that highlights the wood’s grain, consider oil finishes like tung oil or Danish oil. They penetrate the wood, offering a warm, matte sheen and are relatively easy to apply and repair. Varnishes and polyurethanes offer more durable protection, ideal for high-traffic tables, and come in various sheens from matte to high gloss. Stains can alter the wood’s color, allowing you to match existing furniture or create a completely new look. Don’t forget about wax finishes for a classic, soft sheen that’s easy to maintain. Think about how you use your table and the overall style of your room when making your choice. A little research beforehand can save you a lot of heartache later.
Application Techniques: Bringing Your Vision to Life
Applying your chosen finish requires patience and a steady hand. For stains, apply evenly with a brush or cloth, following the grain of the wood. Wipe off excess stain after a few minutes to control the color depth. For oils and varnishes, thin coats are better than one thick, gloopy one. Use a high-quality brush or a foam applicator for smooth, even coverage. Always allow adequate drying time between coats, and lightly sand with very fine-grit sandpaper (like 320 or 400) between coats for maximum smoothness. This removes any dust nibs or brush marks, ensuring that luxurious, flawless finish you’re aiming for. Don’t rush this part; it’s where the magic happens.
Repairing Common Issues: Tackling Scratches and Water Rings
Scratches can often be minimized or hidden. For light scratches, you might try a furniture repair crayon or a felt-tip marker that matches your wood color. Rubbing a walnut or pecan half over a scratch can also work wonders, as the natural oils can help blend it in. Water rings, especially those that haven’t penetrated the finish, can sometimes be removed with a bit of mayonnaise or petroleum jelly left on overnight, or by gently buffing with a soft cloth and toothpaste. For deeper damage, sanding and refinishing will be necessary. Always test repair methods in an inconspicuous area first to see how they affect the wood and finish.
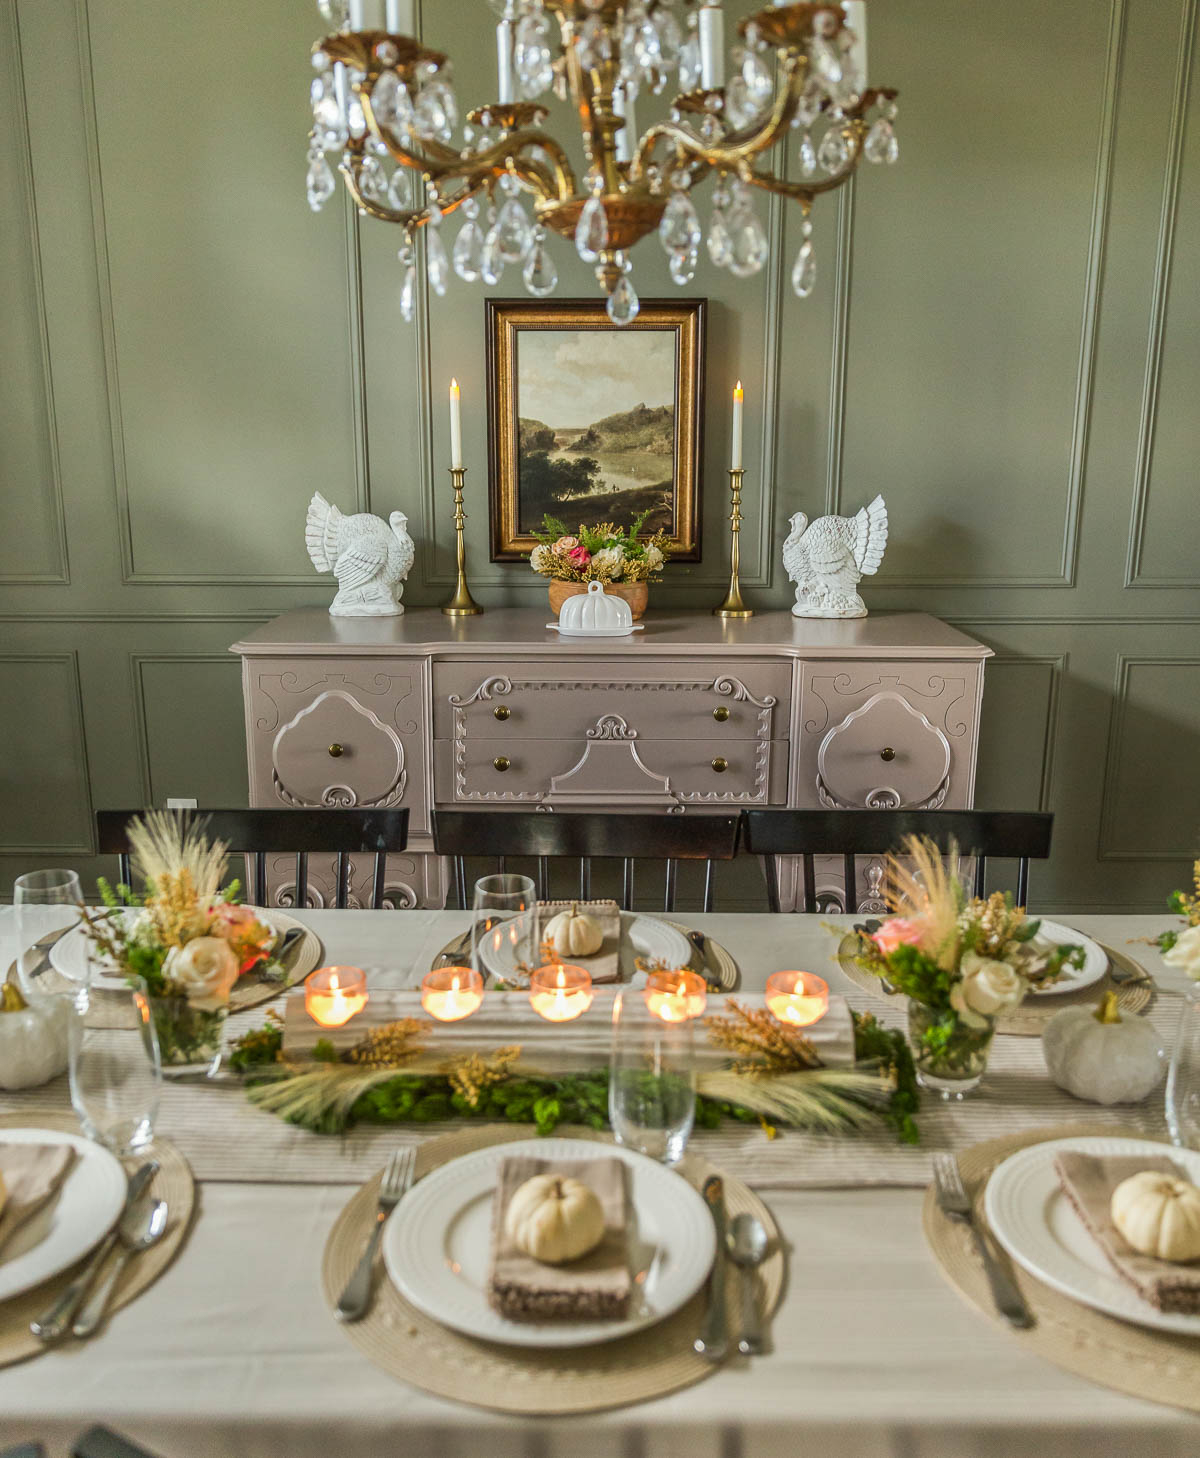
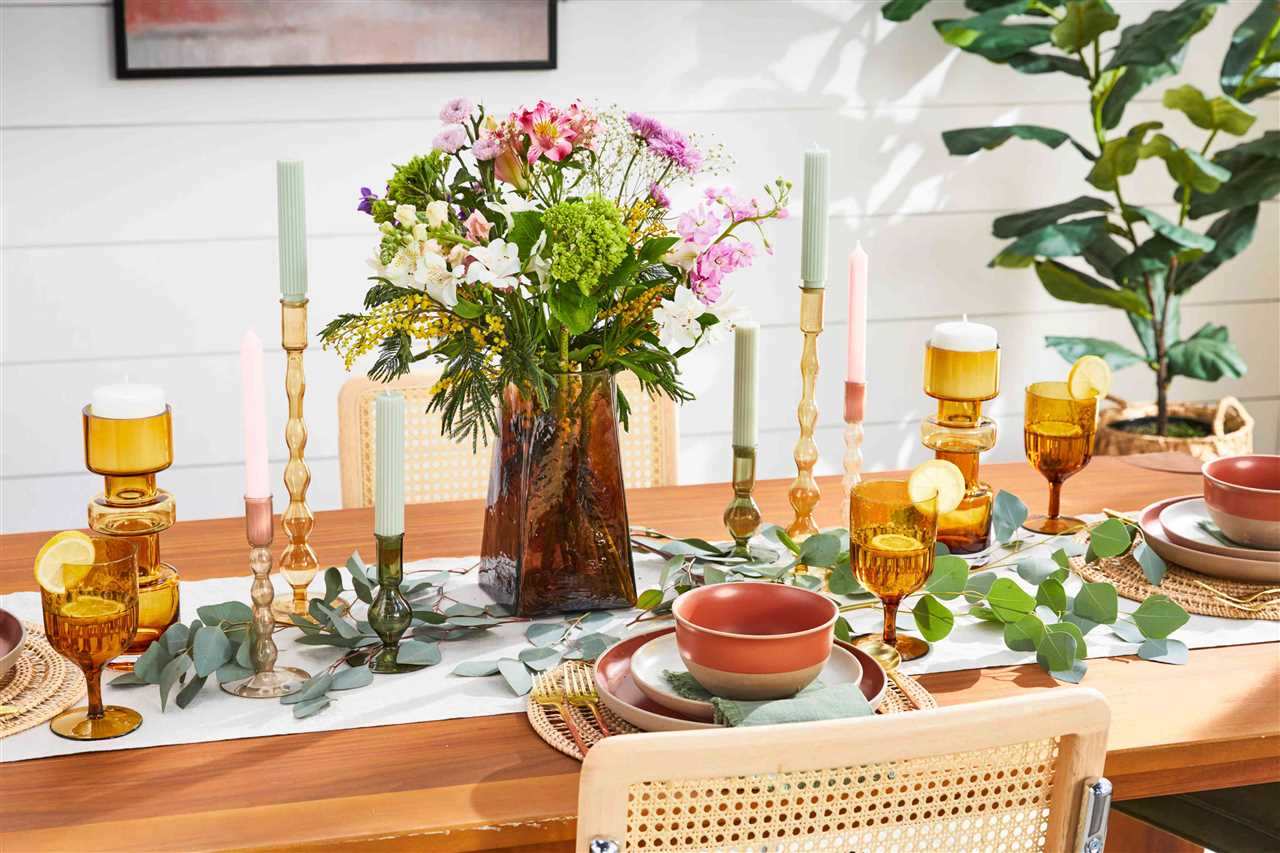
Maintenance for Longevity: Keeping Your Table Stunning
Once your table has its beautiful second act, keeping it that way is essential. Use placemats and coasters religiously, especially for hot or wet items. Clean spills immediately with a soft, damp cloth and dry thoroughly. Avoid harsh chemical cleaners, which can strip the finish. Periodically (depending on the finish you chose), you might want to reapply a coat of wax or oil to maintain its luster and protection. Regular dusting also prevents the buildup of grime that can dull the surface. Proper care ensures your dining table remains a cherished and beautiful part of your home for many years, continuing its story for generations.
Restoring your dining table is a journey, but the destination is well worth the effort. You’ve not only revived a piece of furniture but also preserved its history and enhanced your home’s aesthetic. With a bit of preparation, the right materials, and careful application, your dining table can indeed have a flawless second act. It’s a testament to the beauty of restoration and the enduring value of well-loved pieces. Now, go ahead and set that table. It’s ready for its next chapter.