Ever looked at those chic, coastal-inspired bathrooms and wondered how they achieved that effortless charm? Often, the secret ingredient is shiplap! It’s more than just a trend; it’s a timeless design element that can bring warmth, texture, and character to any bathroom. But how do you get that perfect look without a hitch? We’re diving deep into the ultimate shiplap bathroom makeover secrets.
Bathrooms, especially smaller ones, can sometimes feel a bit… uninspired. You want a space that feels like a retreat, a sanctuary even. Shiplap walls offer a unique way to add visual interest and a touch of rustic elegance or modern farmhouse flair, depending on how you style it. It’s incredibly versatile, can hide imperfections in your walls, and provides a durable surface. Plus, it’s surprisingly achievable for most DIY enthusiasts. Let’s explore what makes it such a popular choice and how you can nail your own makeover.
Choosing the Right Shiplap Style
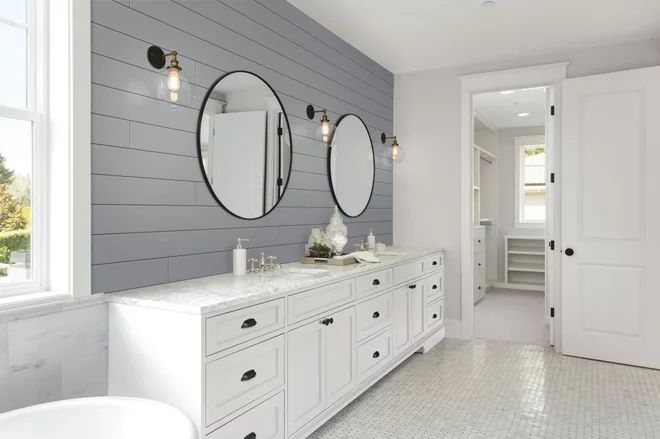
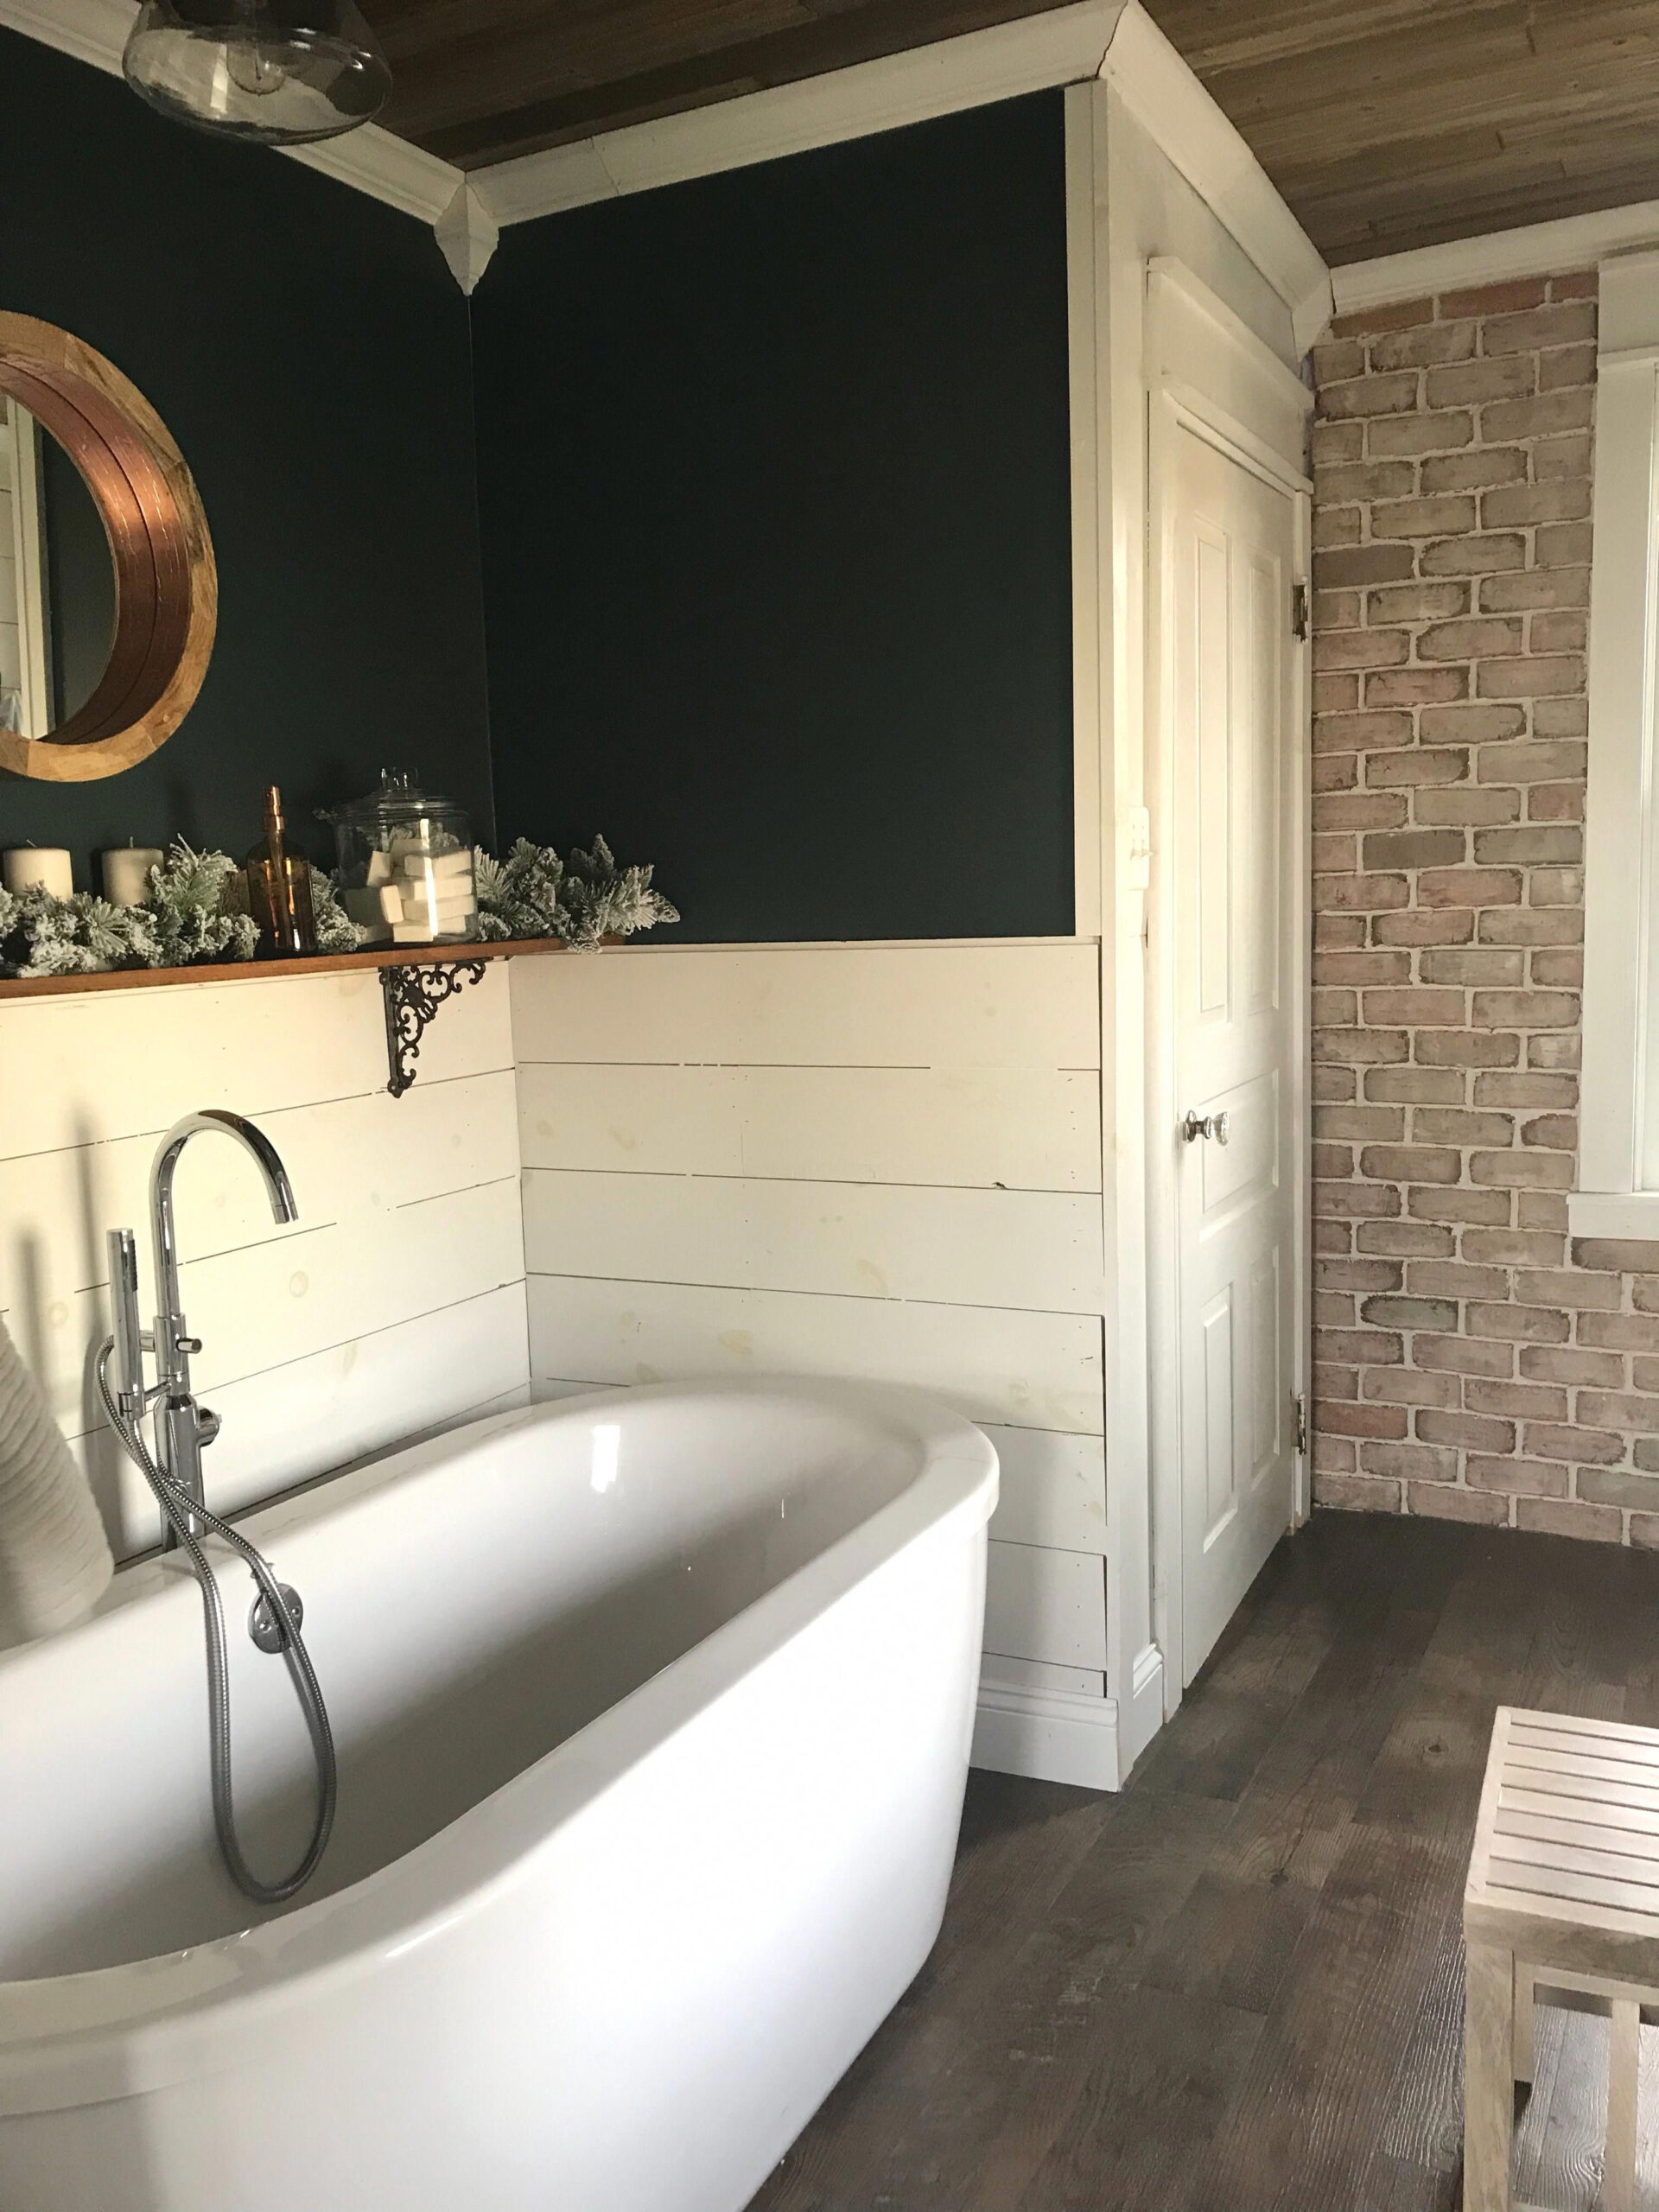
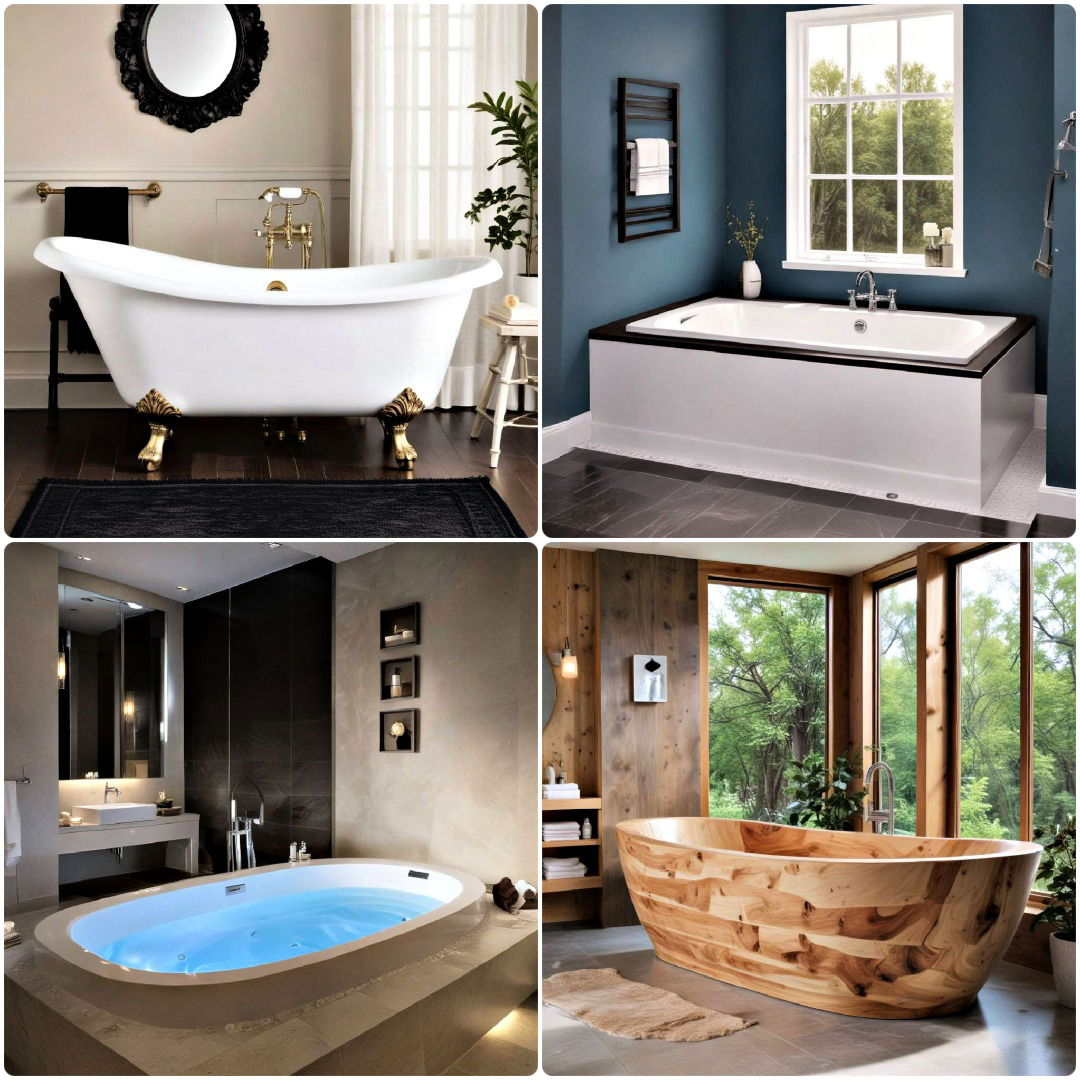
Not all shiplap is created equal, you know. The type you pick will really set the tone for your bathroom’s overall vibe. You’ve got your classic, wide planks that give a strong, traditional look, perfect for that farmhouse feel. Then there are the narrower, more refined planks that can lean towards a cleaner, contemporary aesthetic. Consider the size of your bathroom too. Wider planks can make a small space feel even smaller, so sometimes opting for a slightly narrower profile is a good idea. And don’t forget about the material! Real wood adds authentic warmth, but there are also MDF and vinyl options that are fantastic for moisture-prone areas like bathrooms, offering durability and ease of maintenance. Think about the finish, too – painted white is classic, but a soft gray, a muted blue, or even a natural wood tone can be stunning.
Planning Your Shiplap Layout
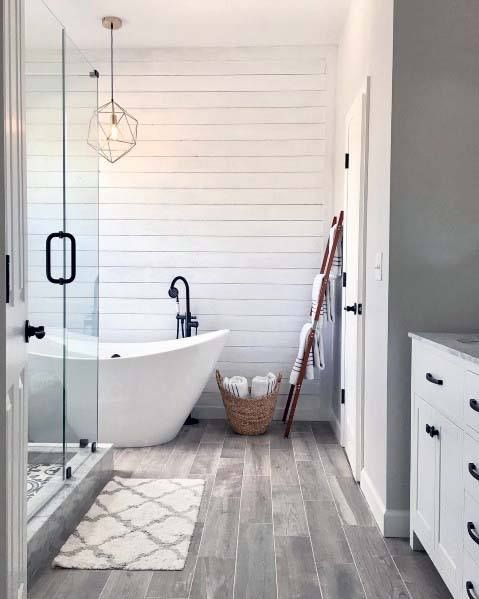
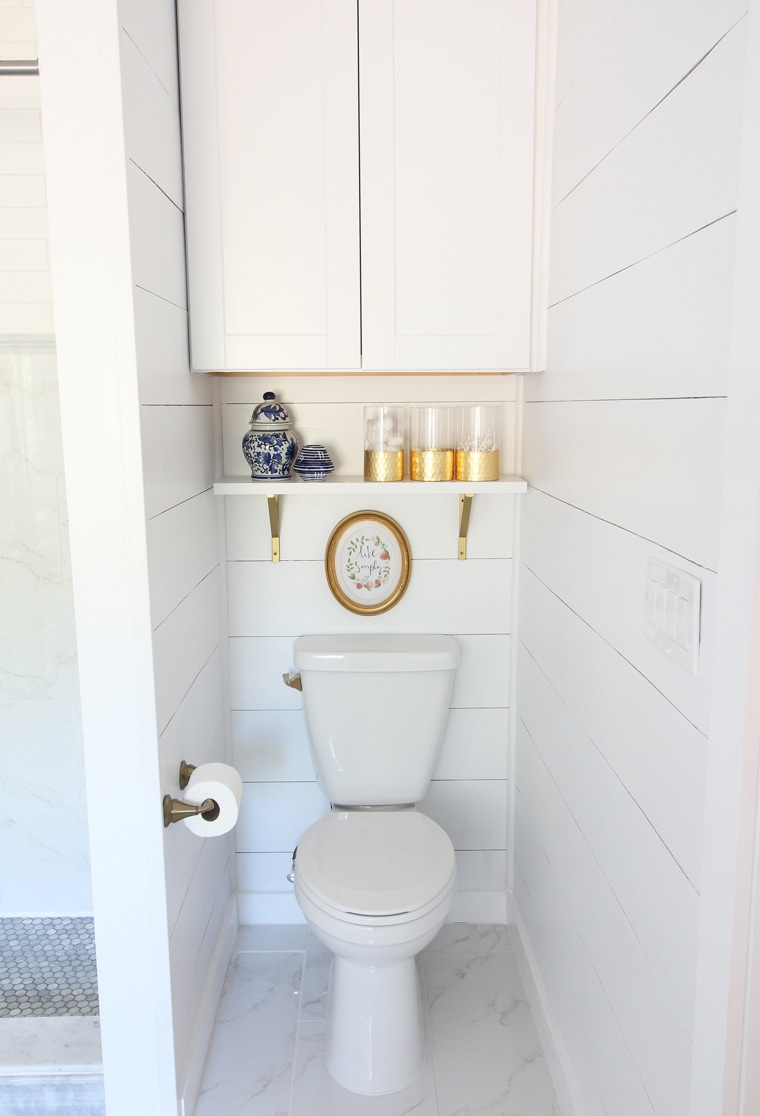
How you orient your shiplap makes a huge difference. Horizontal planks are the most common and tend to elongate a room, making it feel wider and more spacious. This is often a go-to for most bathrooms. Vertical planks, on the other hand, can make a ceiling appear higher, which can be a great trick for smaller bathrooms with lower ceilings. You can also get creative and try a herringbone pattern or even a diagonal application for a truly unique statement. Before you start nailing, it’s a brilliant idea to mock up your layout. Use painter’s tape on the wall to visualize how the planks will look and where your seams will fall. This simple step can save you a lot of headaches later on. Consider where your existing features are – like mirrors, vanities, and light fixtures – and plan your plank placement around them for a seamless finish.
The Nitty-Gritty: Installation Tips
Okay, let’s talk about actually putting it up. Preparation is key. Make sure your walls are clean and dry. For most shiplap, you’ll want to start at the bottom and work your way up. Many shiplap planks have a tongue-and-groove system, which makes them interlock. This is fantastic for a tight fit and a clean look. Use a level religiously with every plank you put up; trust me, it’s worth the extra effort to get it right from the start. For fastening, you’ll typically use finishing nails or a brad nailer. Be mindful of where you’re nailing, especially if you have plumbing or electrical behind the walls. A stud finder is your best friend here. And for those tricky cuts around outlets, windows, or corners? A miter saw or a jigsaw will be your go-to tools. Take your time with these cuts; precision makes all the difference in the final appearance.
Dealing with Moisture and Durability
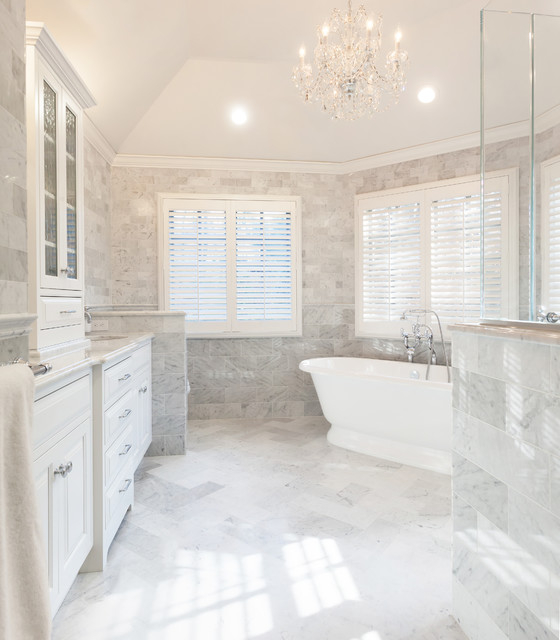
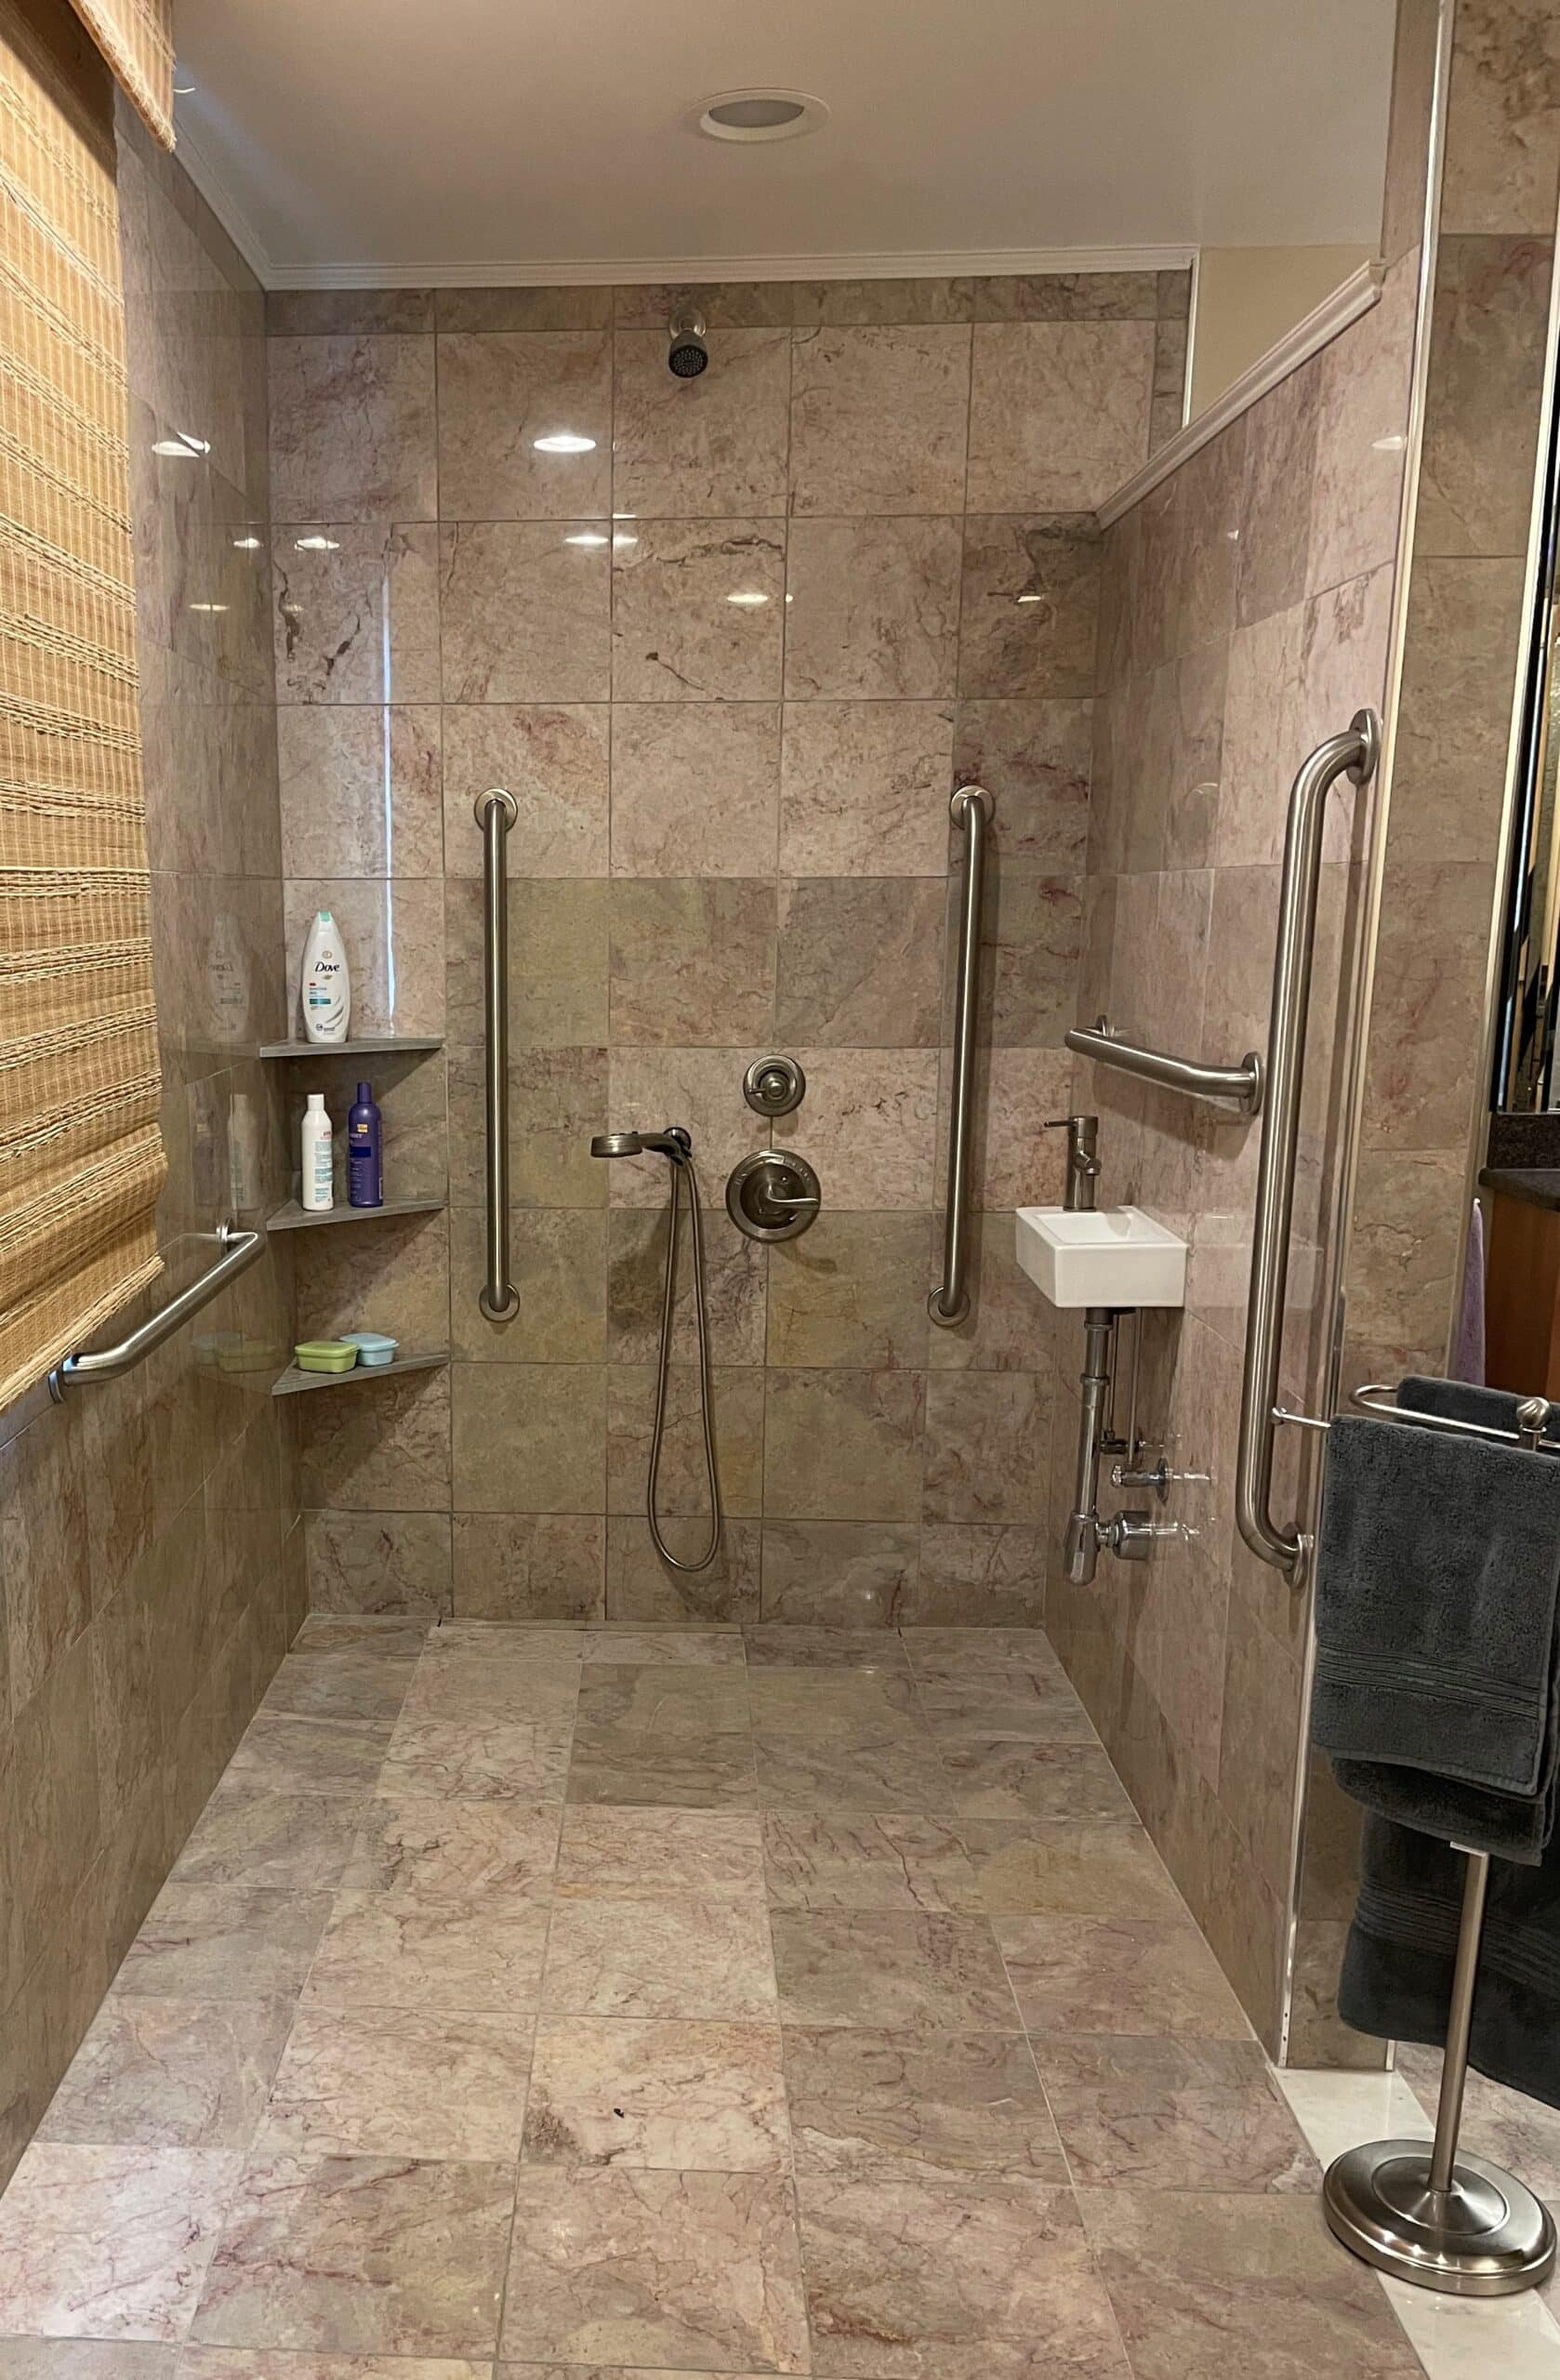
Bathrooms are inherently humid environments, right? So, durability and moisture resistance are super important. If you’re using real wood, you’ll absolutely want to seal and paint or stain it thoroughly. A good quality primer and several coats of a durable, water-resistant paint are essential. For areas that get direct splashes, like around a shower or sink, consider using a moisture-resistant caulk along the seams and edges. Some shiplap materials, like MDF or vinyl, are specifically designed for high-moisture areas and might be a more practical choice for a bathroom. Always check the manufacturer’s recommendations for finishing and maintenance to ensure your shiplap stands the test of time and humidity.
Finishing Touches: Paint, Caulk, and Beyond
Once your shiplap is up and secured, the real magic happens with the finishing. Painting is where you really bring your vision to life. A crisp white is a classic for a reason – it brightens the space and creates that clean, airy feel. But don’t be afraid to experiment with other colors. Soft blues and greens evoke a spa-like tranquility, while a warm greige can add a sophisticated touch. After painting, caulking is your next crucial step. Caulk all the seams where the shiplap meets the ceiling, floor, and any trim. This not only gives a polished, professional look but also helps prevent moisture from seeping into the gaps. Don’t forget to caulk around any fixtures or outlets too. A clean caulk line makes a world of difference.
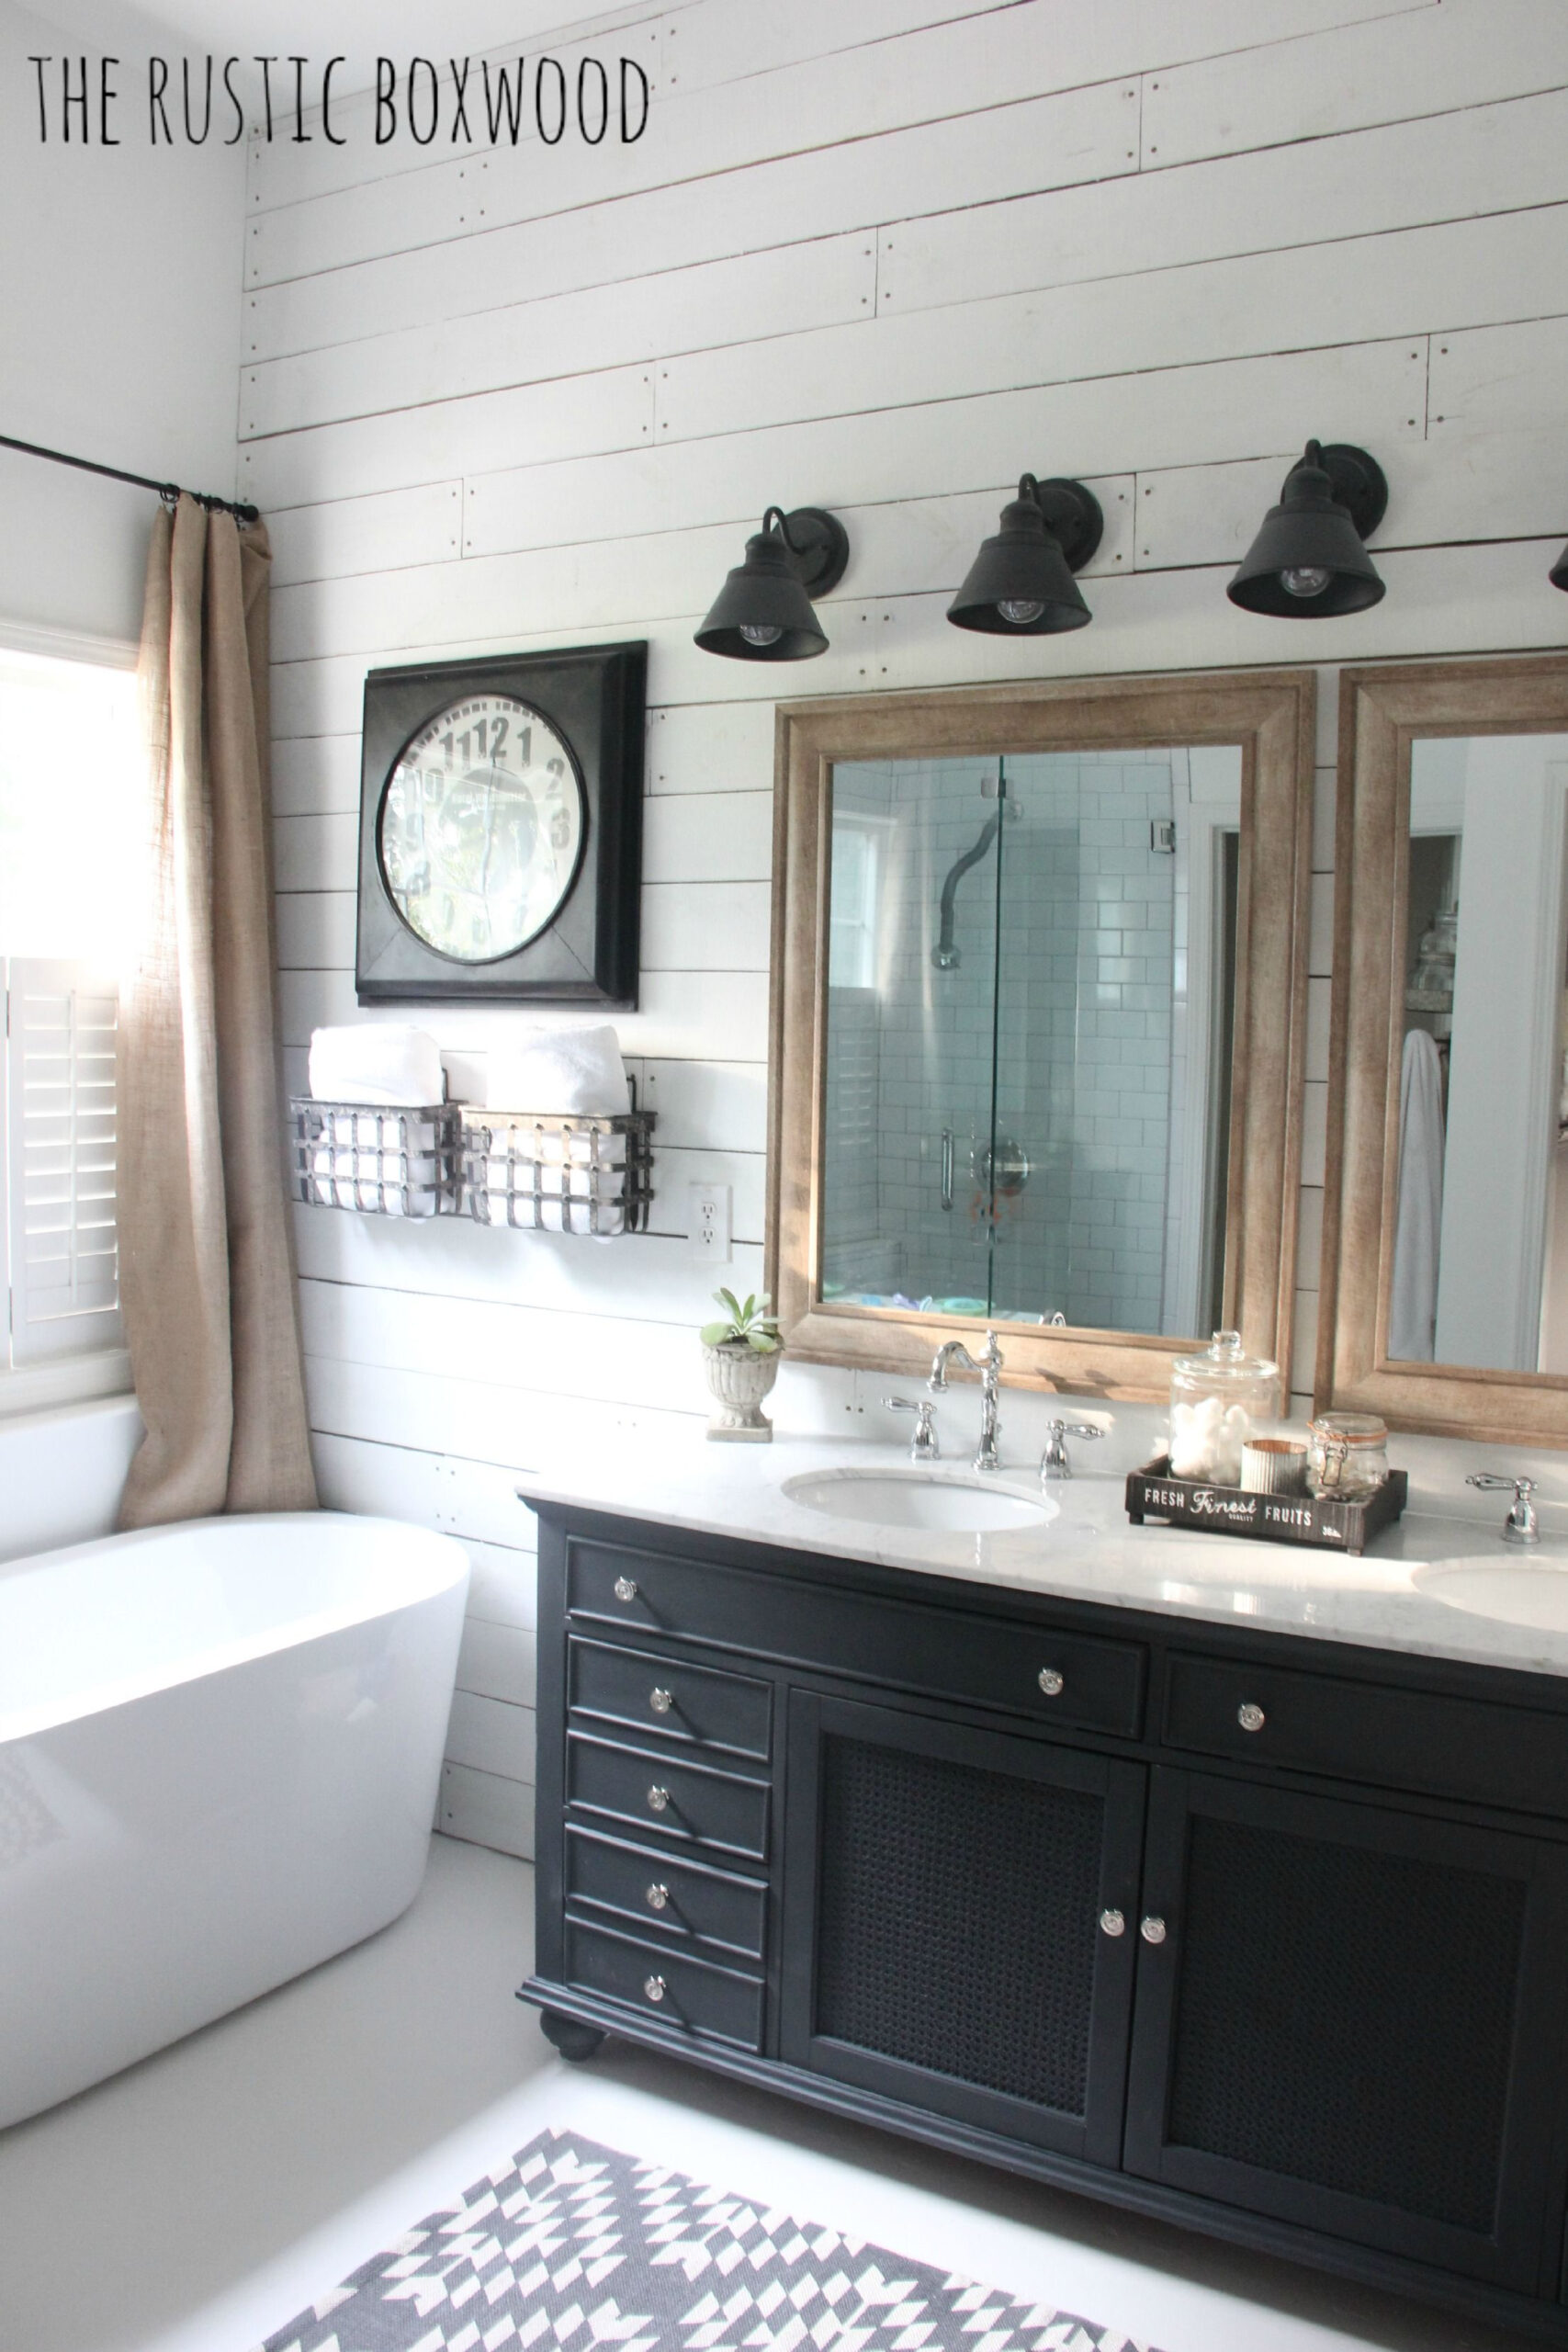
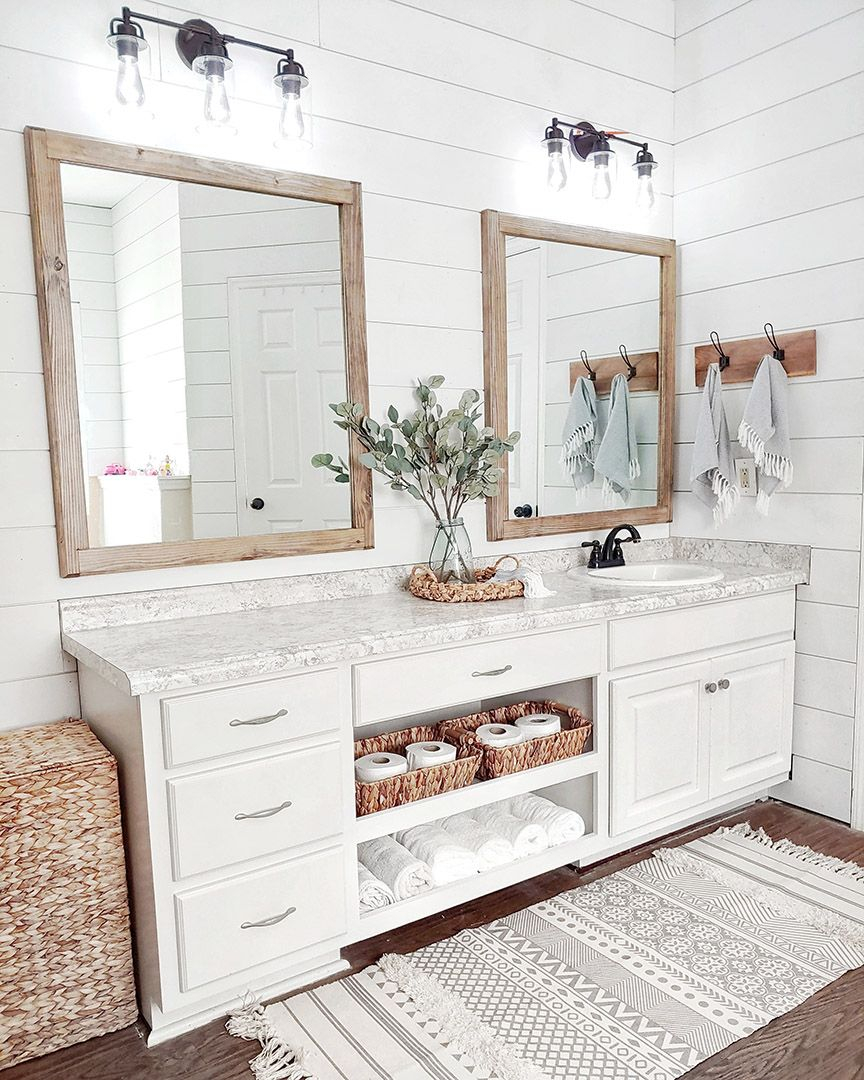
Styling Your Shiplap Bathroom
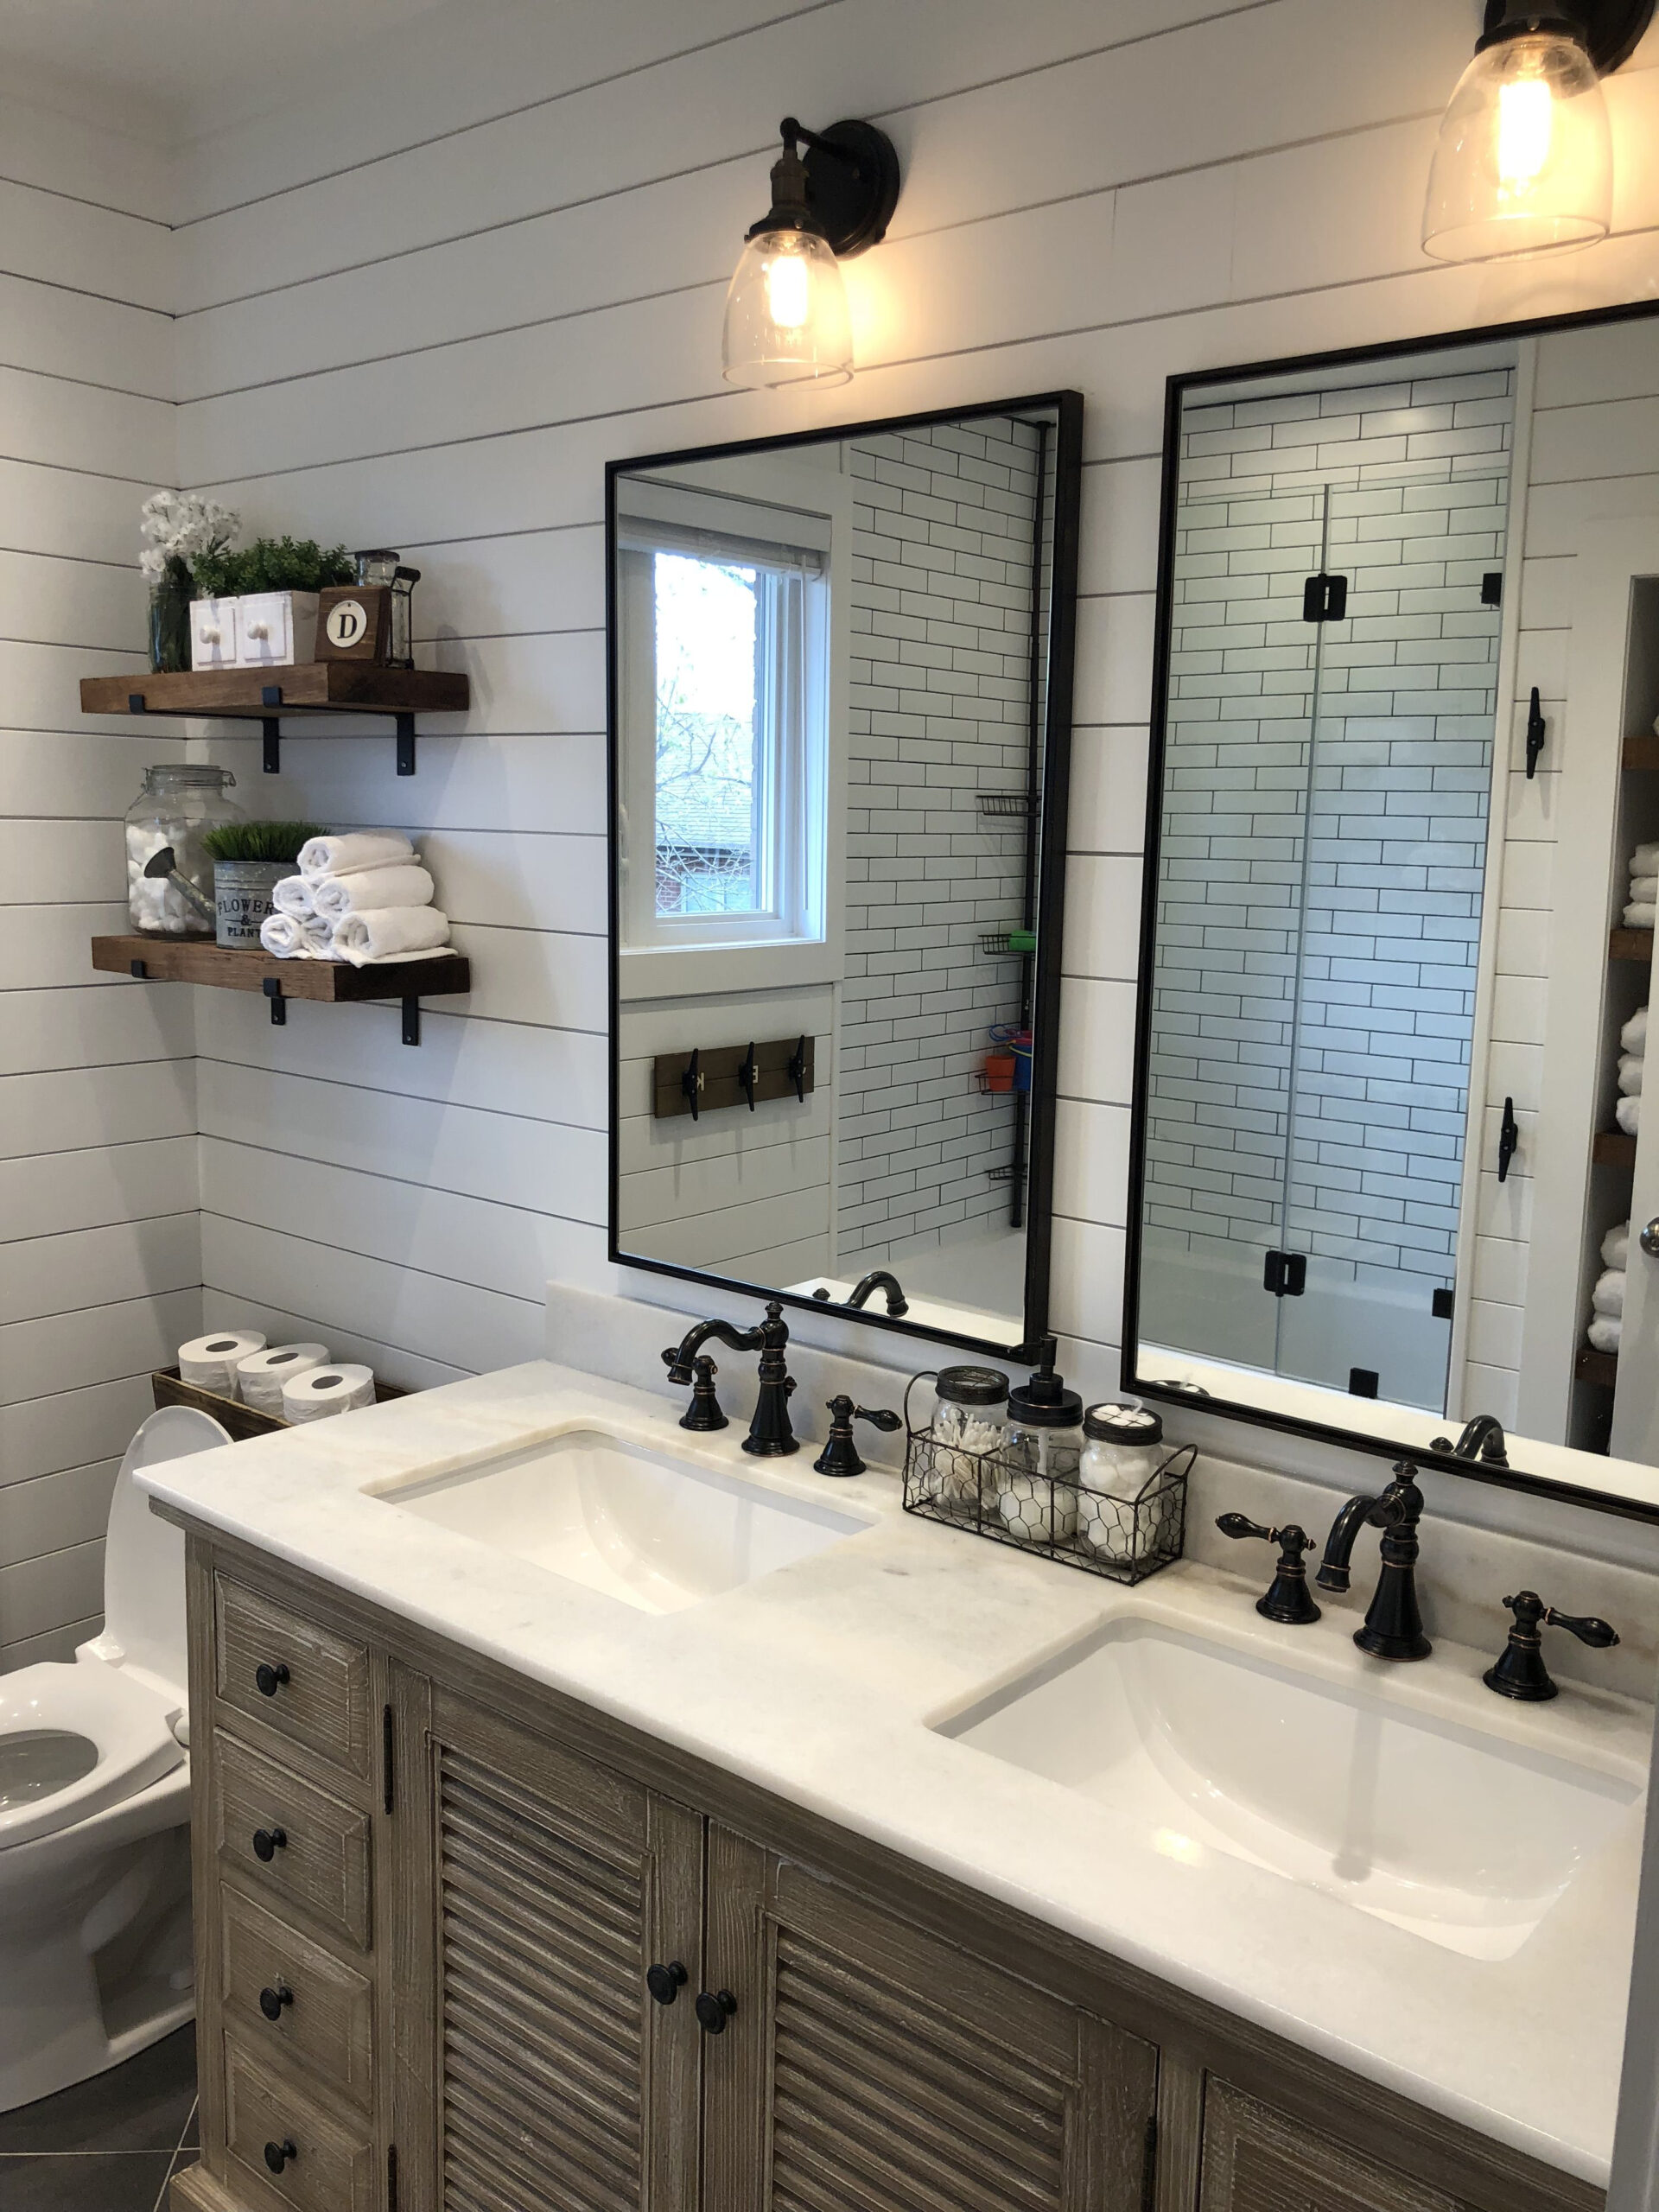
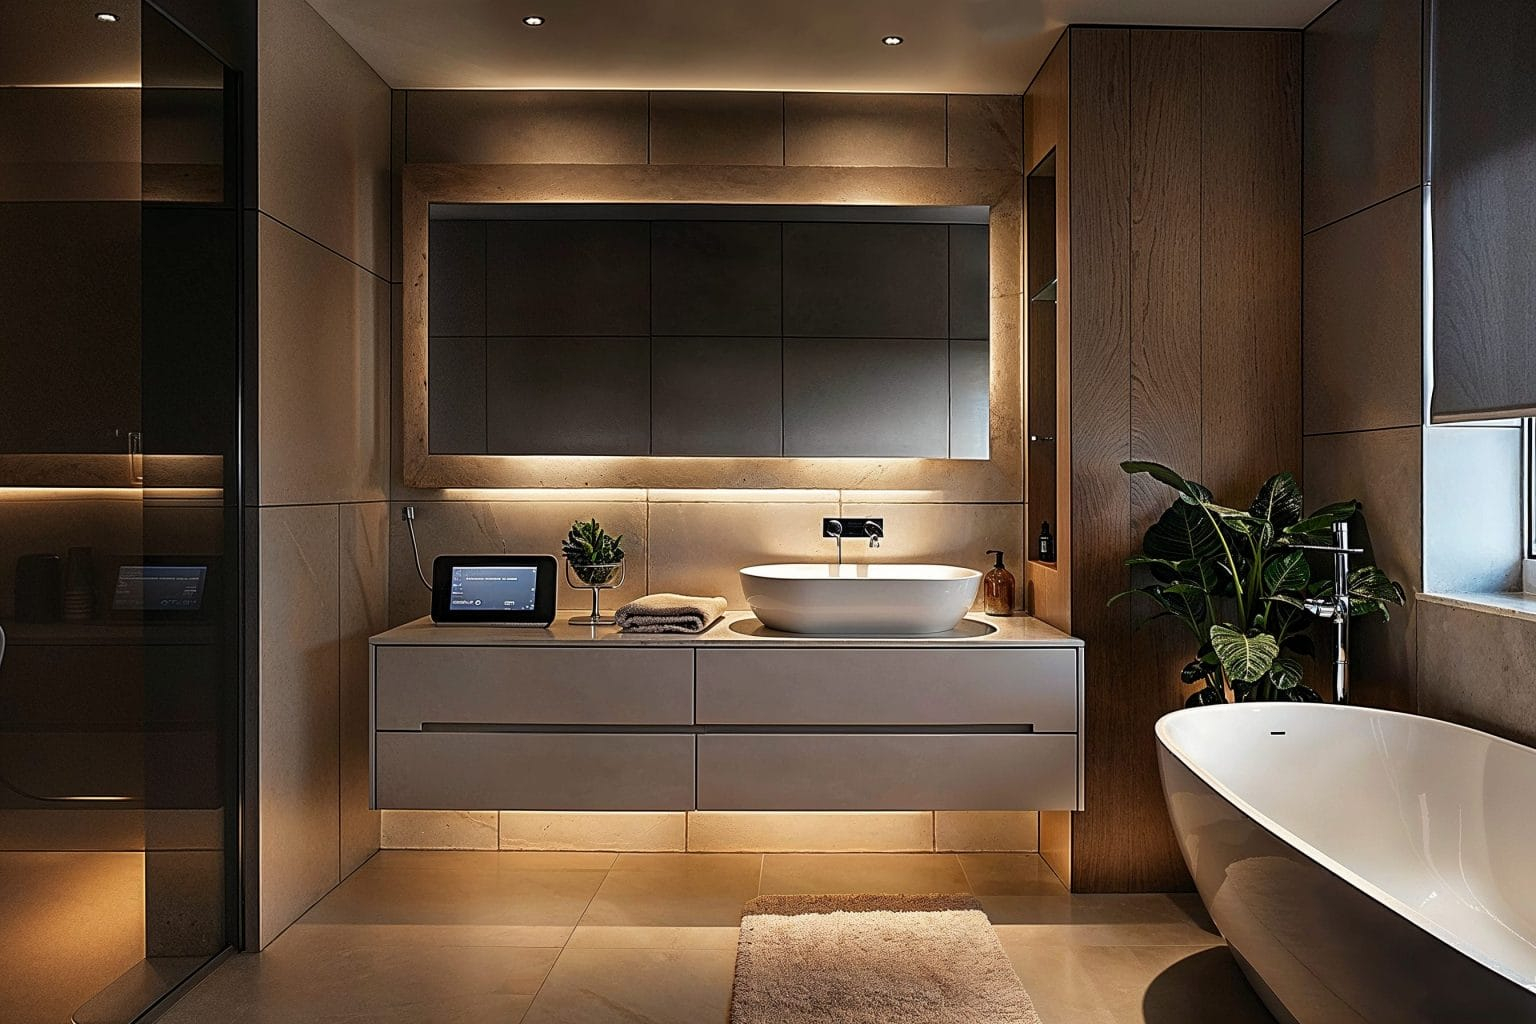
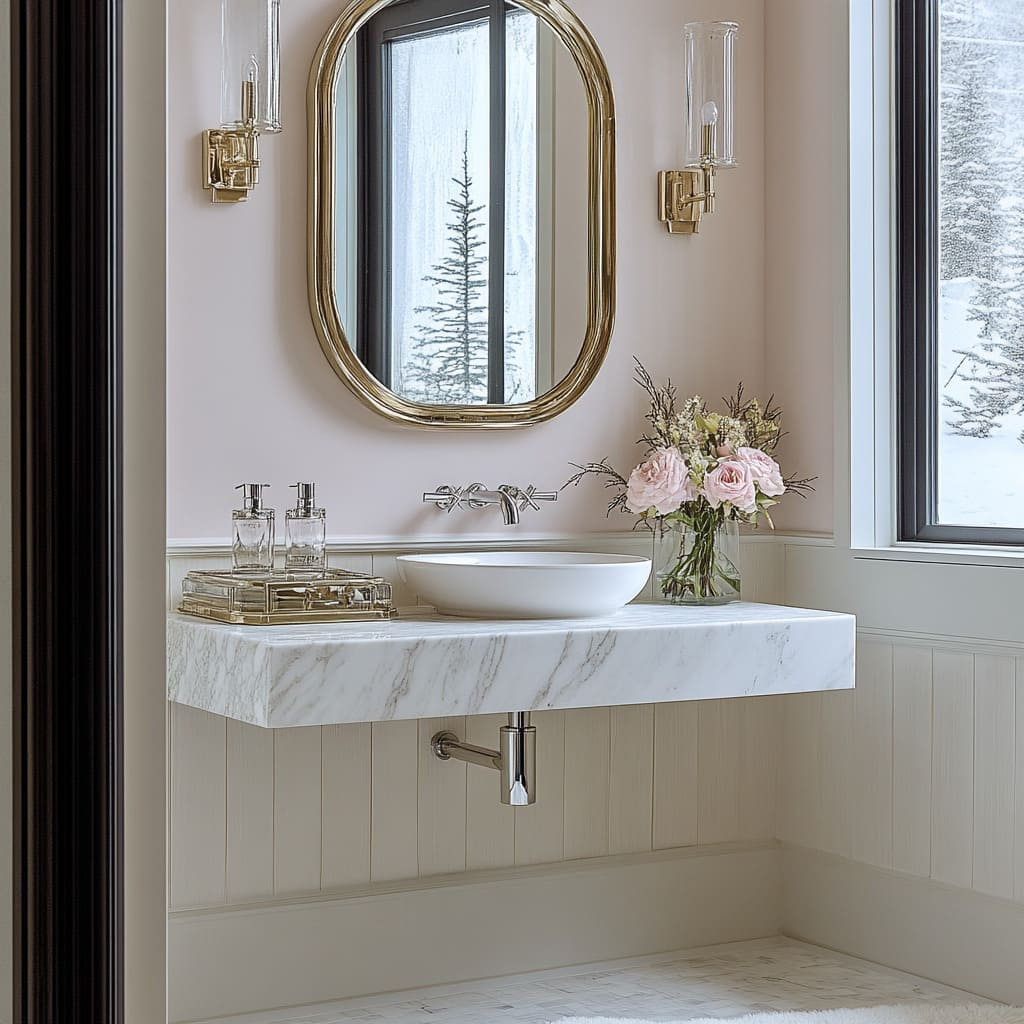
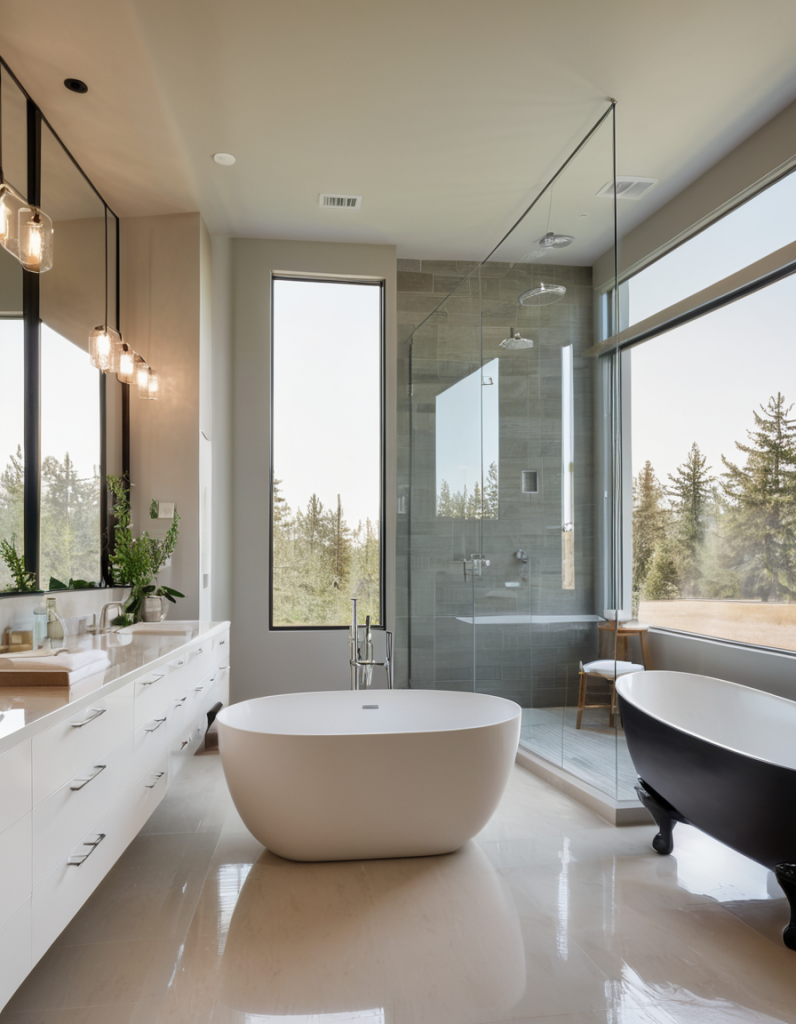
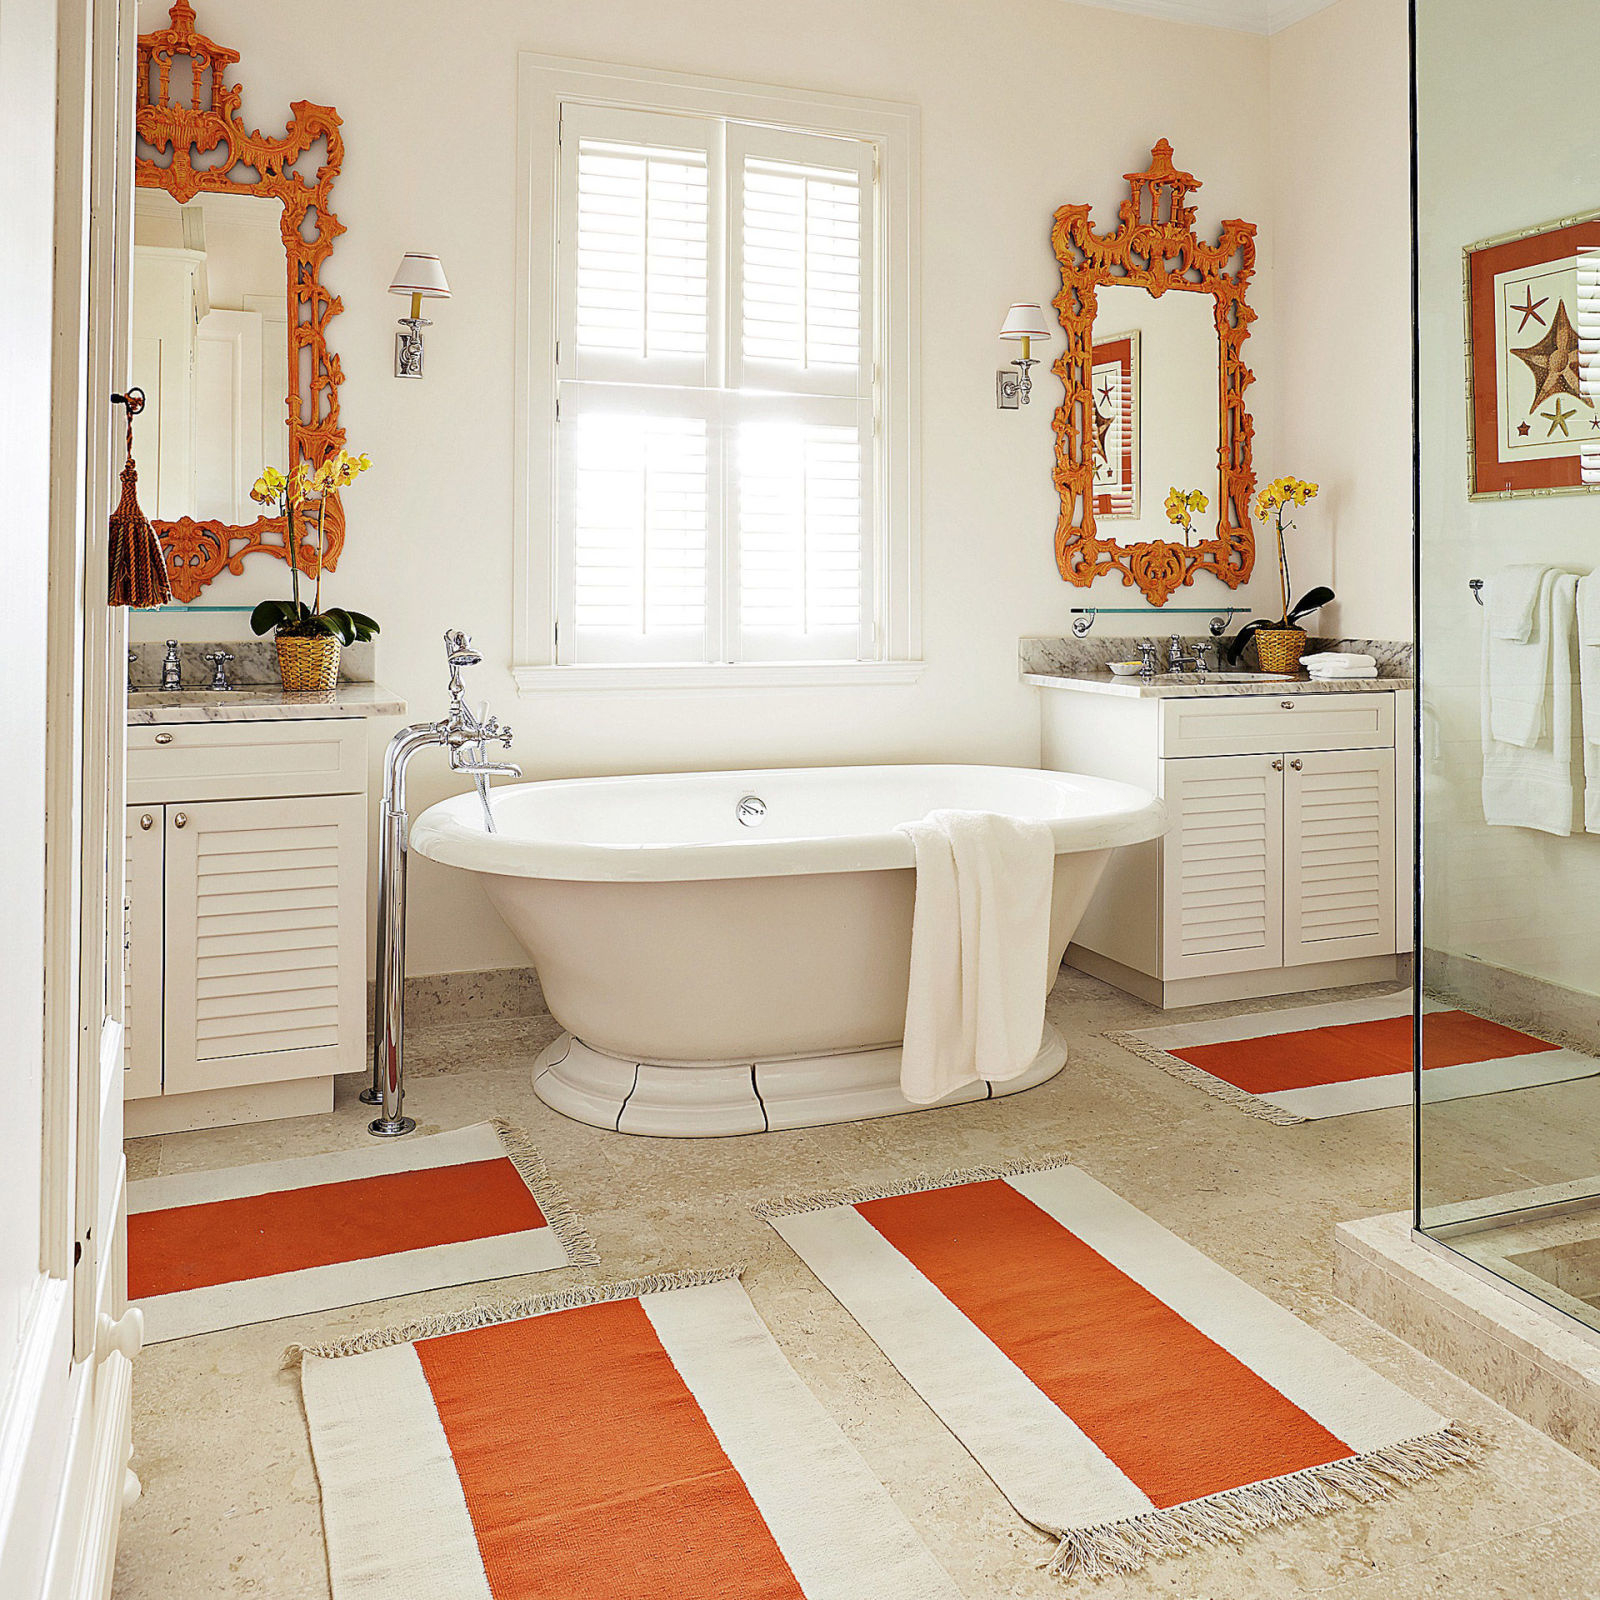
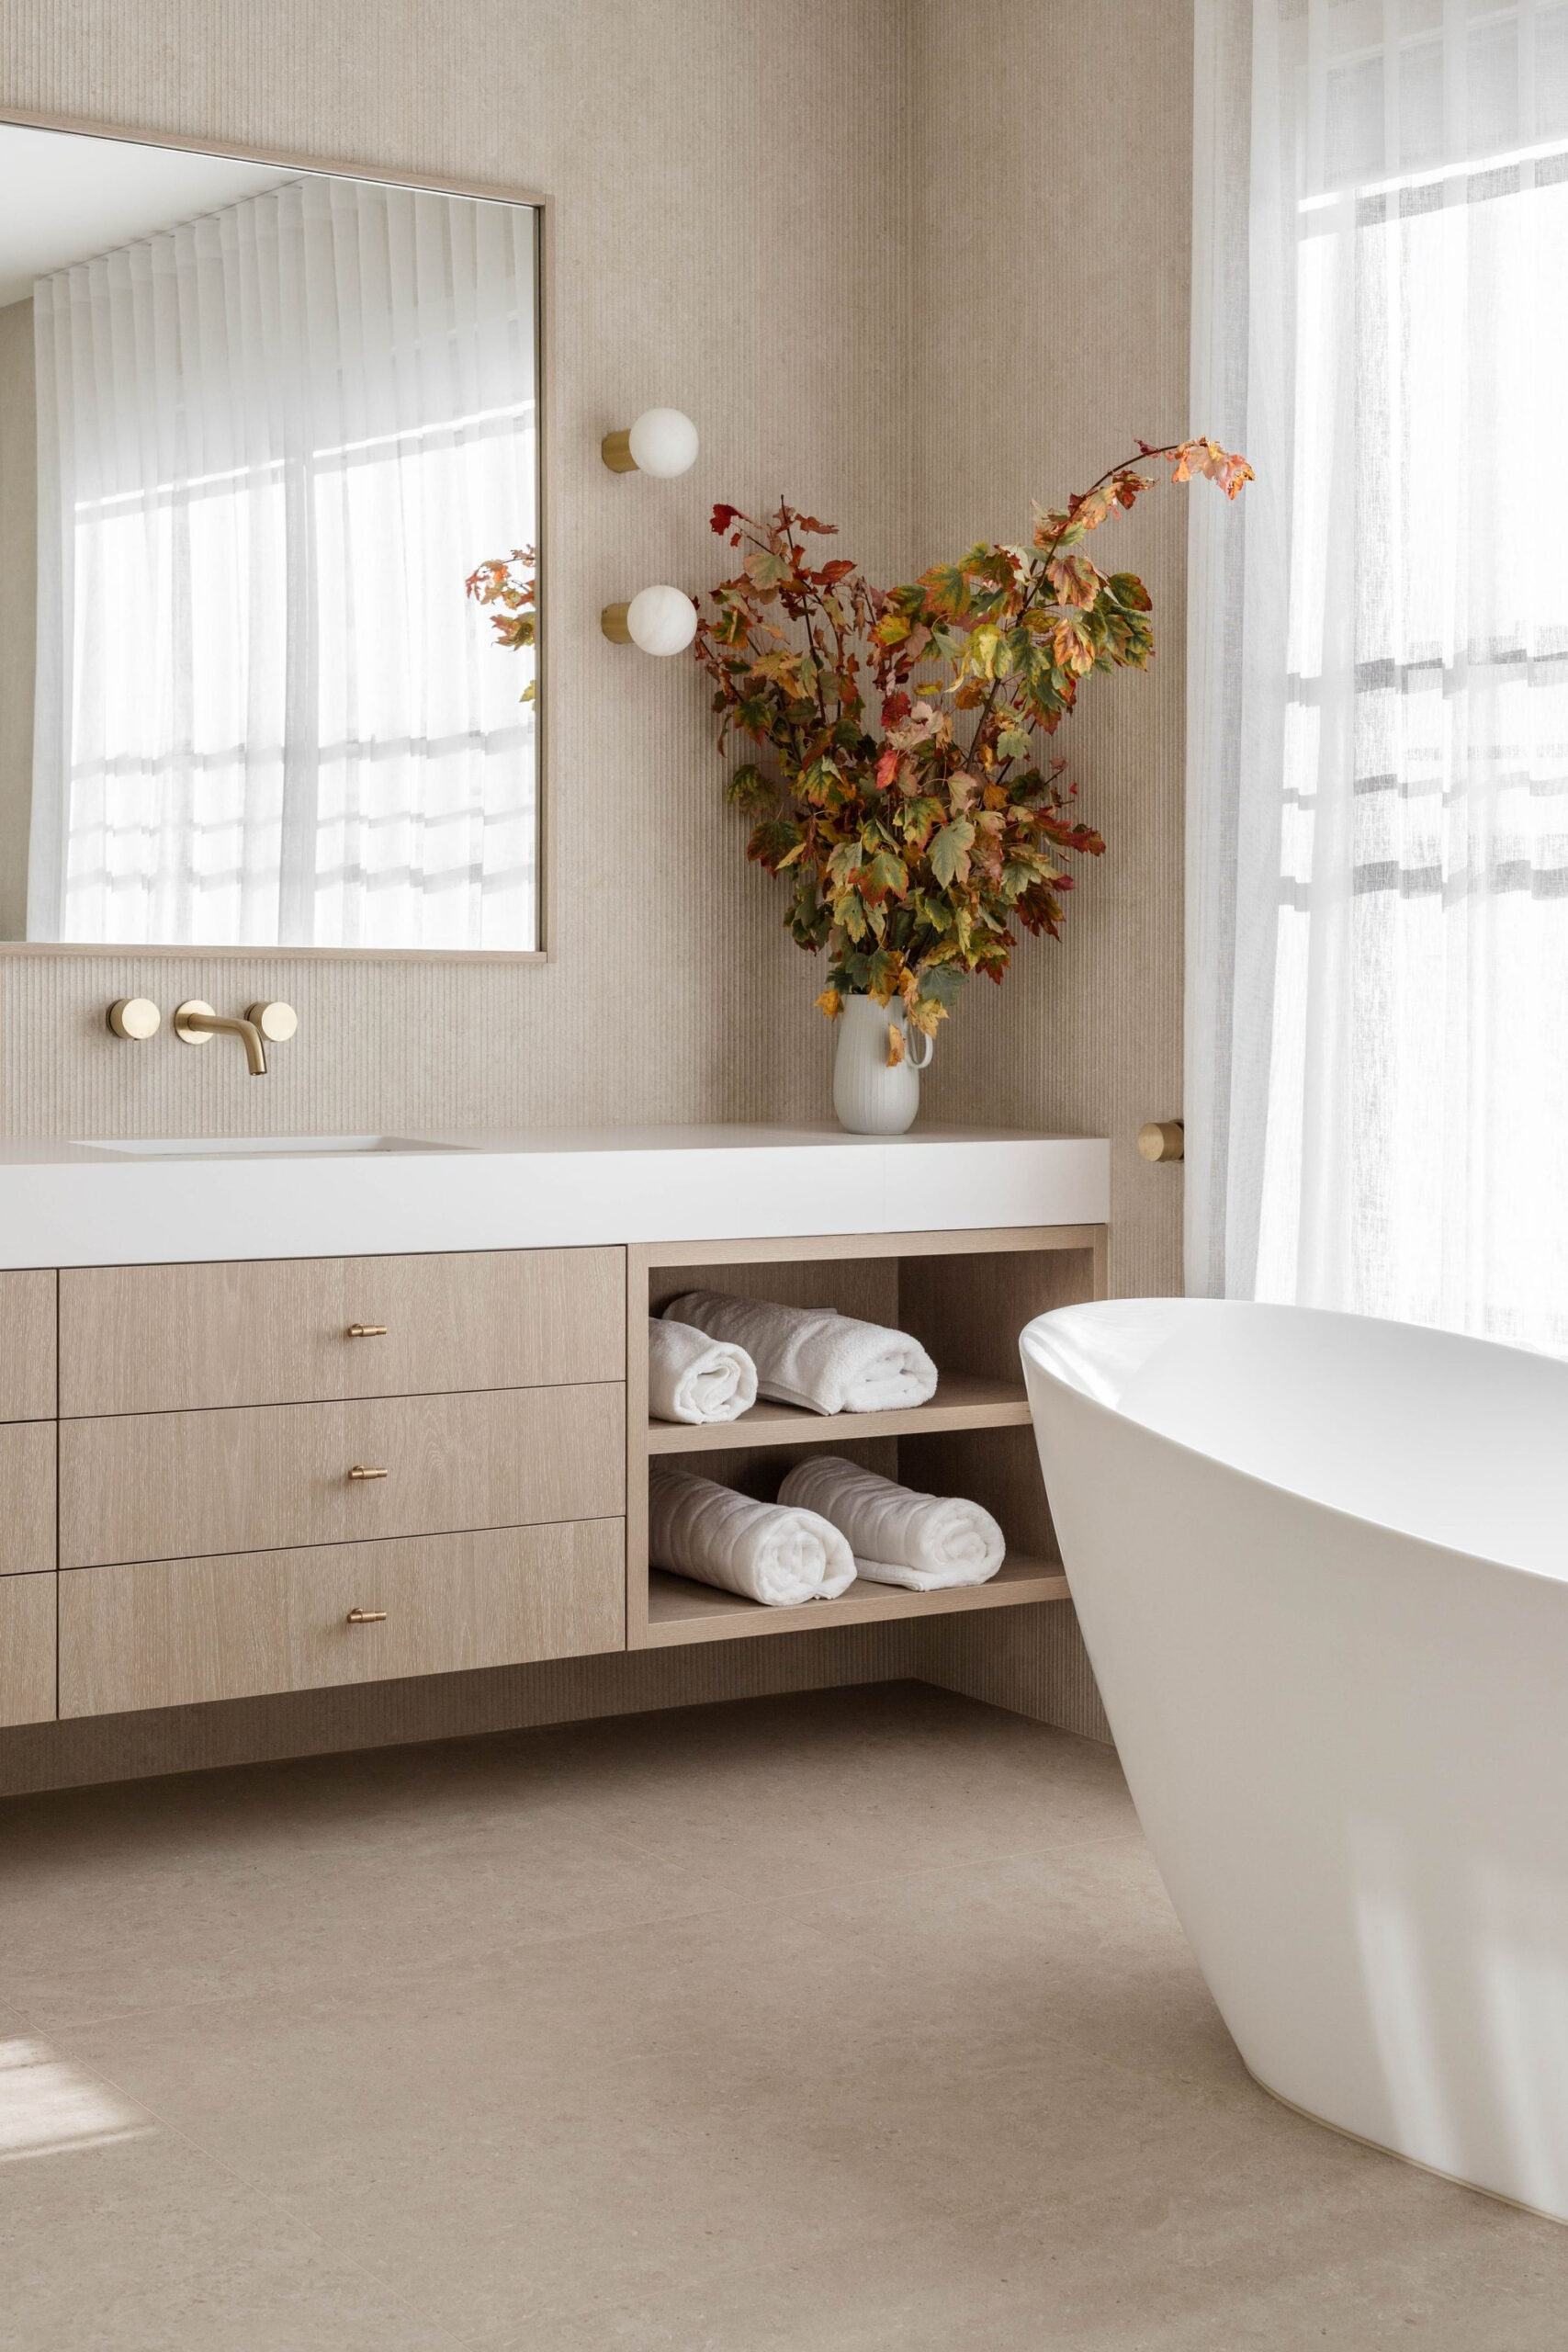
Now for the fun part – decorating. Shiplap walls provide a fantastic neutral backdrop. You can go full farmhouse with galvanized metal accents, rustic wood mirrors, and woven baskets. Or, lean into a modern coastal vibe with crisp white bedding, blue and white textiles, and natural elements like shells or coral. Even a minimalist approach works beautifully, letting the texture of the shiplap speak for itself. Think about your lighting – good lighting can really highlight the texture of the shiplap. Add plants to bring in some life and color. And don’t be afraid to mix and match materials – a sleek marble vanity can look amazing against a shiplap wall, creating an interesting contrast.
So there you have it – the ultimate secrets to a successful shiplap bathroom makeover. From selecting the perfect planks and planning your layout to mastering the installation and choosing the right finishes, it’s all about attention to detail. Shiplap is a game-changer, offering a beautiful and durable way to elevate your bathroom’s style. Whether you’re aiming for a cozy farmhouse retreat or a chic coastal escape, shiplap can help you get there. So, gather your tools, embrace the DIY spirit, and get ready to transform your bathroom into a space you’ll absolutely love. Happy renovating!