There’s something profoundly satisfying about taking a piece of raw wood, something that once stood tall and strong in a forest, and transforming it into the heart of your dining experience. It’s more than just furniture; it’s a conversation starter, a testament to natural beauty, and a piece of art that brings people together. But how do you go from a rough plank to a polished, show-stopping centerpiece? It’s a journey that involves understanding the wood, mastering a few key skills, and a touch of patience. Let’s dive into the secrets that make this transformation truly spectacular.
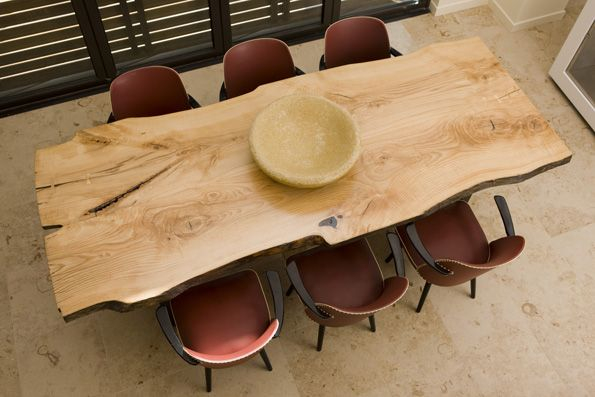
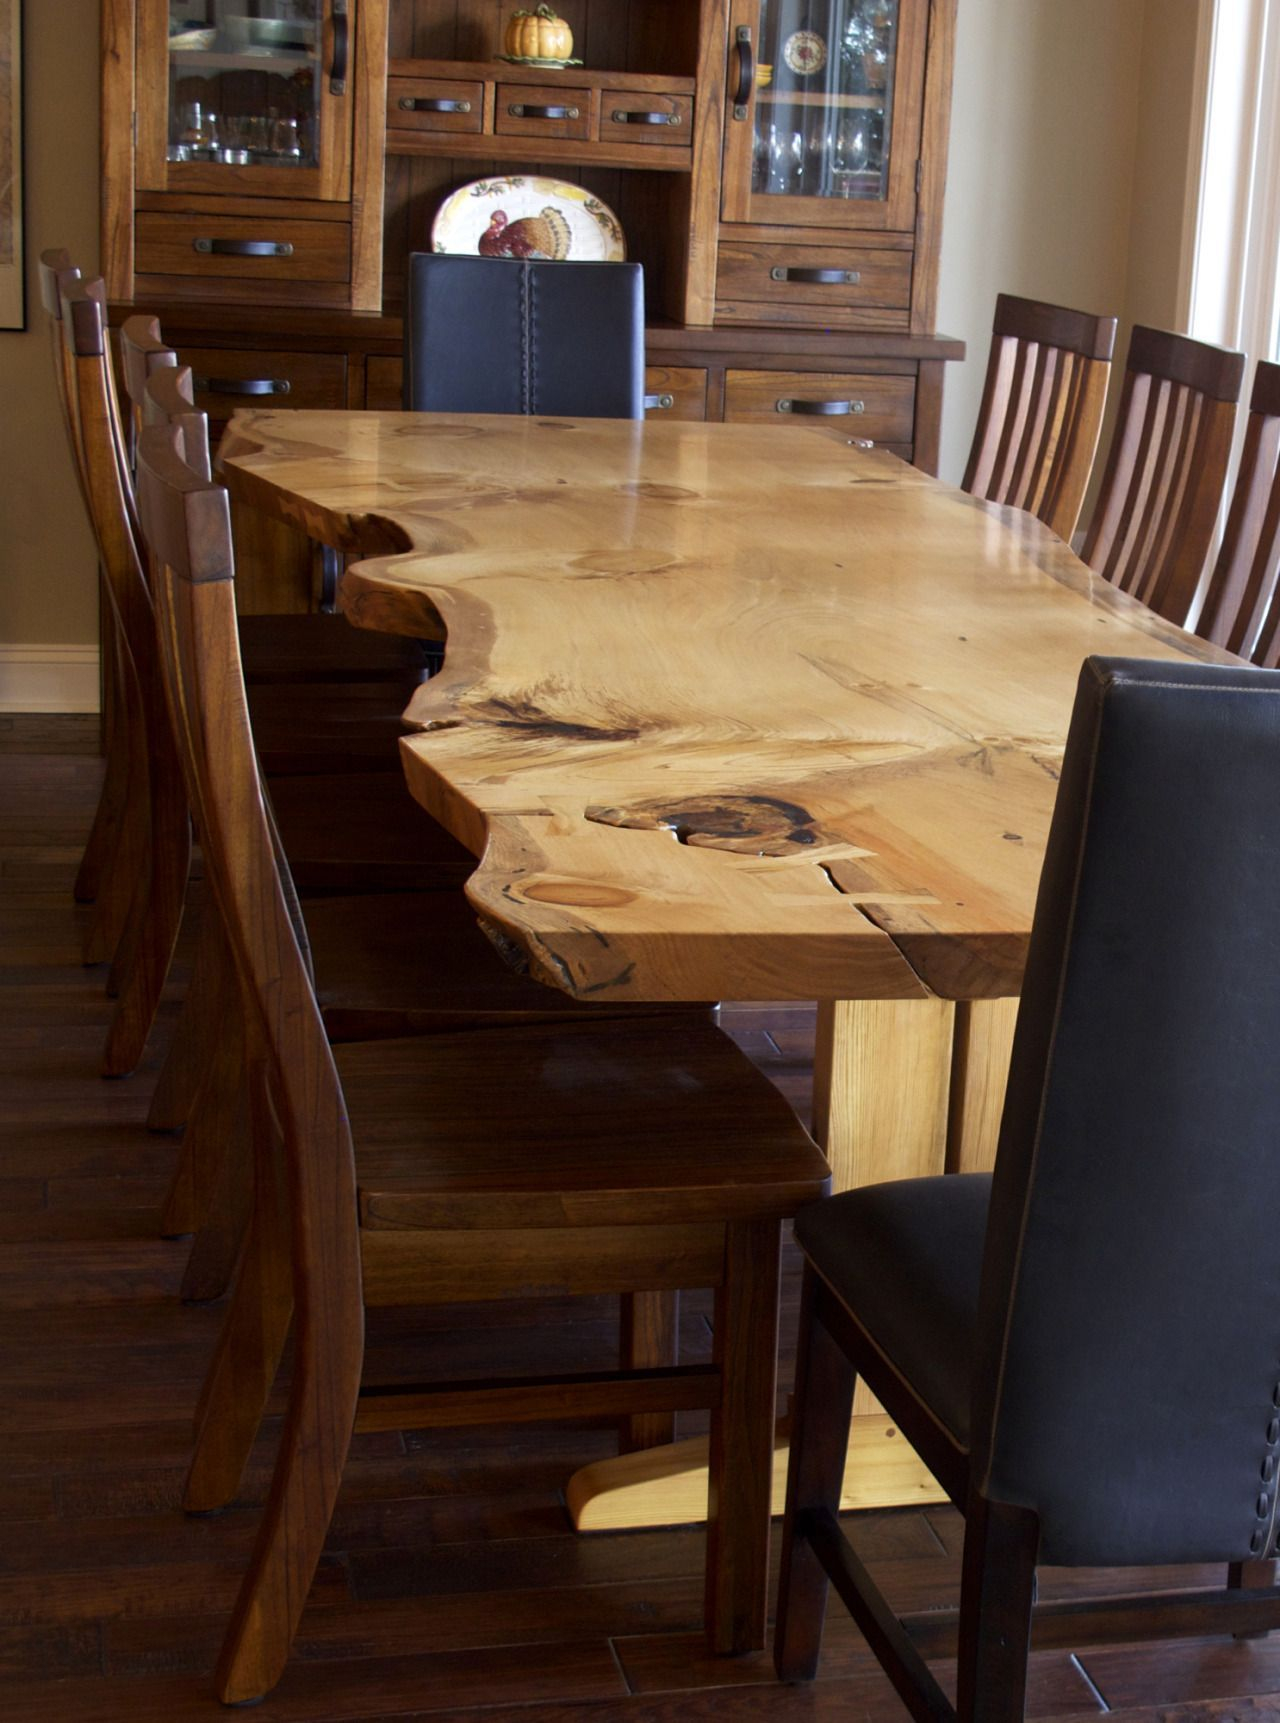
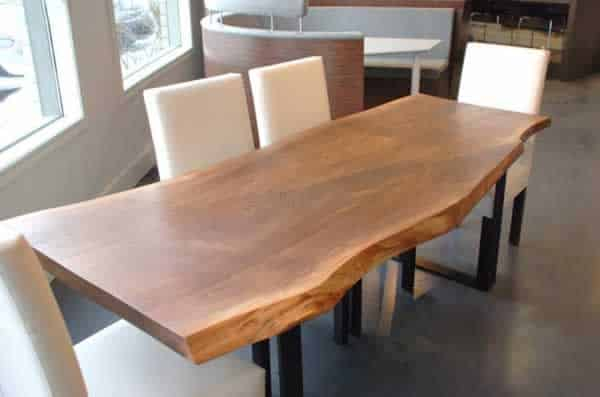
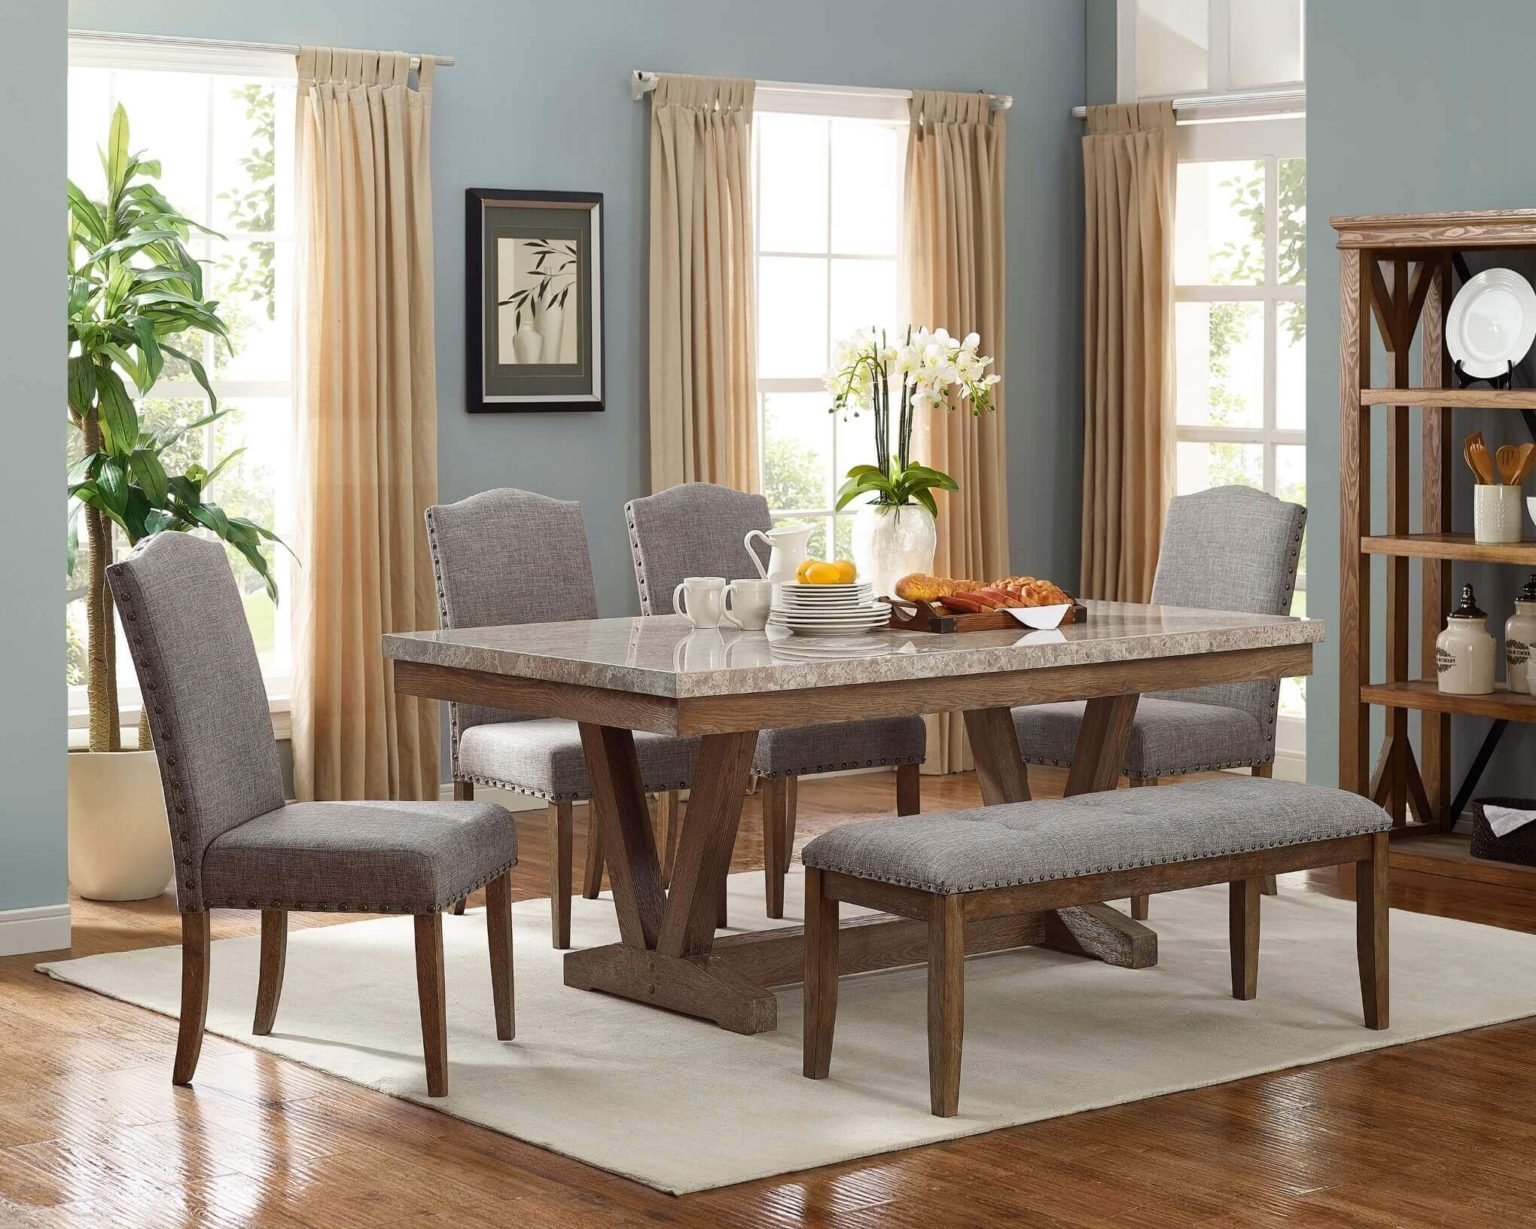
Imagine a dining table that’s not just a surface, but a story. A centerpiece crafted from a single slab of walnut, its natural edge still intact, or a collection of reclaimed barn wood pieces joined with artistry. These pieces possess a unique character that mass-produced items simply can’t replicate. They speak of nature’s resilience and human craftsmanship. But the path to creating one isn’t always straightforward. It requires a blend of respect for the material and a willingness to learn. What if I told you that with the right knowledge and a bit of dedication, you could create something truly extraordinary for your home. It’s achievable, and incredibly rewarding.
Selecting Your Timber: The Foundation of Beauty
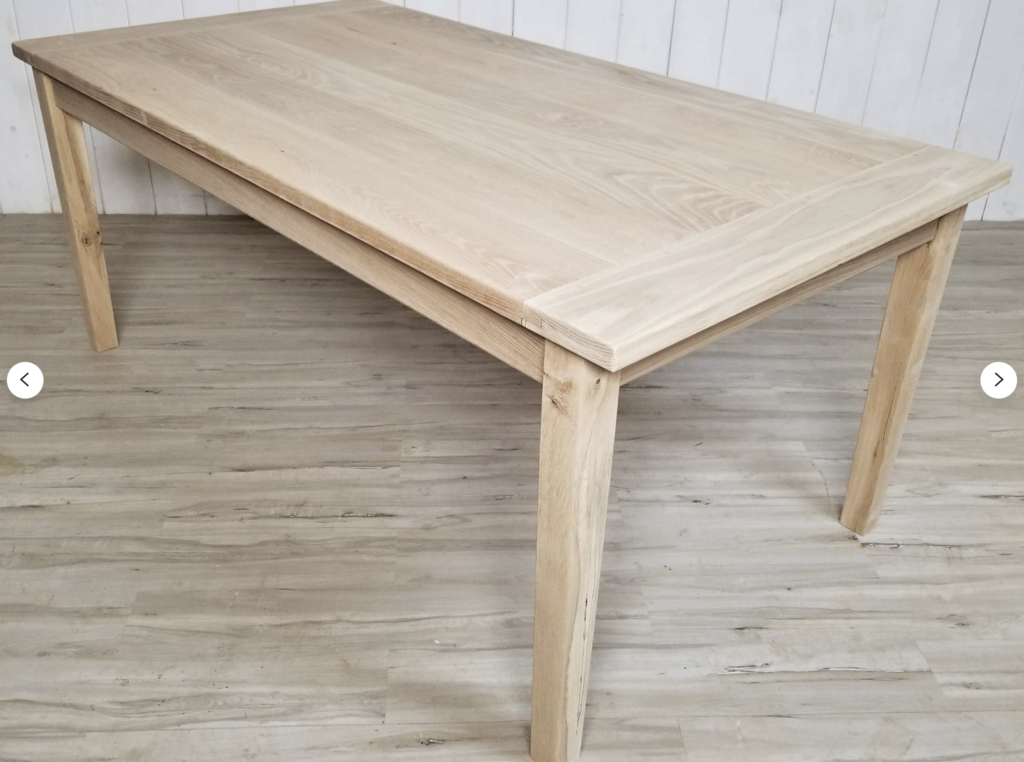
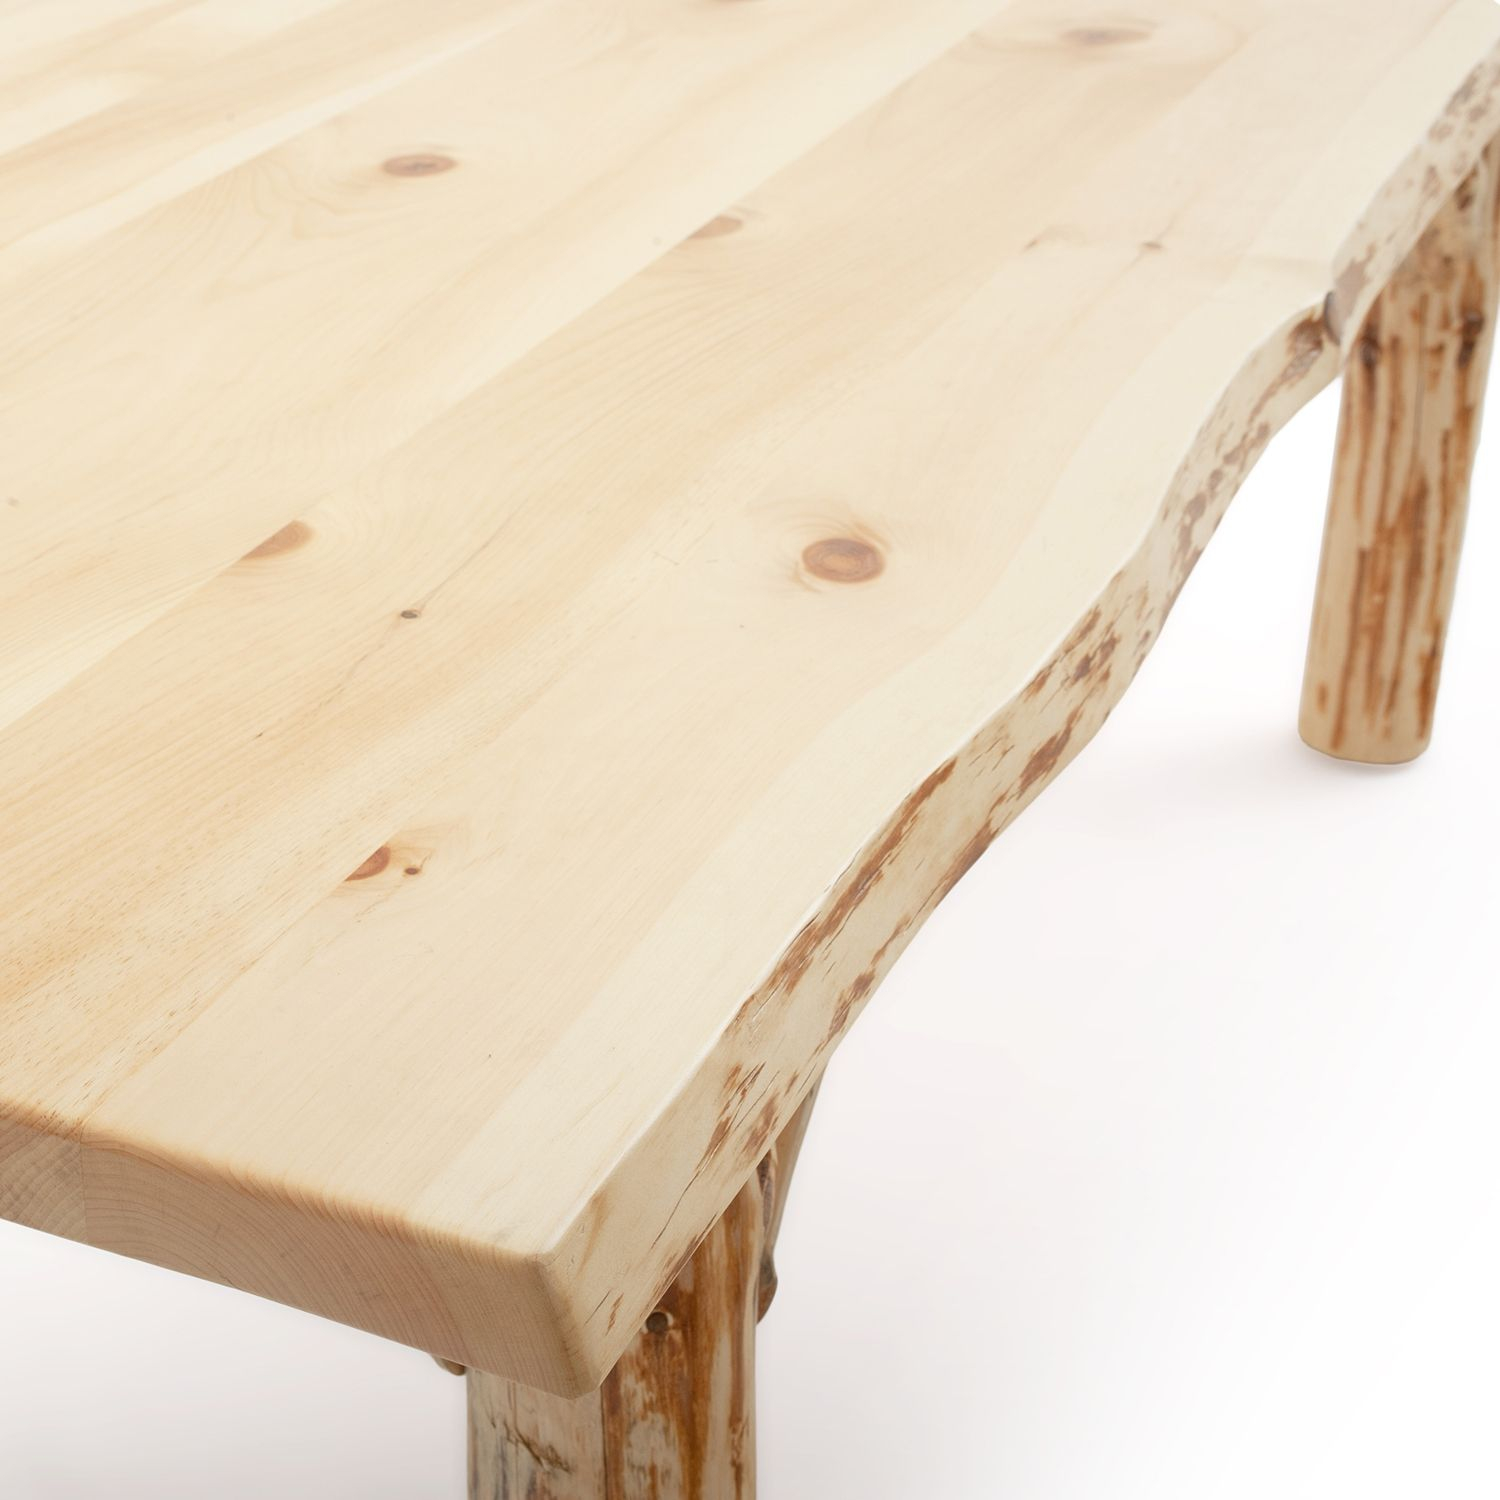
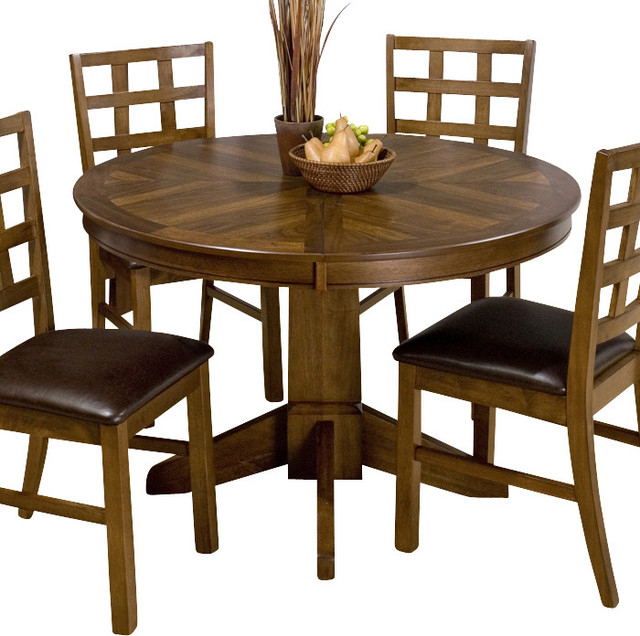
The journey begins with the wood itself. Not all timber is created equal when it comes to crafting a centerpiece. You’ll want to consider the species, its grain pattern, and its natural characteristics. Hardwoods like walnut, oak, and maple are popular choices for their durability and beautiful grain. Think about the aesthetic you’re aiming for. A live-edge slab of mesquite will offer a rustic, organic feel, while a perfectly joined piece of cherry might lean towards elegance. Don’t shy away from wood with character – knots, burls, and even insect trails can add a unique story to your piece. When sourcing, look for wood that’s properly dried (kiln-dried or well-seasoned air-dried) to prevent warping and cracking down the line. A moisture meter is your best friend here; aim for a moisture content around 8-12% for indoor furniture.
Milling and Shaping: Bringing Form to the Formless
Once you have your raw timber, the real work of shaping begins. This is where you’ll take that rough lumber and begin to reveal its potential. Key processes include:
- Flattening and Squaring: Using a jointer and planer is crucial for creating flat surfaces and square edges. This ensures your pieces fit together perfectly and sit stable.
- Cutting to Size: Precisely cut your wood to the desired dimensions using a table saw or miter saw. Accuracy here makes all the difference in the final assembly.
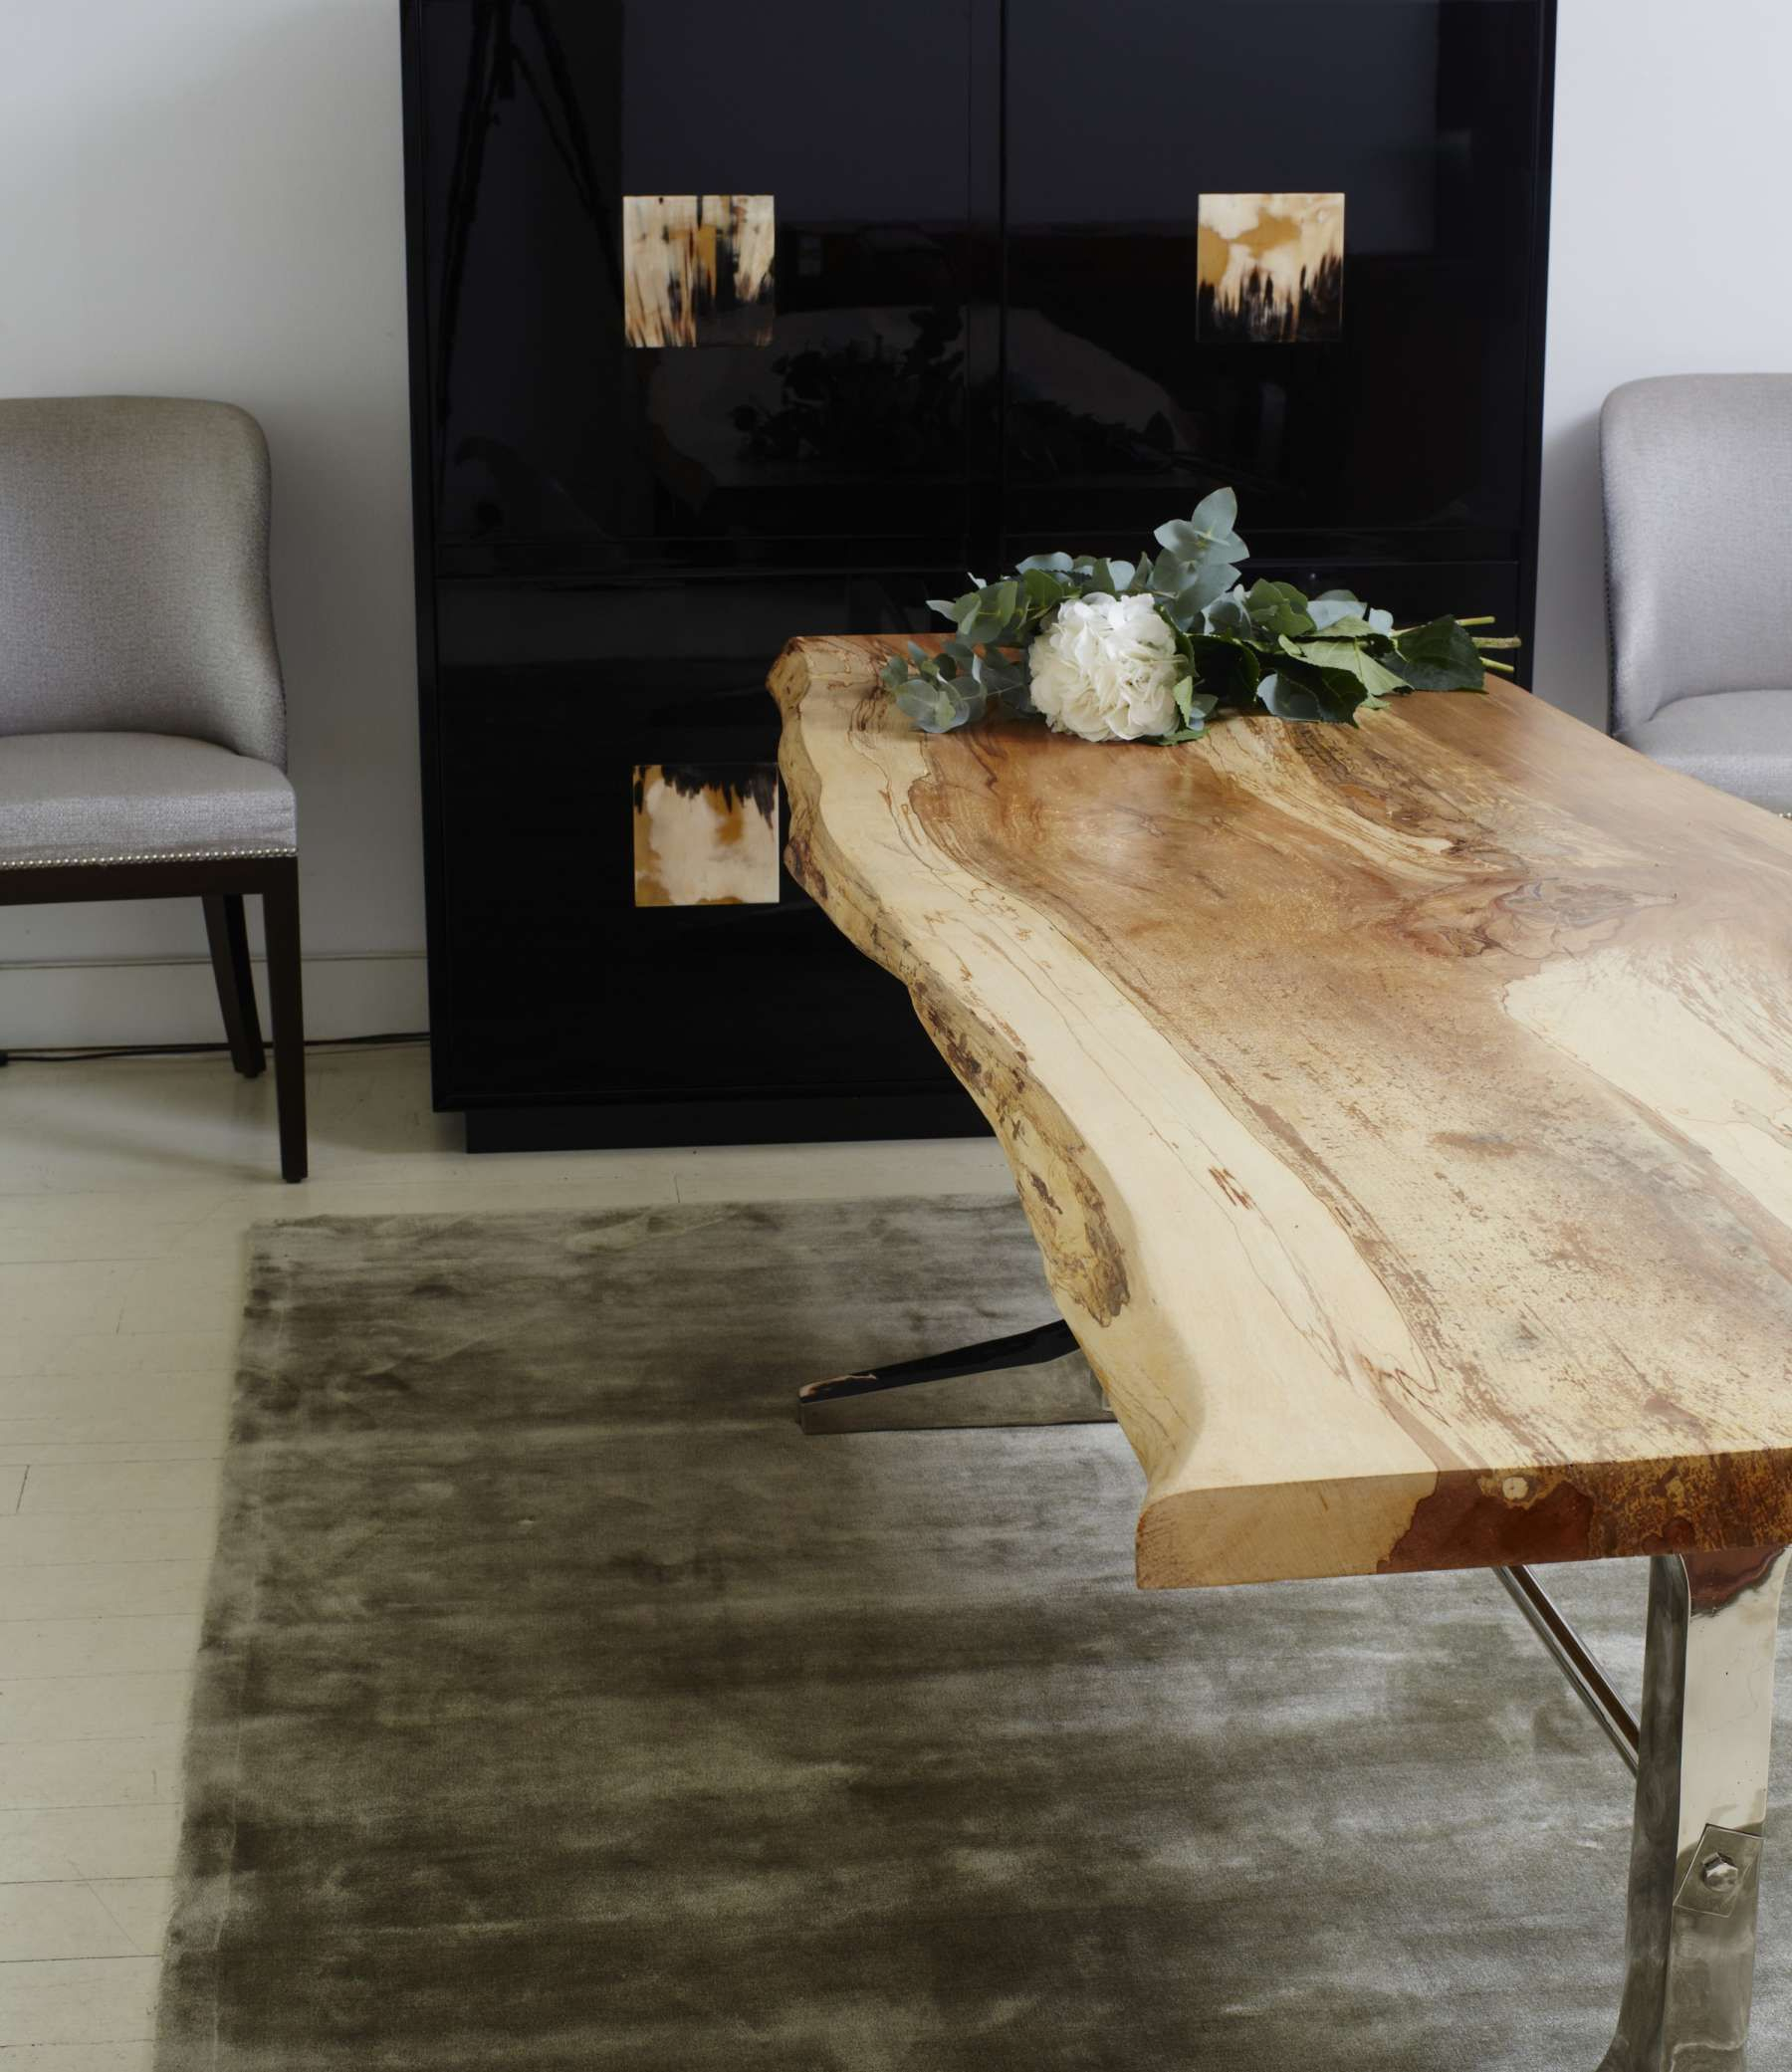
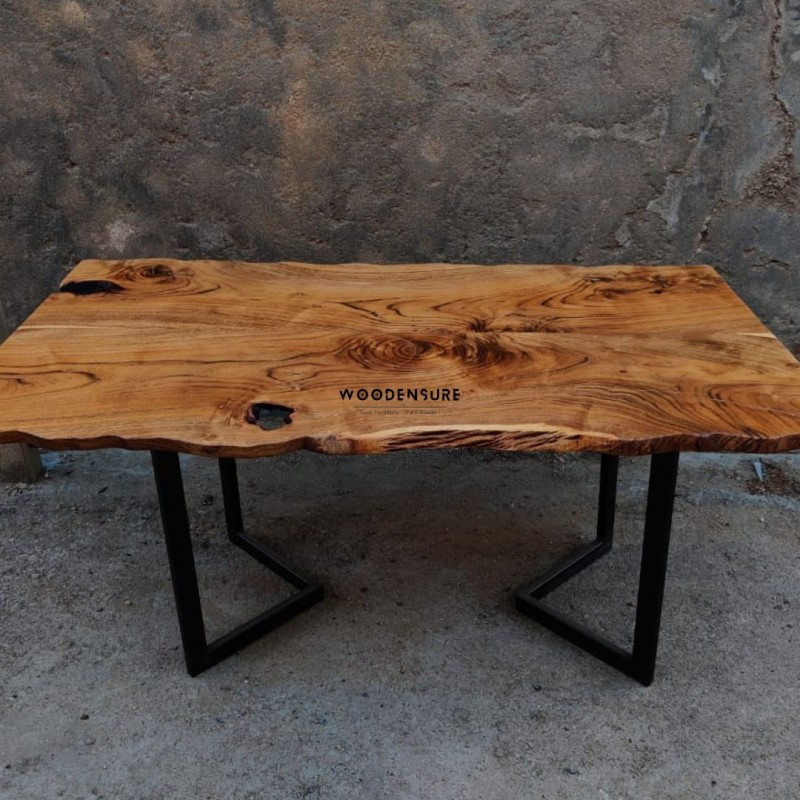
- Edge Treatment: For live-edge pieces, you’ll want to clean up the natural edge, perhaps with a wire brush or sander, to remove loose bark and debris while preserving its organic charm. For joined pieces, you might opt for a clean, straight edge or a decorative profile using a router.
Don’t underestimate the importance of safety. Always wear appropriate personal protective equipment (PPE) like safety glasses and hearing protection. Understanding how to safely operate these tools is paramount.
Joining and Assembly: Creating Cohesion
This is where your centerpiece truly starts to take shape as a unified object. Depending on your design, you might be joining multiple pieces of wood or simply preparing a single slab.
- For joined pieces: Techniques like biscuits, dowels, or dominoes can help align and strengthen your glue-ups. Careful application of wood glue and sturdy clamps are essential for a strong bond. Wipe away any excess glue squeeze-out immediately with a damp cloth for a cleaner finish.
- For single slabs: You might need to stabilize cracks or fill voids. Epoxy resin is a popular choice for filling gaps and creating a smooth, durable surface. You can add colorants to the epoxy for an artistic touch. Consider metal or wooden bowties (butterfly keys) to bridge larger cracks and add a decorative element. These are inlaid into the wood and prevent the crack from spreading further.
Sanding: The Path to a Silky Smooth Finish
Sanding is arguably the most critical step for achieving that professional, touchable finish. It’s where you elevate the wood from rough to refined.
- Progressive Grits: Start with a coarser grit sandpaper (like 80 or 100 grit) to remove any milling marks or imperfections. Gradually move to finer grits (120, 150, 180, 220, and even higher if desired). Each grit removes the scratches left by the previous one.
- Sanding Direction: Always sand with the grain of the wood. Sanding across the grain will leave noticeable scratches that are very difficult to remove.
- Hand Sanding vs. Power Sanding: While power sanders (orbital or belt sanders) are efficient for larger surfaces, hand sanding is often necessary for details, edges, and achieving that perfect smoothness. Don’t rush this process. A well-sanded piece will accept finish much more evenly and beautifully.
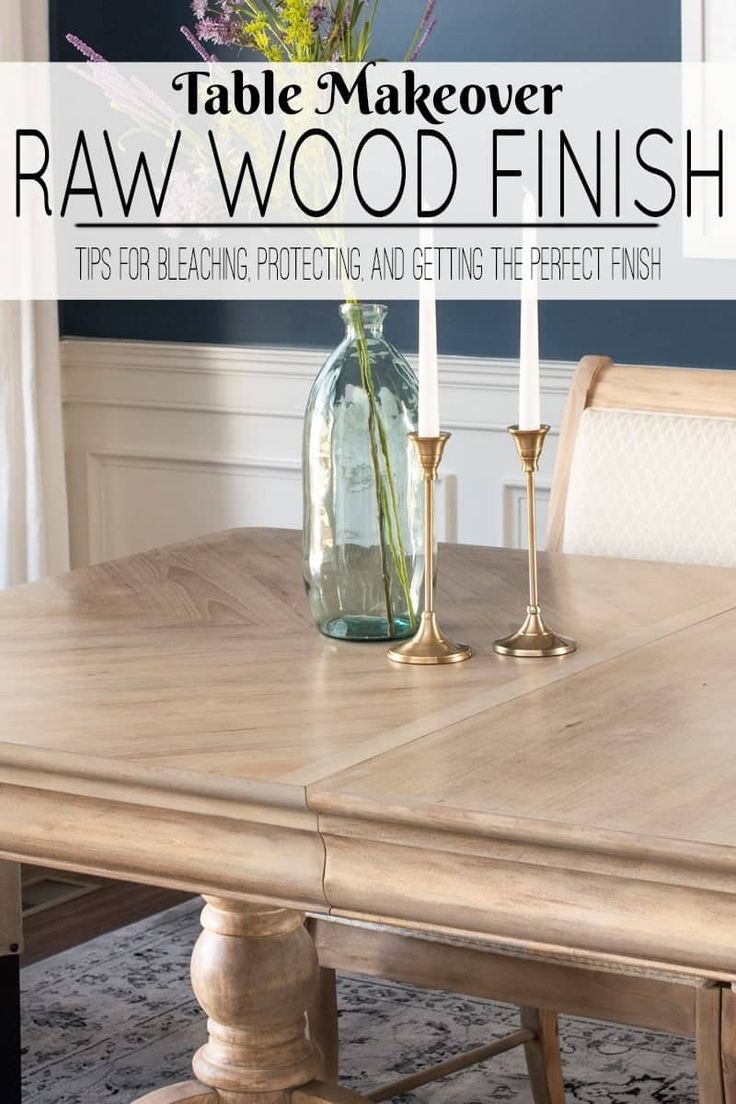
Finishing Touches: Protection and Polish
The finish is what protects your beautiful creation and brings out the depth and richness of the wood. There are many options, each with its own look and feel.
- Oils: Penetrating oils like tung oil or linseed oil soak into the wood, providing a natural, matte finish that enhances the wood’s grain. They require periodic reapplication but are easy to repair.
- Varnishes and Lacquers: These create a protective film on the surface. They offer more durability against moisture and wear but can be more prone to chipping if not applied correctly.
- Waxes: Often used as a topcoat over oil or varnish, wax adds a soft sheen and a bit of extra protection.
Consider the intended use of your centerpiece. If it will be in contact with food, ensure your finish is food-safe. Applying thin, even coats and allowing adequate drying time between them is key to a flawless finish. Lightly sanding with a very fine grit (like 320 or 400) between coats can help achieve an ultra-smooth surface.
Design Considerations for Impact
Beyond the technical aspects, think about the design elements that will make your centerpiece truly stand out.
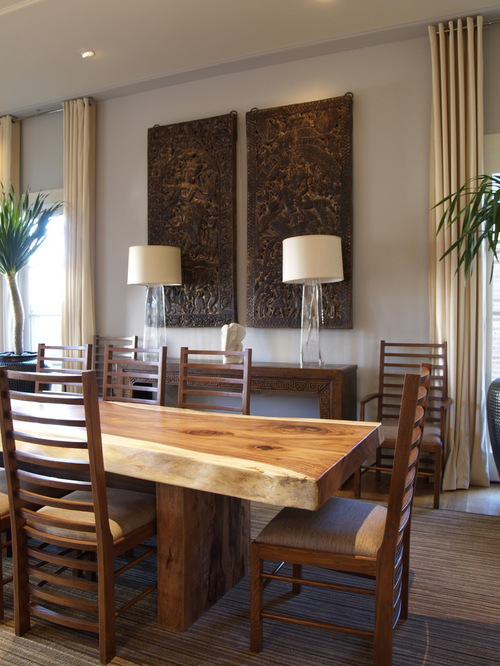
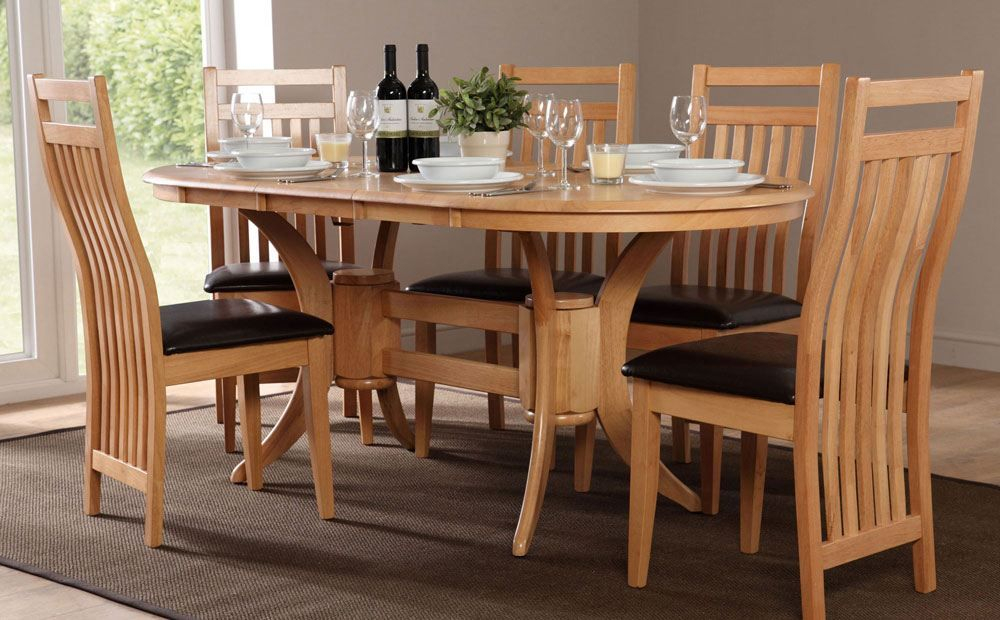
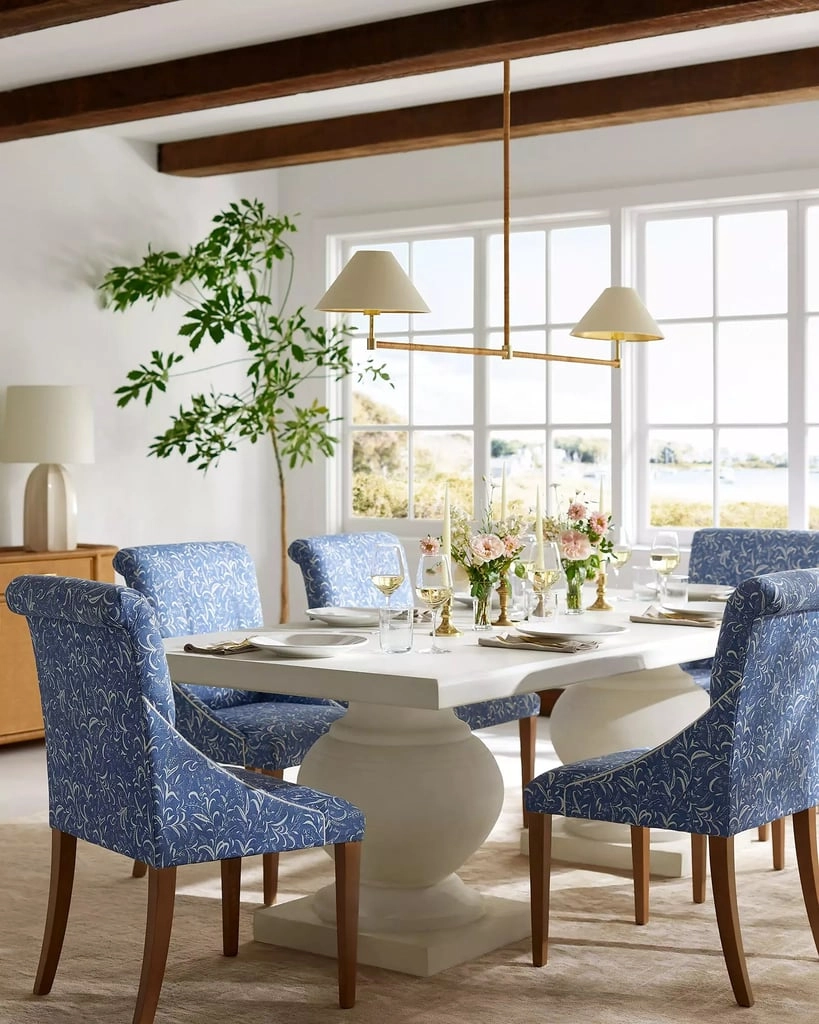
- Scale and Proportion: Ensure your centerpiece is appropriately sized for your dining table and room. Too large, and it will overwhelm; too small, and it will get lost.
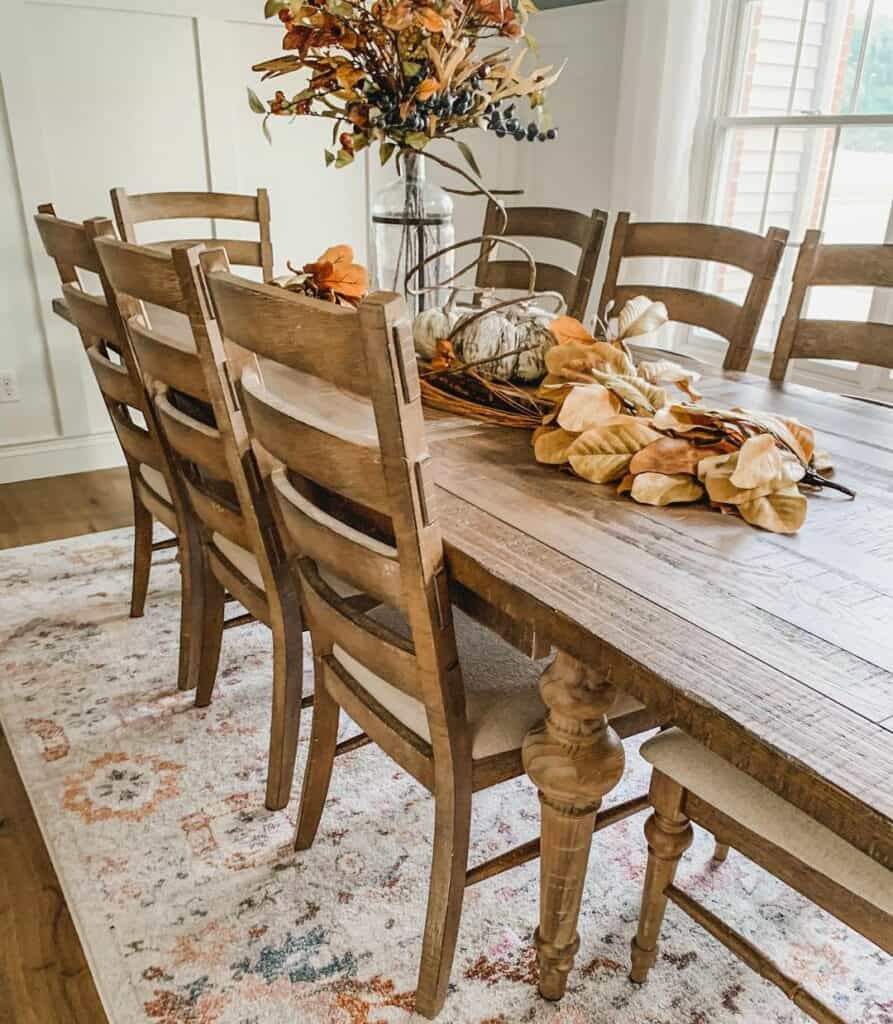
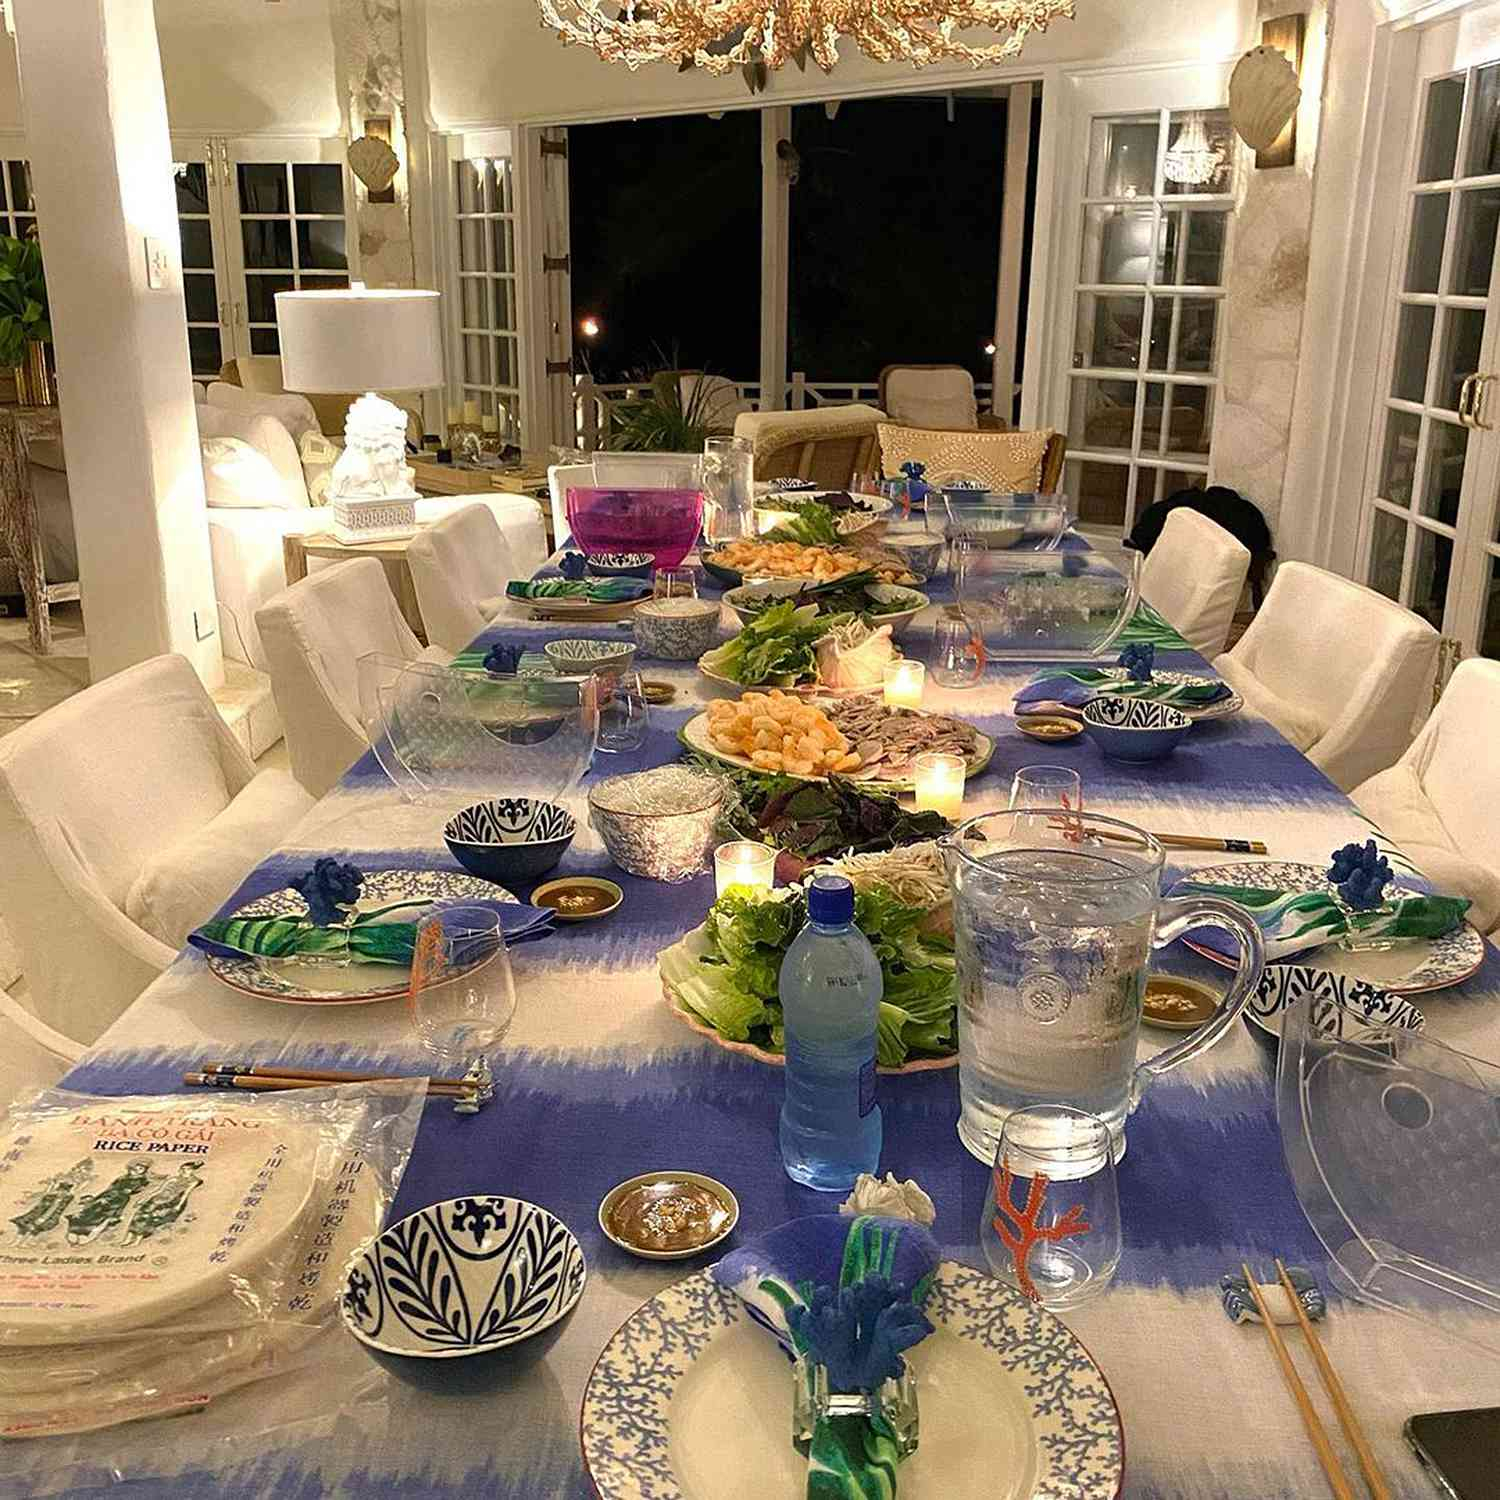
- Natural Elements: Incorporate natural elements like dried flowers, seasonal foliage, or even small decorative stones to complement the wood.
- Lighting: Consider how light will interact with your centerpiece. A well-placed candle or a subtle LED strip can highlight the wood’s texture and grain.
- Functionality: Does it need to hold specific items? Consider the practical needs alongside the aesthetic. A centerpiece can be functional art. Think about how the piece will integrate with your existing decor and personal style. What message do you want it to convey? Is it rustic charm, modern elegance, or something entirely unique?
Turning raw wood into a stunning dining centerpiece is a deeply rewarding endeavor. It’s a process that connects you to nature, hones your skills, and results in a unique, handcrafted item that will be cherished for years to come. From the careful selection of timber to the final protective coat, each step contributes to the beauty and character of the finished piece. Embrace the imperfections, learn from the challenges, and most importantly, enjoy the creative process. Your dining table is more than just a place to eat; it’s a gathering spot, a place for memories. What better way to anchor those memories than with a centerpiece born from your own hands and the enduring beauty of wood.