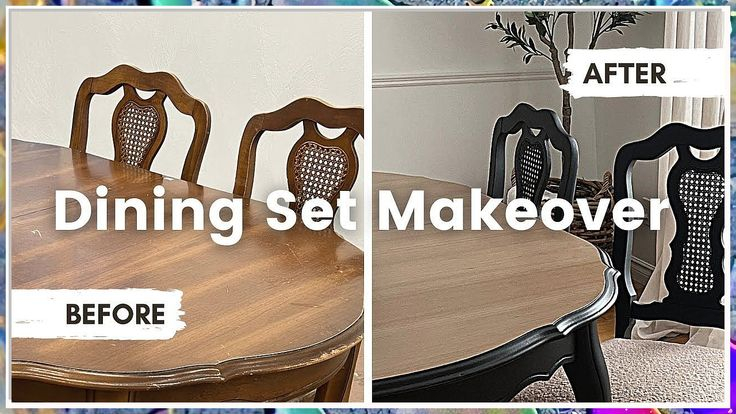
Ever look at your dining table and feel like it’s seen better days? Maybe the finish is worn, or the color just doesn’t quite fit your current decor anymore. Don’t fret. That old table might just be waiting for a second chance, a chance to shine with a vibrant new hue or a sophisticated new finish. Painting your dining table is more than just a DIY project; it’s a powerful way to inject personality and style into the heart of your home.
Your dining table is often the centerpiece of your home, a place where memories are made, meals are shared, and conversations flow. When it starts to look a bit tired, it can bring down the whole room. But what if I told you that a weekend project could completely change its look and feel? Breathing new life into your dining table with a fresh coat of paint is surprisingly accessible and incredibly rewarding. It’s an opportunity to customize, to bring in that pop of color you’ve been wanting, or to achieve that sleek, modern look you’ve admired. Let’s explore how this simple act can make a world of difference.
Why Paint Your Dining Table?
There are so many reasons to consider picking up a paintbrush for your table. For starters, it’s a cost-effective way to update your furniture. Buying a new dining table can be a significant investment, whereas a few cans of paint and some supplies are much more budget-friendly. Plus, it’s a fantastic way to express your creativity. You’re not limited to the colors and styles offered by furniture stores. You can choose exactly the shade that complements your existing decor, or even go bold and make a statement. Think about it: that sturdy, well-made table you have might just need a cosmetic facelift. Painting can cover up minor scratches and wear, giving it a smooth, uniform appearance. It’s also an awesome way to repurpose an old table that you might otherwise have discarded. Who knew a little paint could do so much?
Choosing the Right Paint
This is where the fun really begins, but also where you need to be a bit strategic. For a durable finish that can withstand daily use, you’ll want to look at paints specifically designed for furniture or high-traffic surfaces. Latex paints, especially those with a satin, semi-gloss, or high-gloss finish, are popular choices. They offer good durability and are relatively easy to clean up. Chalk paint is another fantastic option, known for its matte finish and minimal prep work, often requiring no sanding beforehand. It gives a lovely vintage or rustic look. For a super tough and long-lasting finish, consider oil-based paints or specialized enamel paints. Always read the manufacturer’s instructions, as different paints have different requirements for application and drying times. And don’t forget about the top coat. A good quality polyurethane or polycrylic sealant will protect your new painted finish and make it even more resilient to spills and wear.
Preparation is Key: Don’t Skip This Step!
I cannot stress this enough: proper preparation is the secret to a professional-looking paint job. If you rush this part, your paint might chip or peel prematurely. First, you need to clean the table thoroughly. Use a degreaser or a mild soap and water solution to remove any grease, food residue, or grime. Next, assess the table’s surface. If it’s already painted or varnished, you’ll likely need to lightly sand it. This creates a slightly rough surface for the new paint to adhere to. A fine-grit sandpaper (around 120-180 grit) usually does the trick. Wipe away all the dust with a tack cloth or a damp rag. If there are any deep scratches or dents, you might want to fill them with wood filler and sand them smooth once dry. For raw wood, a good primer is essential to ensure even color and adhesion. Skipping primer can lead to blotchy results, especially with lighter paint colors.
The Painting Process: Step-by-Step
Alright, you’ve prepped, you’ve primed, and you’re ready to paint. Start with thin, even coats. It’s always better to apply multiple thin coats than one thick, gloppy one. Use a good quality paintbrush for edges and details, and a foam roller or a larger brush for the broader surfaces of the tabletop and legs. Work in one direction, and try to maintain a consistent stroke. Allow each coat to dry completely according to the paint manufacturer’s recommendations before applying the next. In between coats, you might want to lightly sand with very fine-grit sandpaper (220 grit or higher) and wipe down again. This helps to smooth out any imperfections and ensures a super sleek finish. Don’t forget to paint the underside and the legs too. Once you’ve applied your final coat of paint and it’s dry, it’s time for the top coat. Apply 2-3 coats of your chosen sealant, allowing adequate drying time between each layer for maximum protection.
Creative Ideas to Inspire You
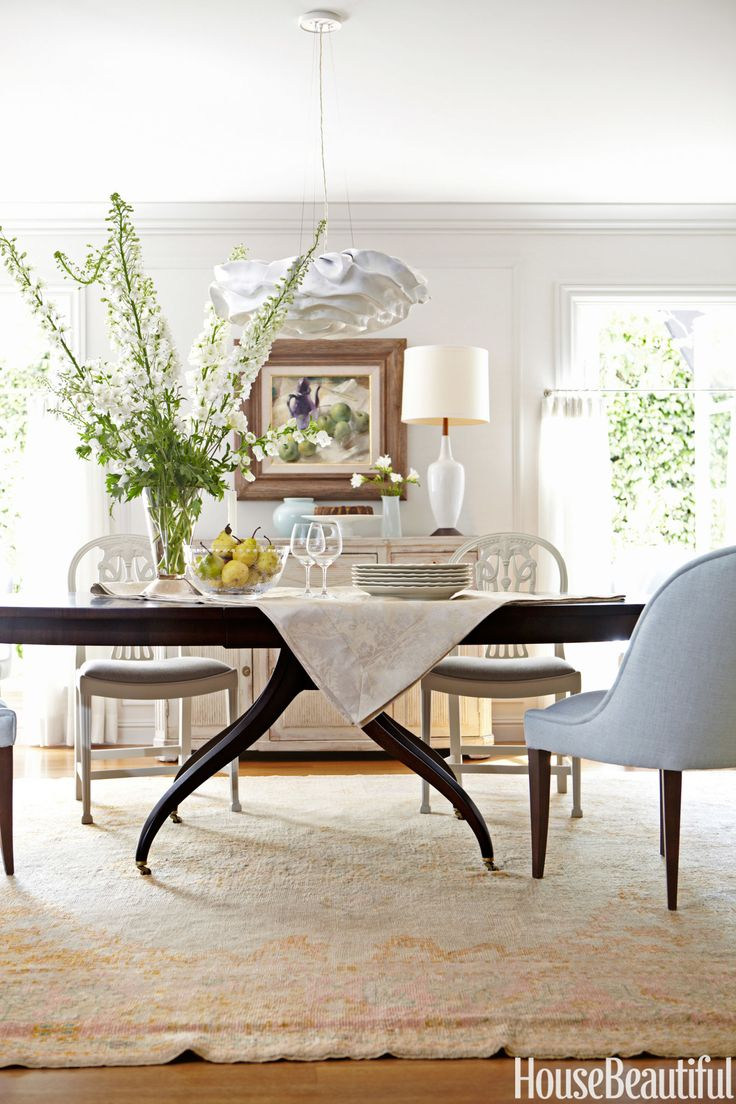
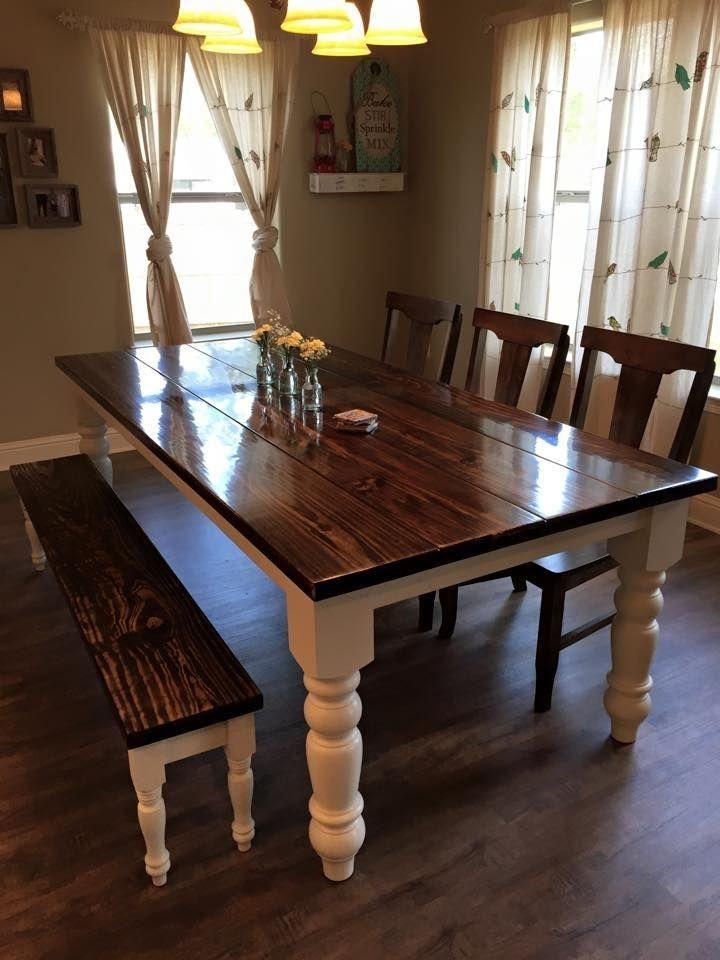
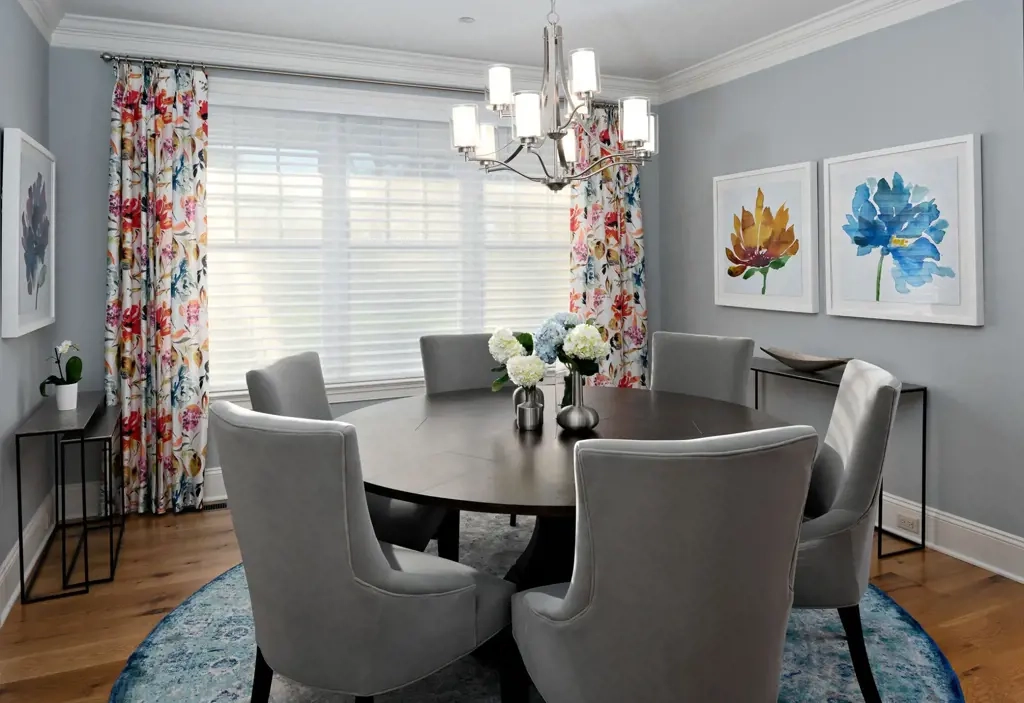
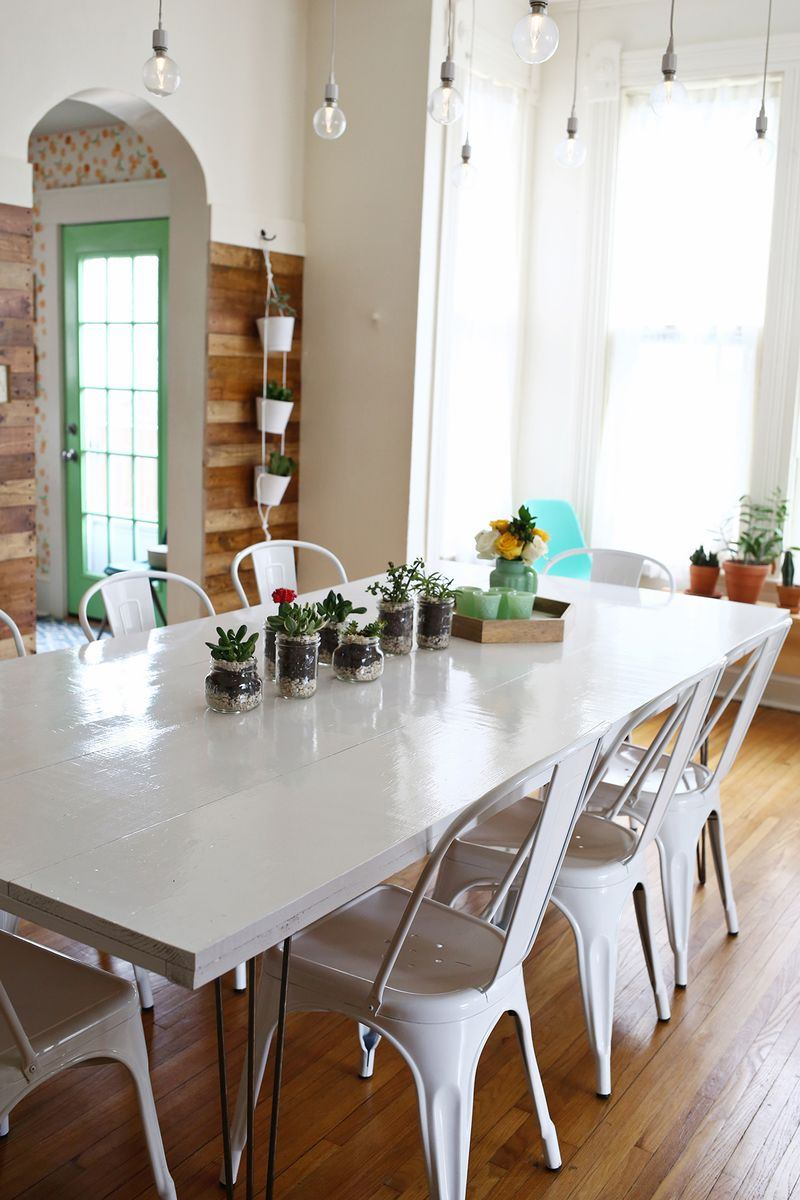
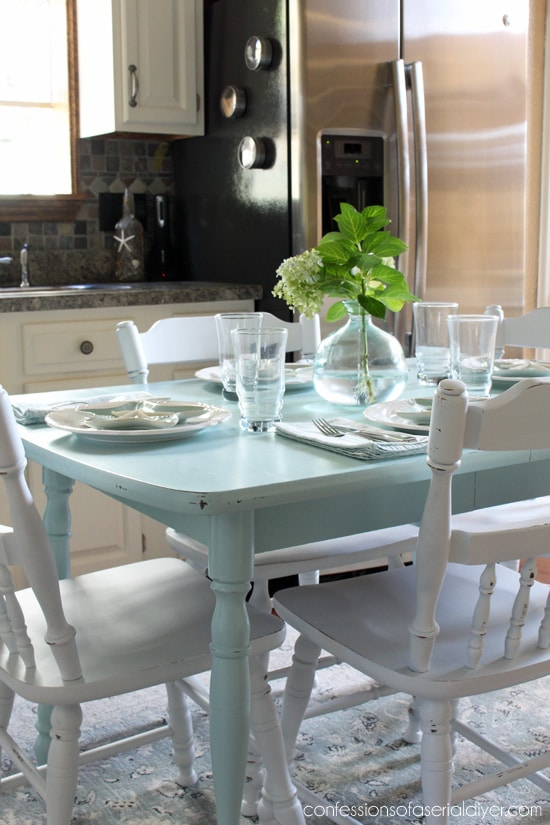
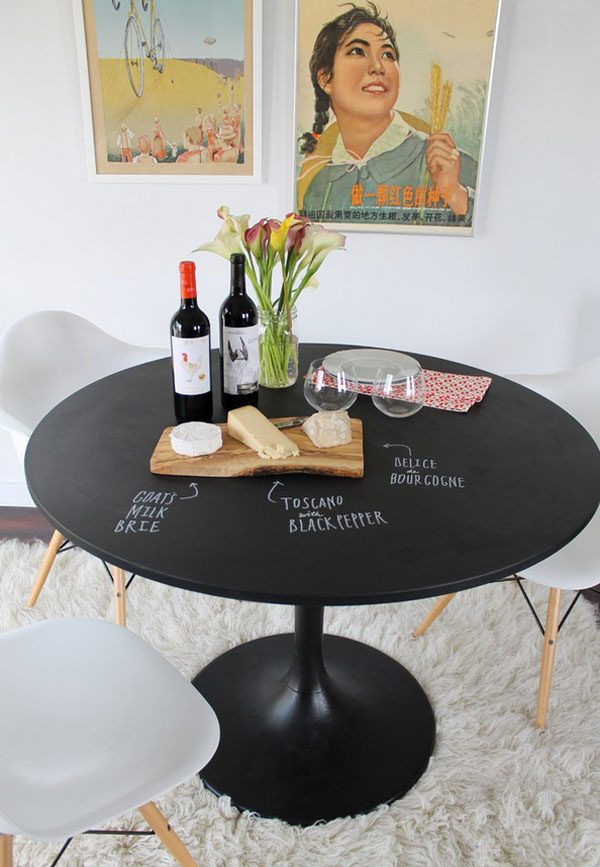
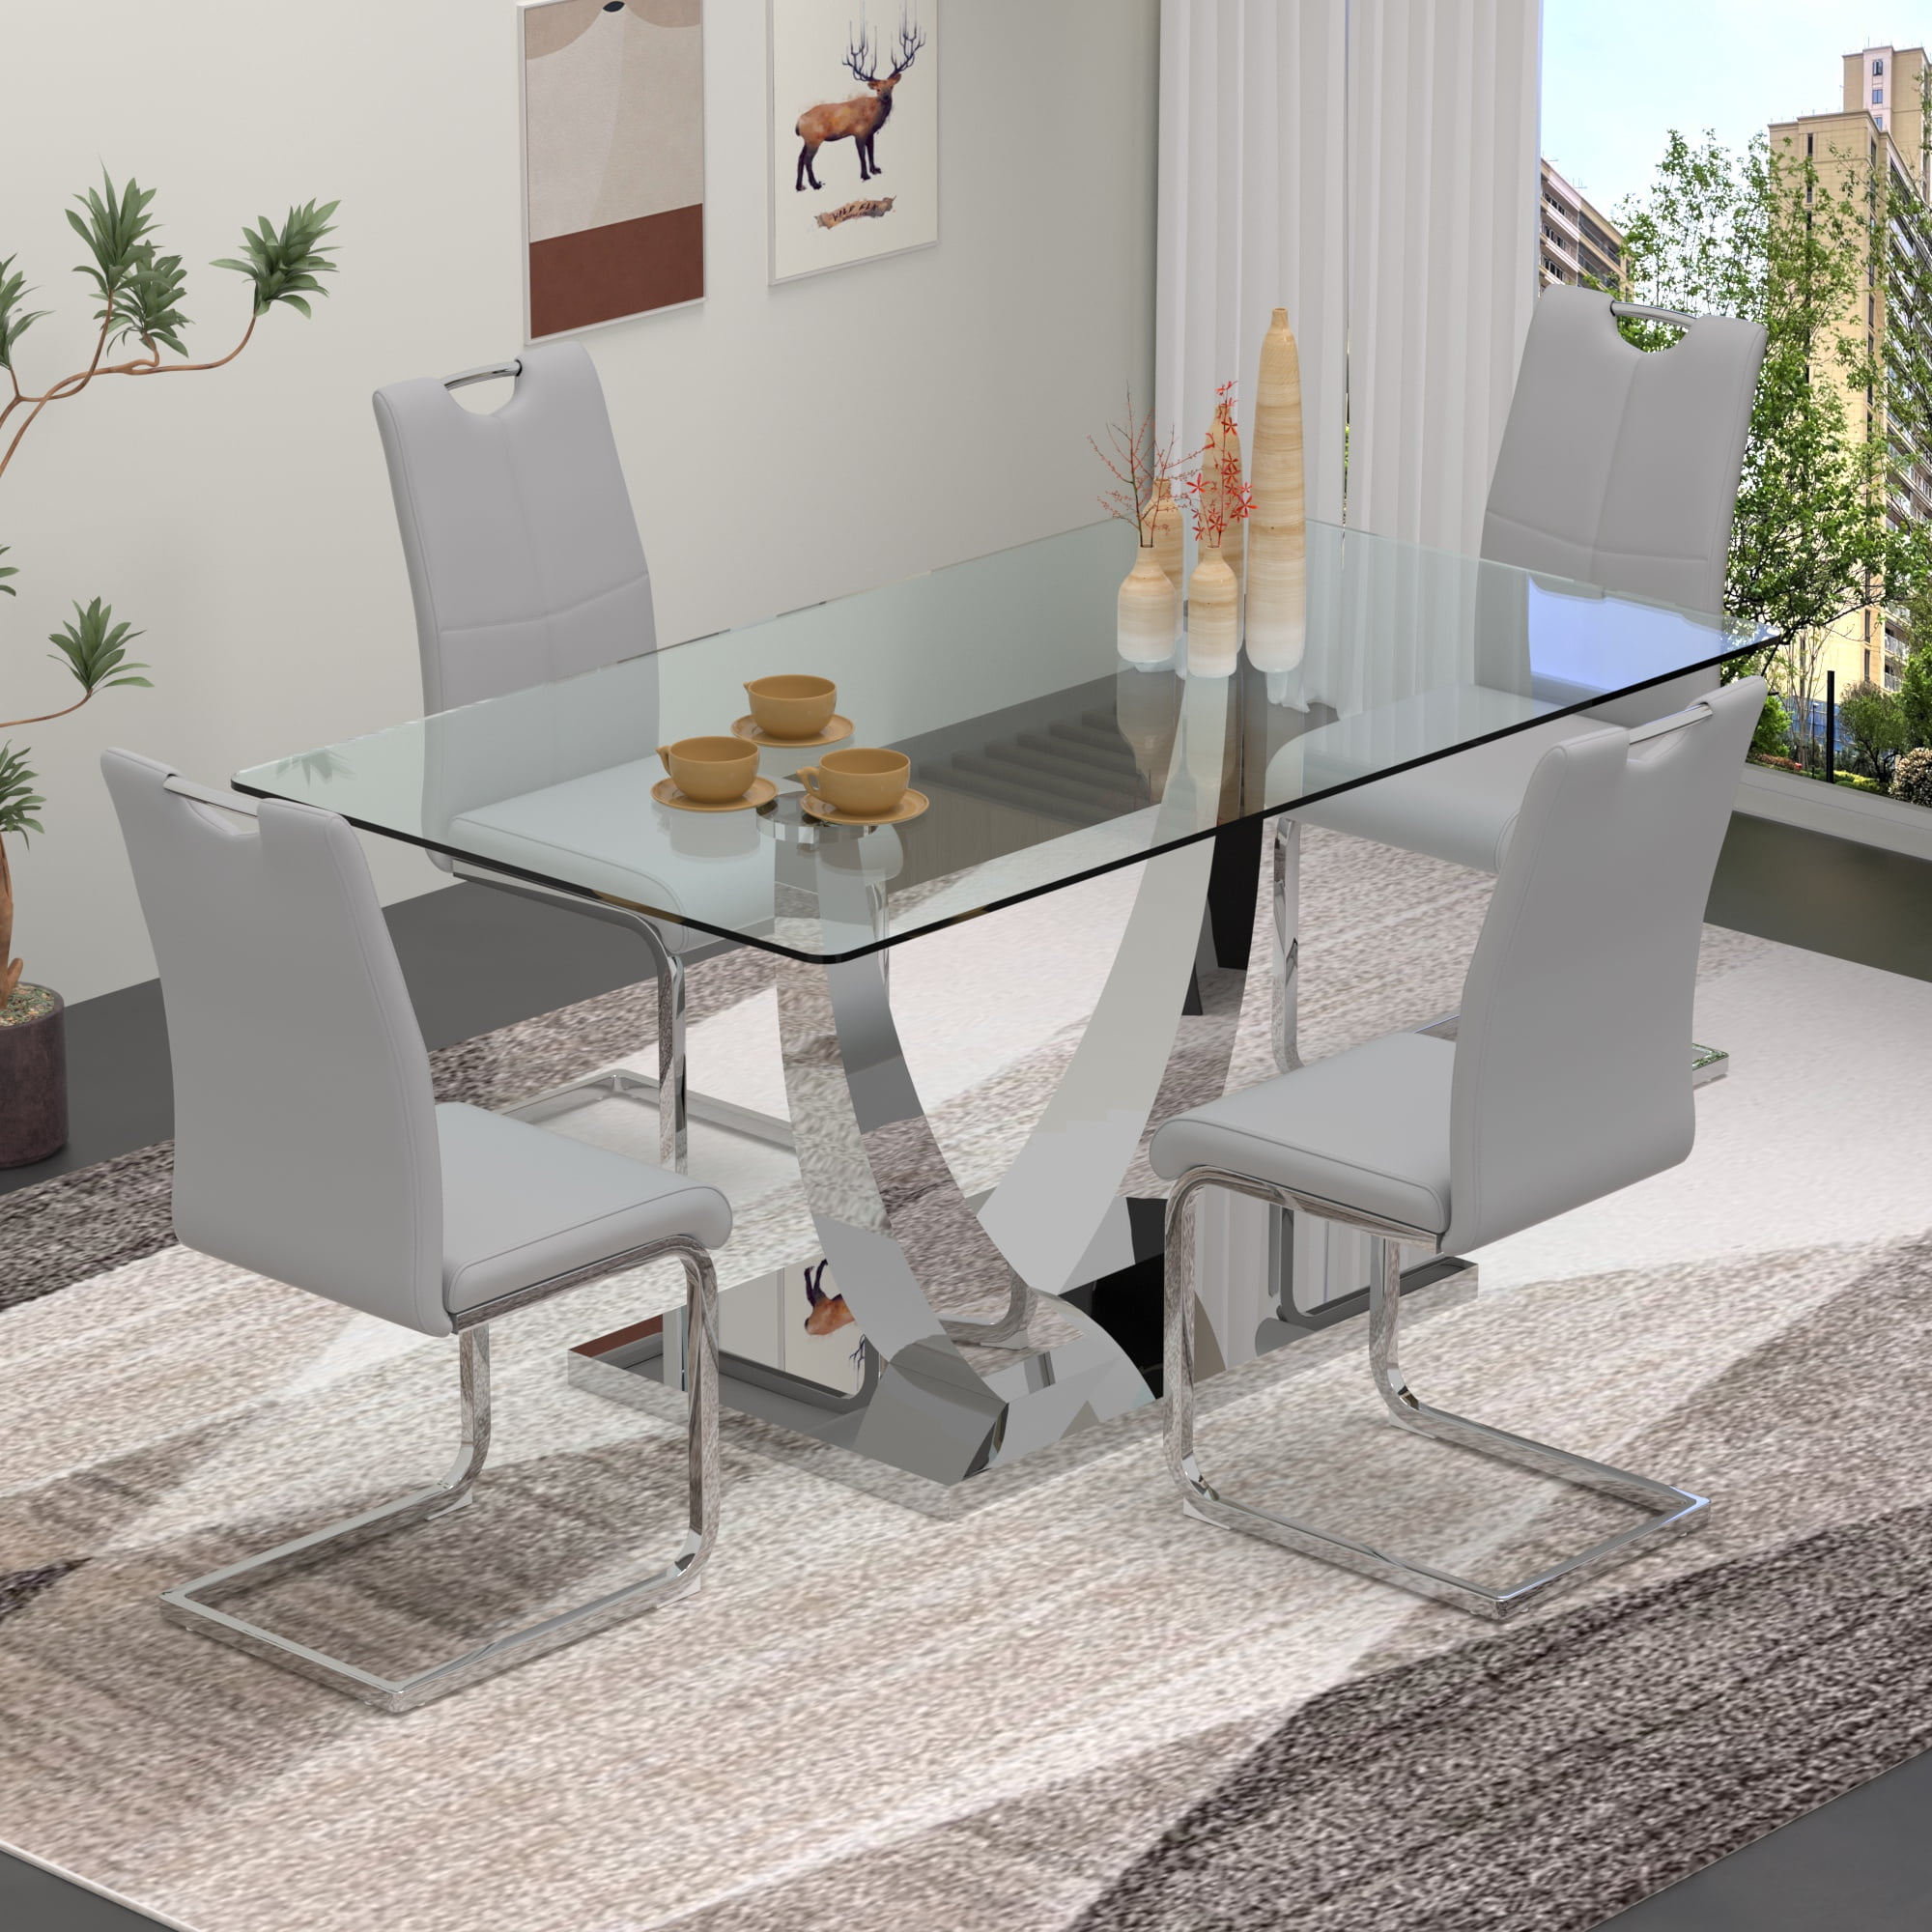
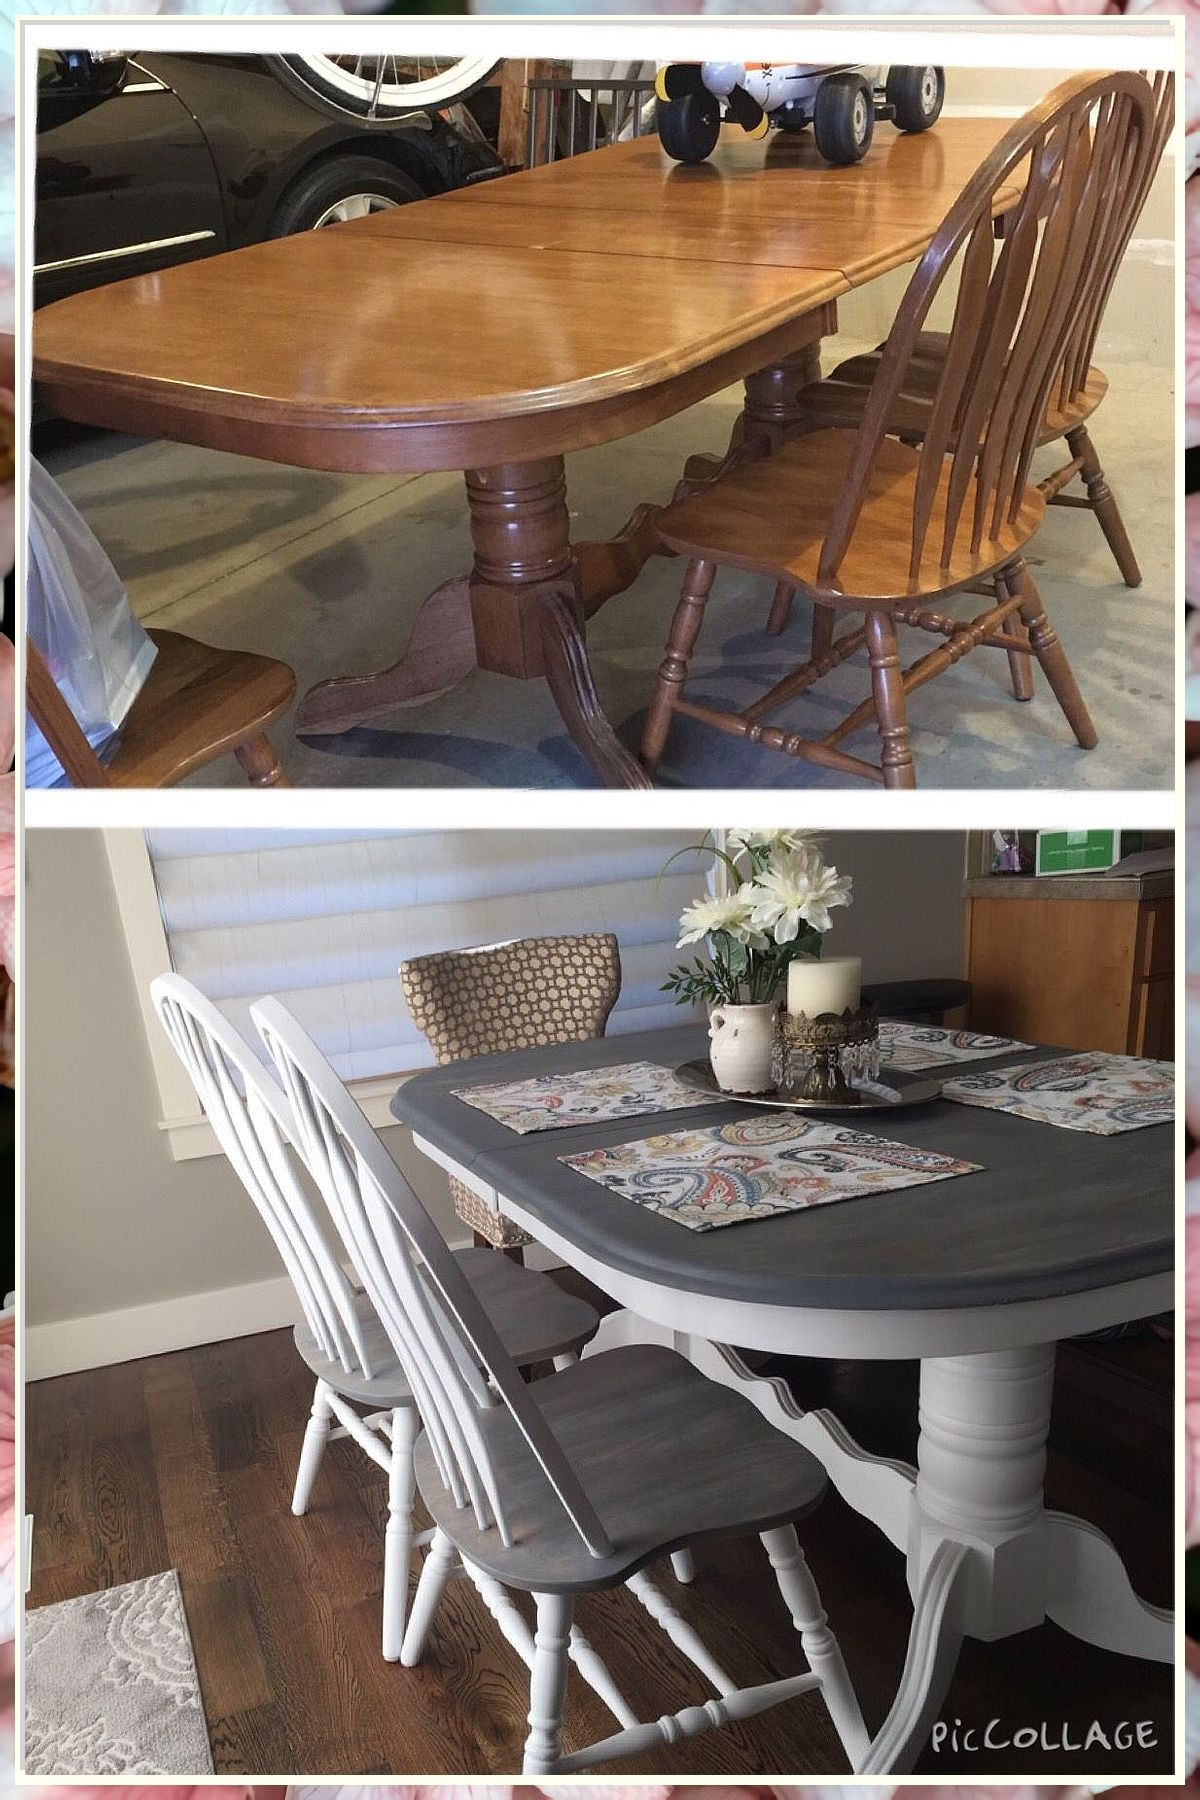
Beyond a solid color, there are so many creative avenues to explore. What about a two-tone effect? Paint the tabletop one color and the legs another. Or perhaps a distressed finish? You can achieve this by applying a base coat, then a contrasting top coat, and then lightly sanding away some of the top coat to reveal the color underneath. Ombre is another beautiful technique, where the color gradually fades from dark to light. You could also try stencils to add intricate patterns. For a more modern look, consider a glossy finish or even a metallic paint. And don’t underestimate the power of a simple black or white table; they’re timeless and versatile. Think about your existing furniture and the overall vibe you want to create. Do you want something bold and playful, or elegant and understated? The possibilities are truly endless.
Caring for Your Newly Painted Table
Once your masterpiece is complete and fully cured (this can take several days to a couple of weeks, depending on the paint and sealant used), it’s important to know how to care for it. Avoid placing hot items directly on the surface, and always use coasters and placemats, especially in the initial curing period. Clean spills immediately with a soft, damp cloth. For tougher messes, use a mild soap and water solution, and dry the surface thoroughly afterward. Avoid harsh chemical cleaners or abrasive scrubbers, as these can damage the paint and sealant. With a little mindful care, your beautifully refinished dining table will remain a stylish and functional focal point in your home for years to come.
Giving your dining table a makeover with paint is a journey of creativity and a testament to the power of DIY. It’s not just about changing the color; it’s about revitalizing a central piece of your home, infusing it with your personal touch, and creating a space you truly love. So, whether you’re aiming for a subtle update or a dramatic transformation, don’t shy away from the paintbrush. Gather your supplies, embrace the process, and get ready to enjoy a dining table that feels brand new, ready to host countless more meals and memories. Happy painting.